Multi-pitch Climbing “That Thing”, Yambraham, David Thompson Corridor, Alberta, Canada
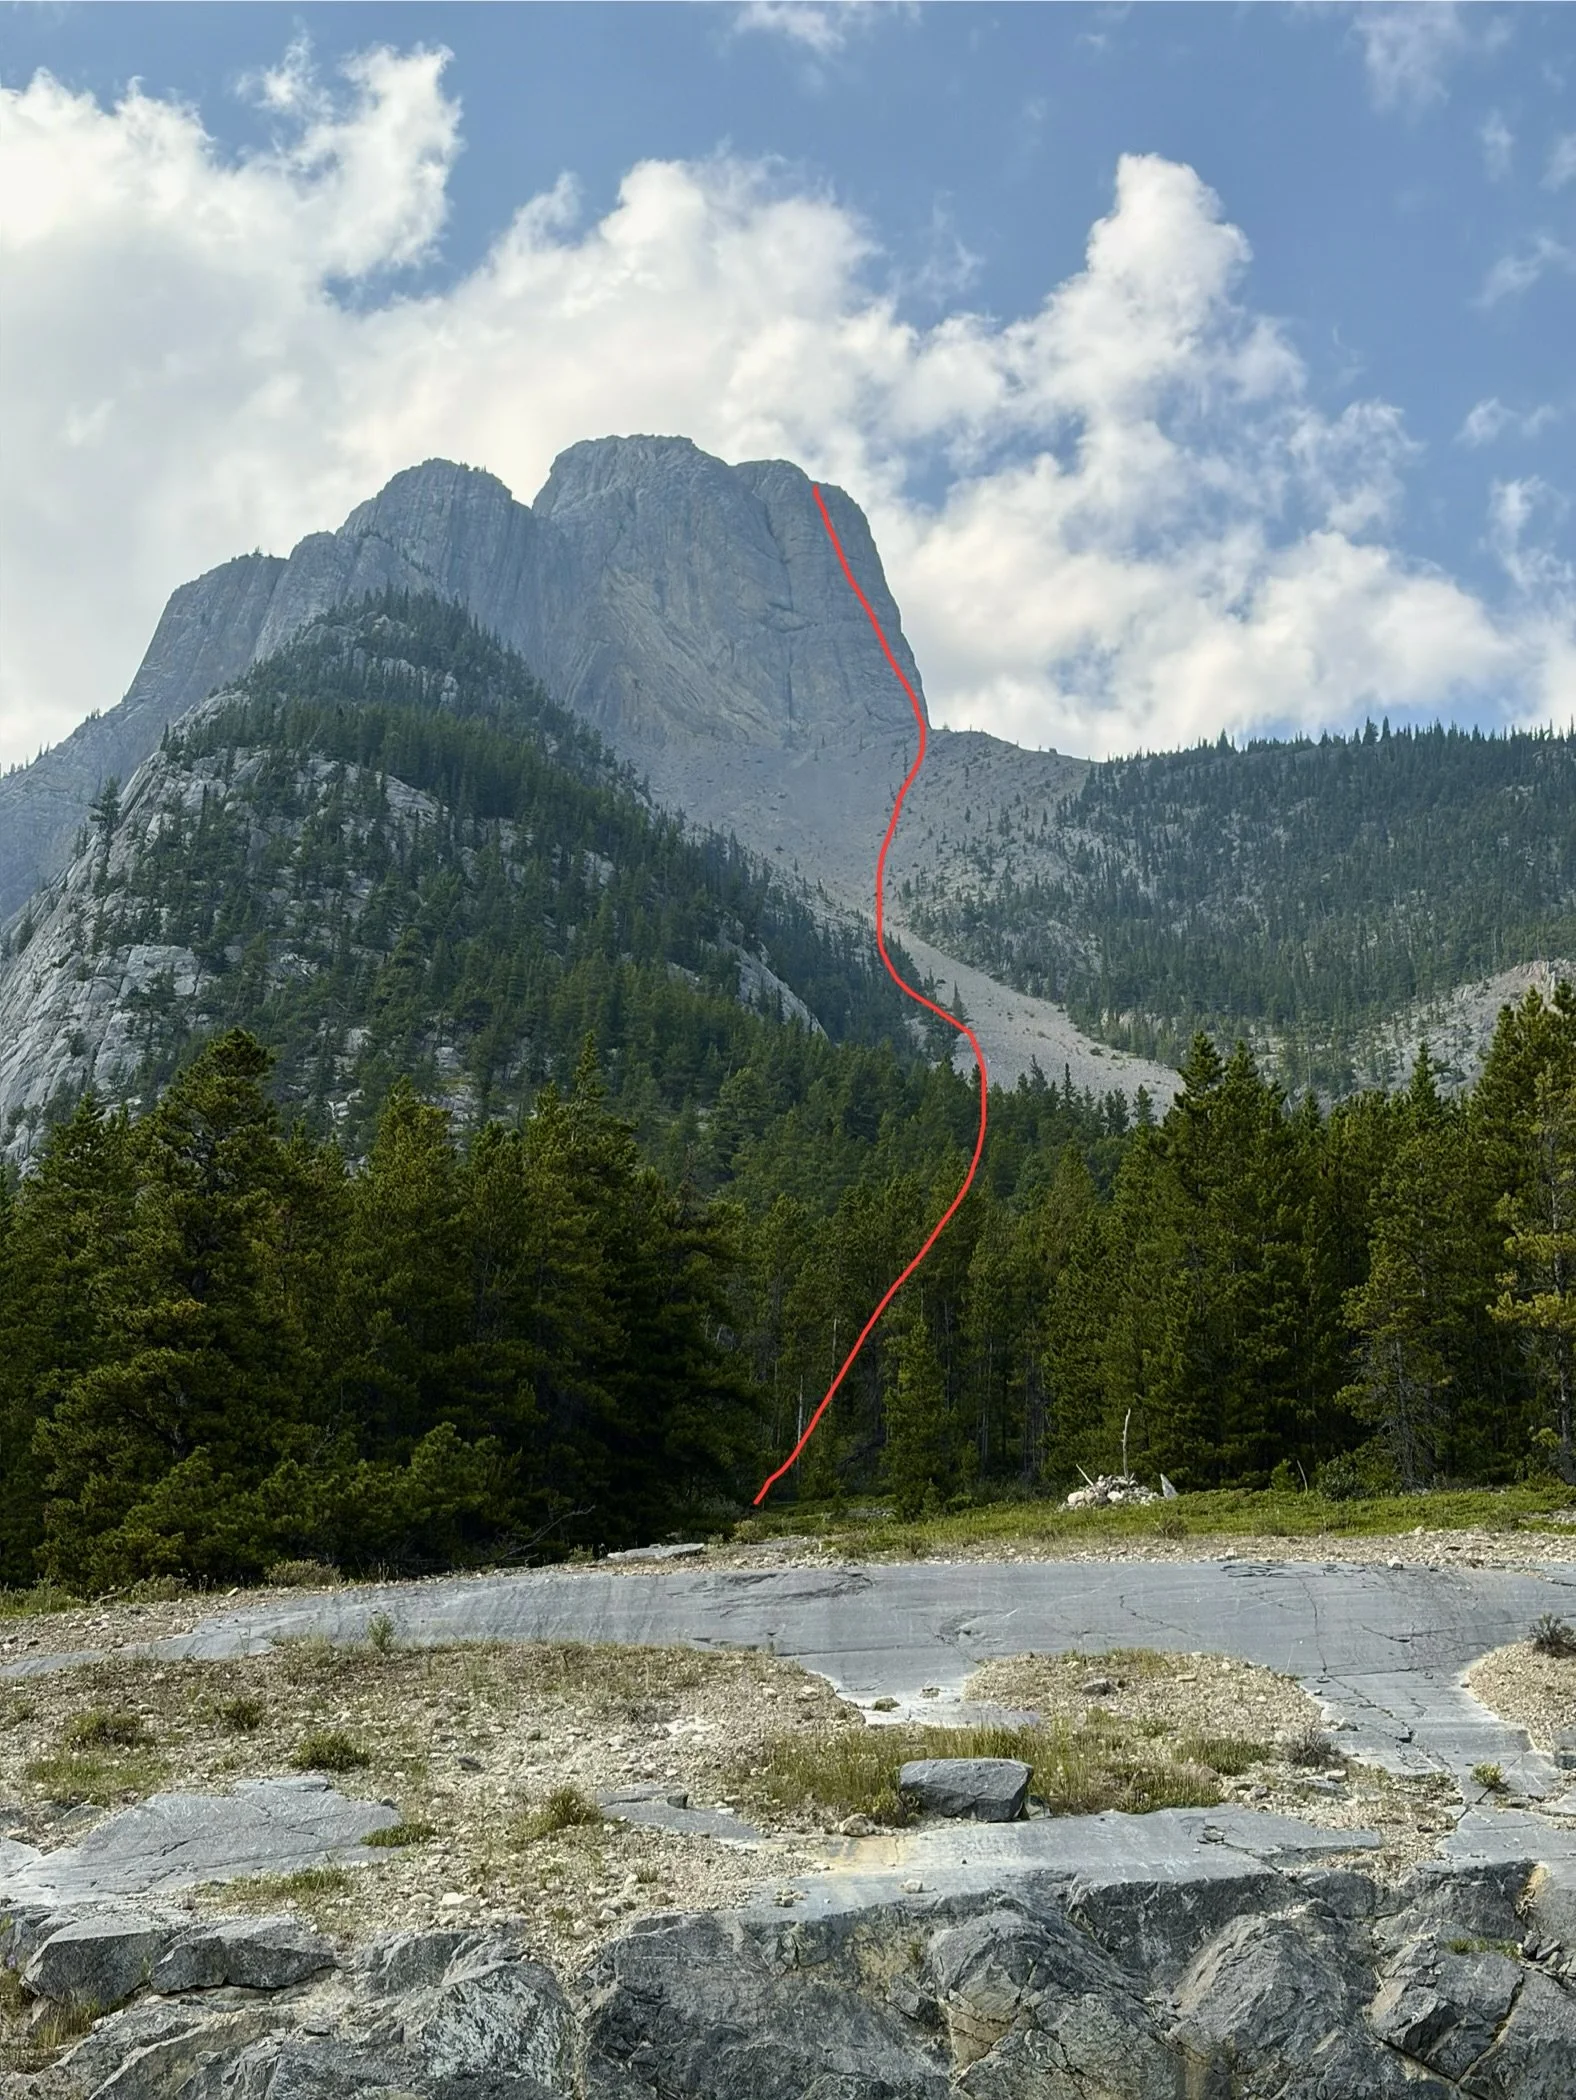
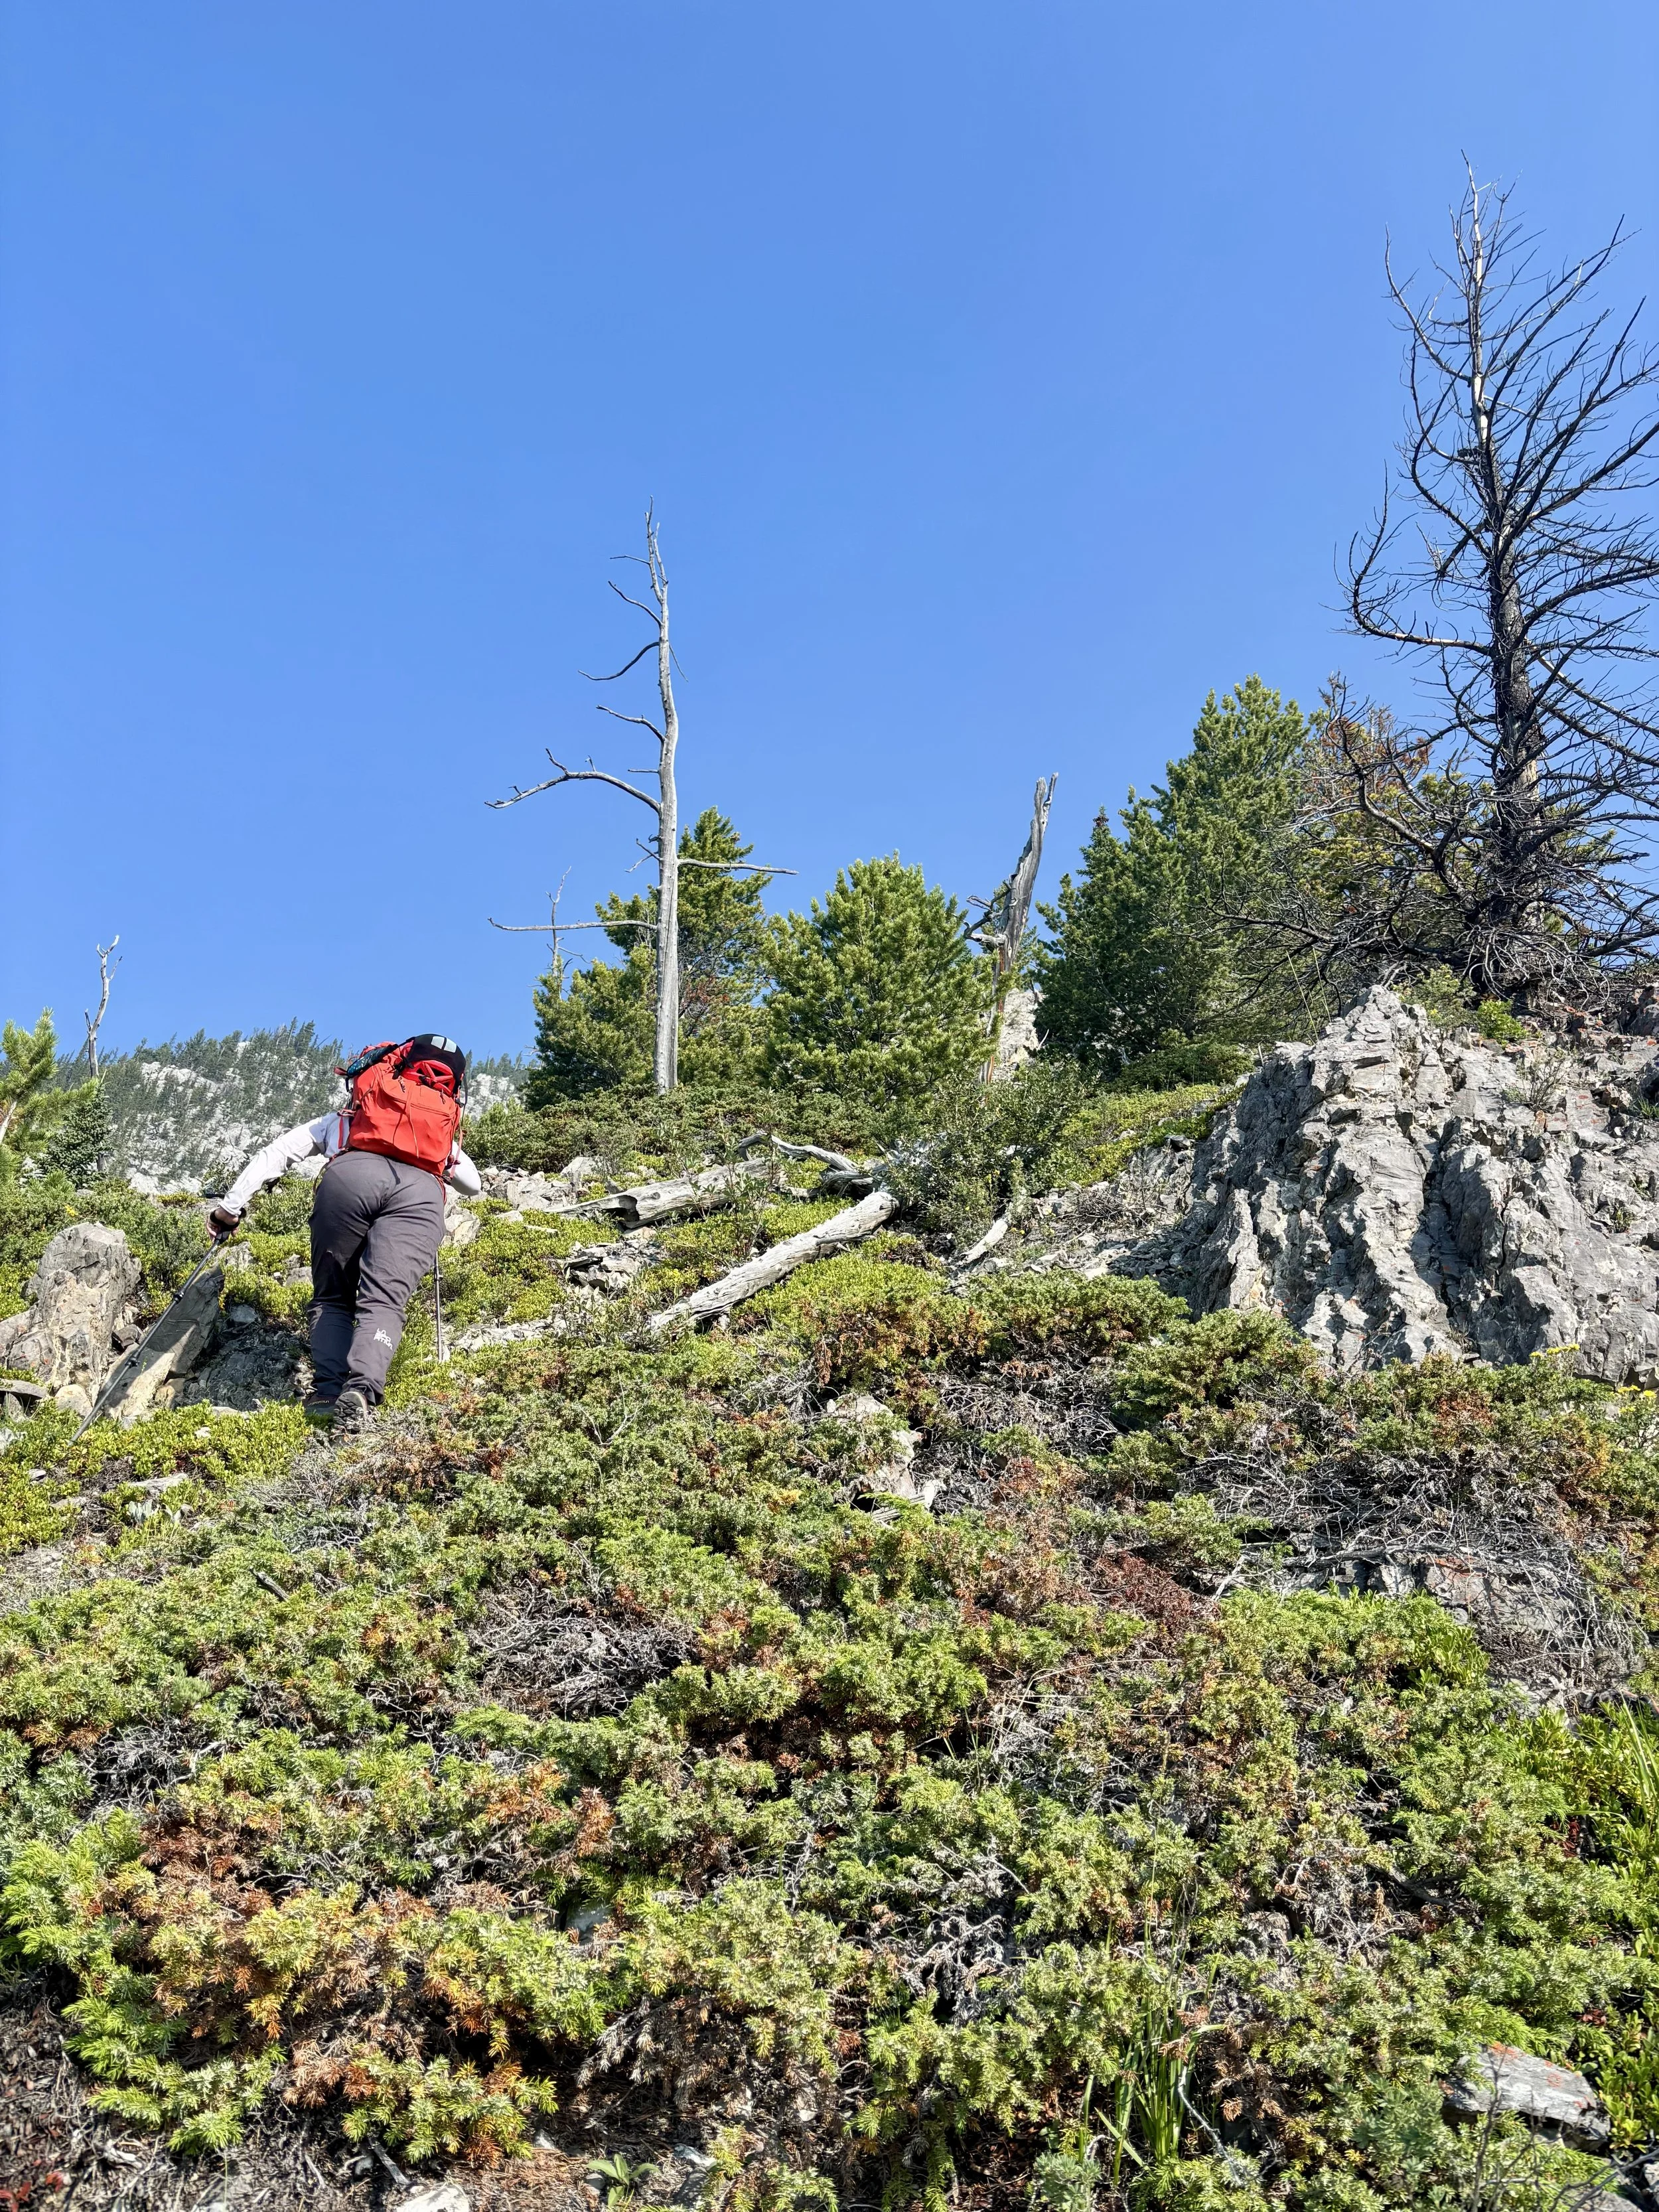
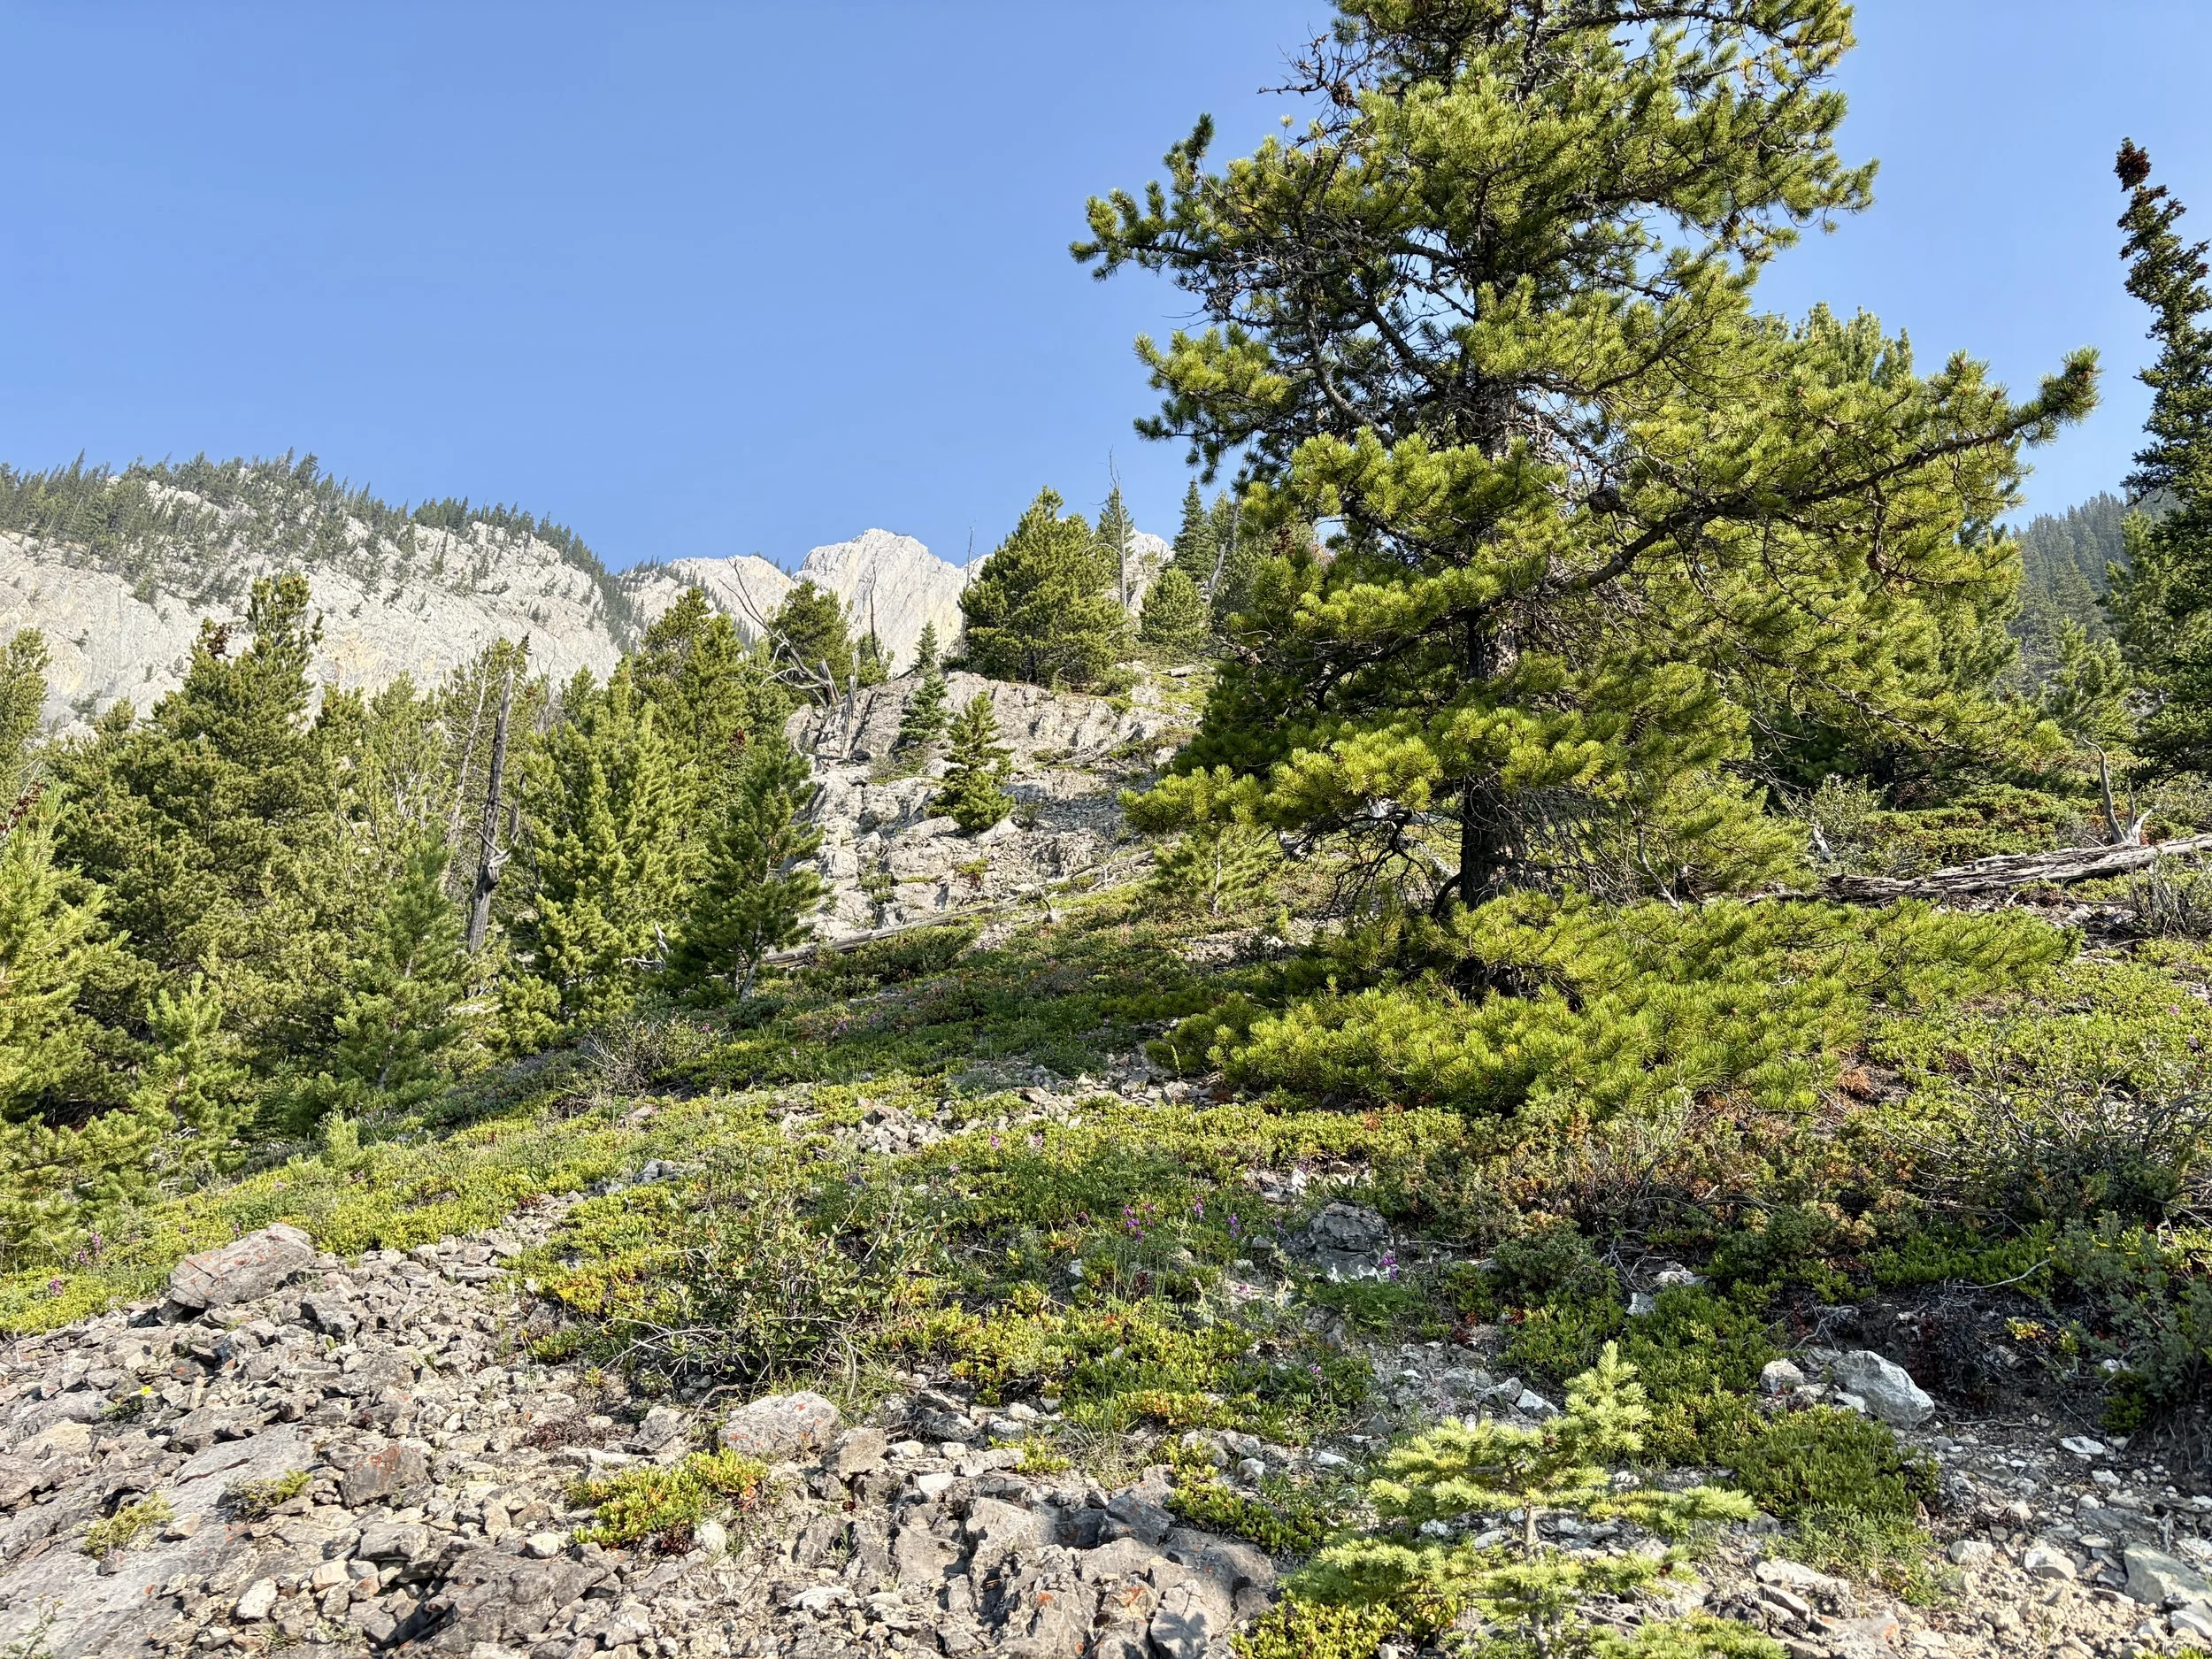
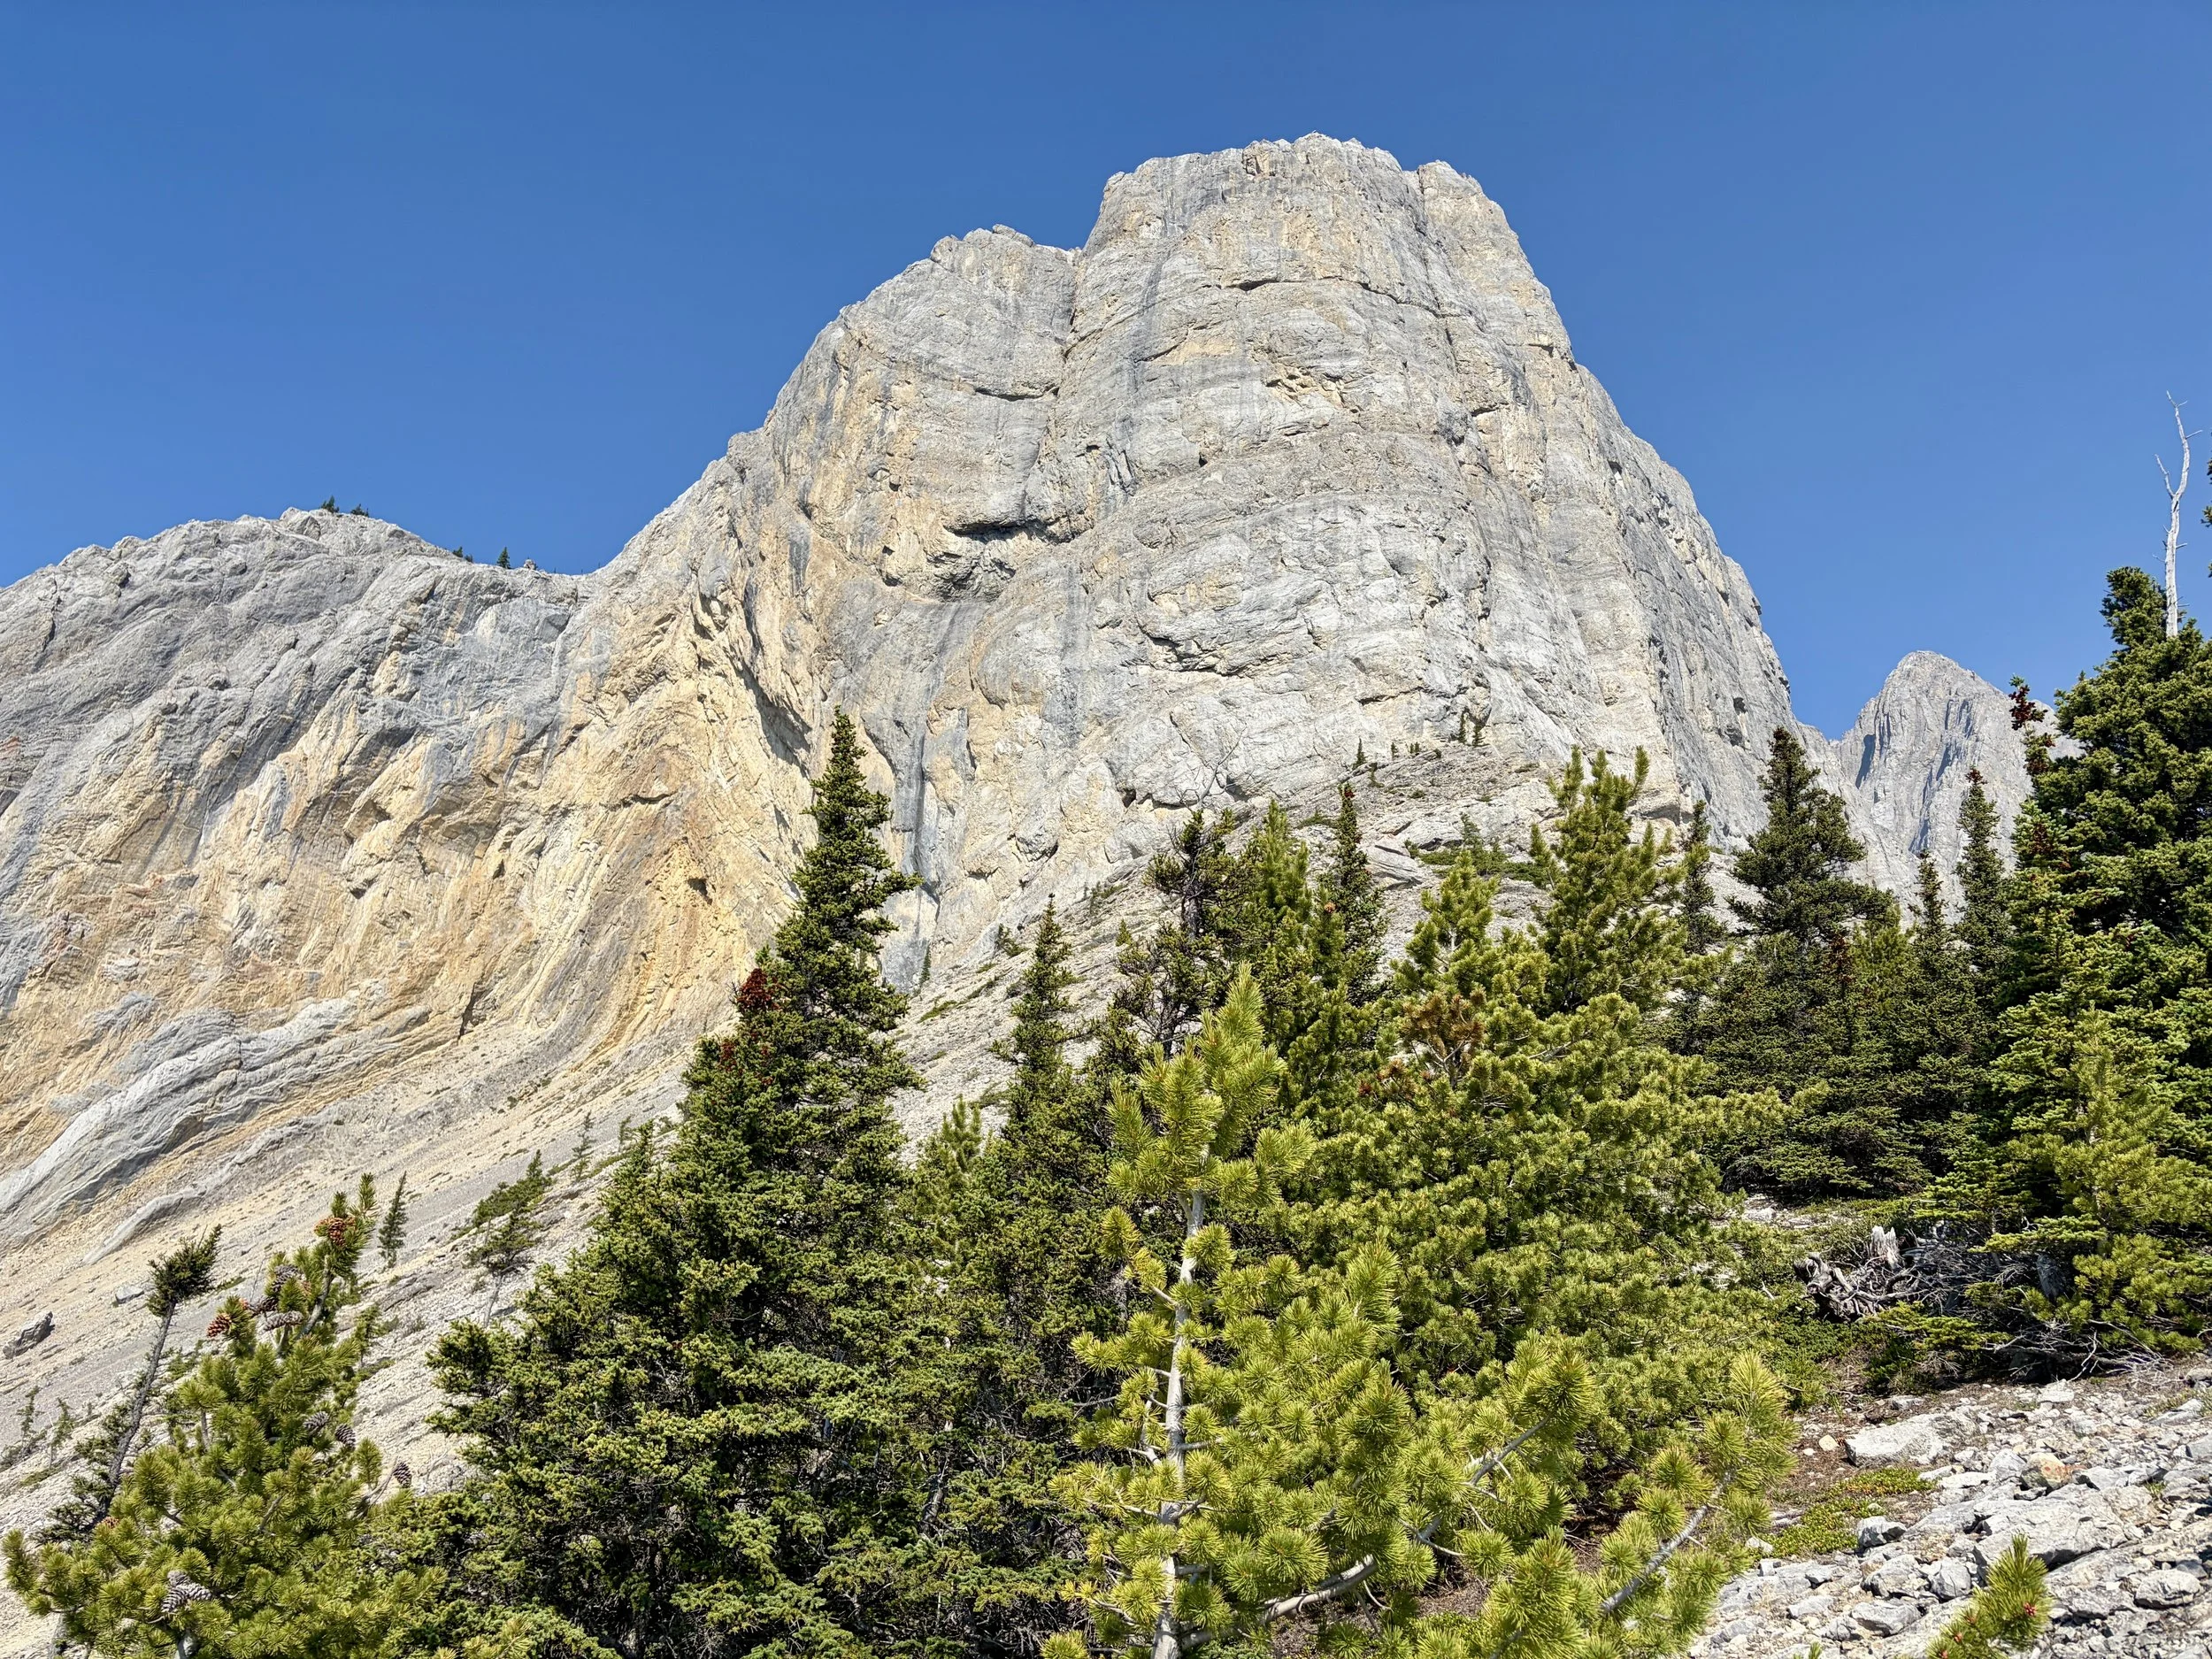
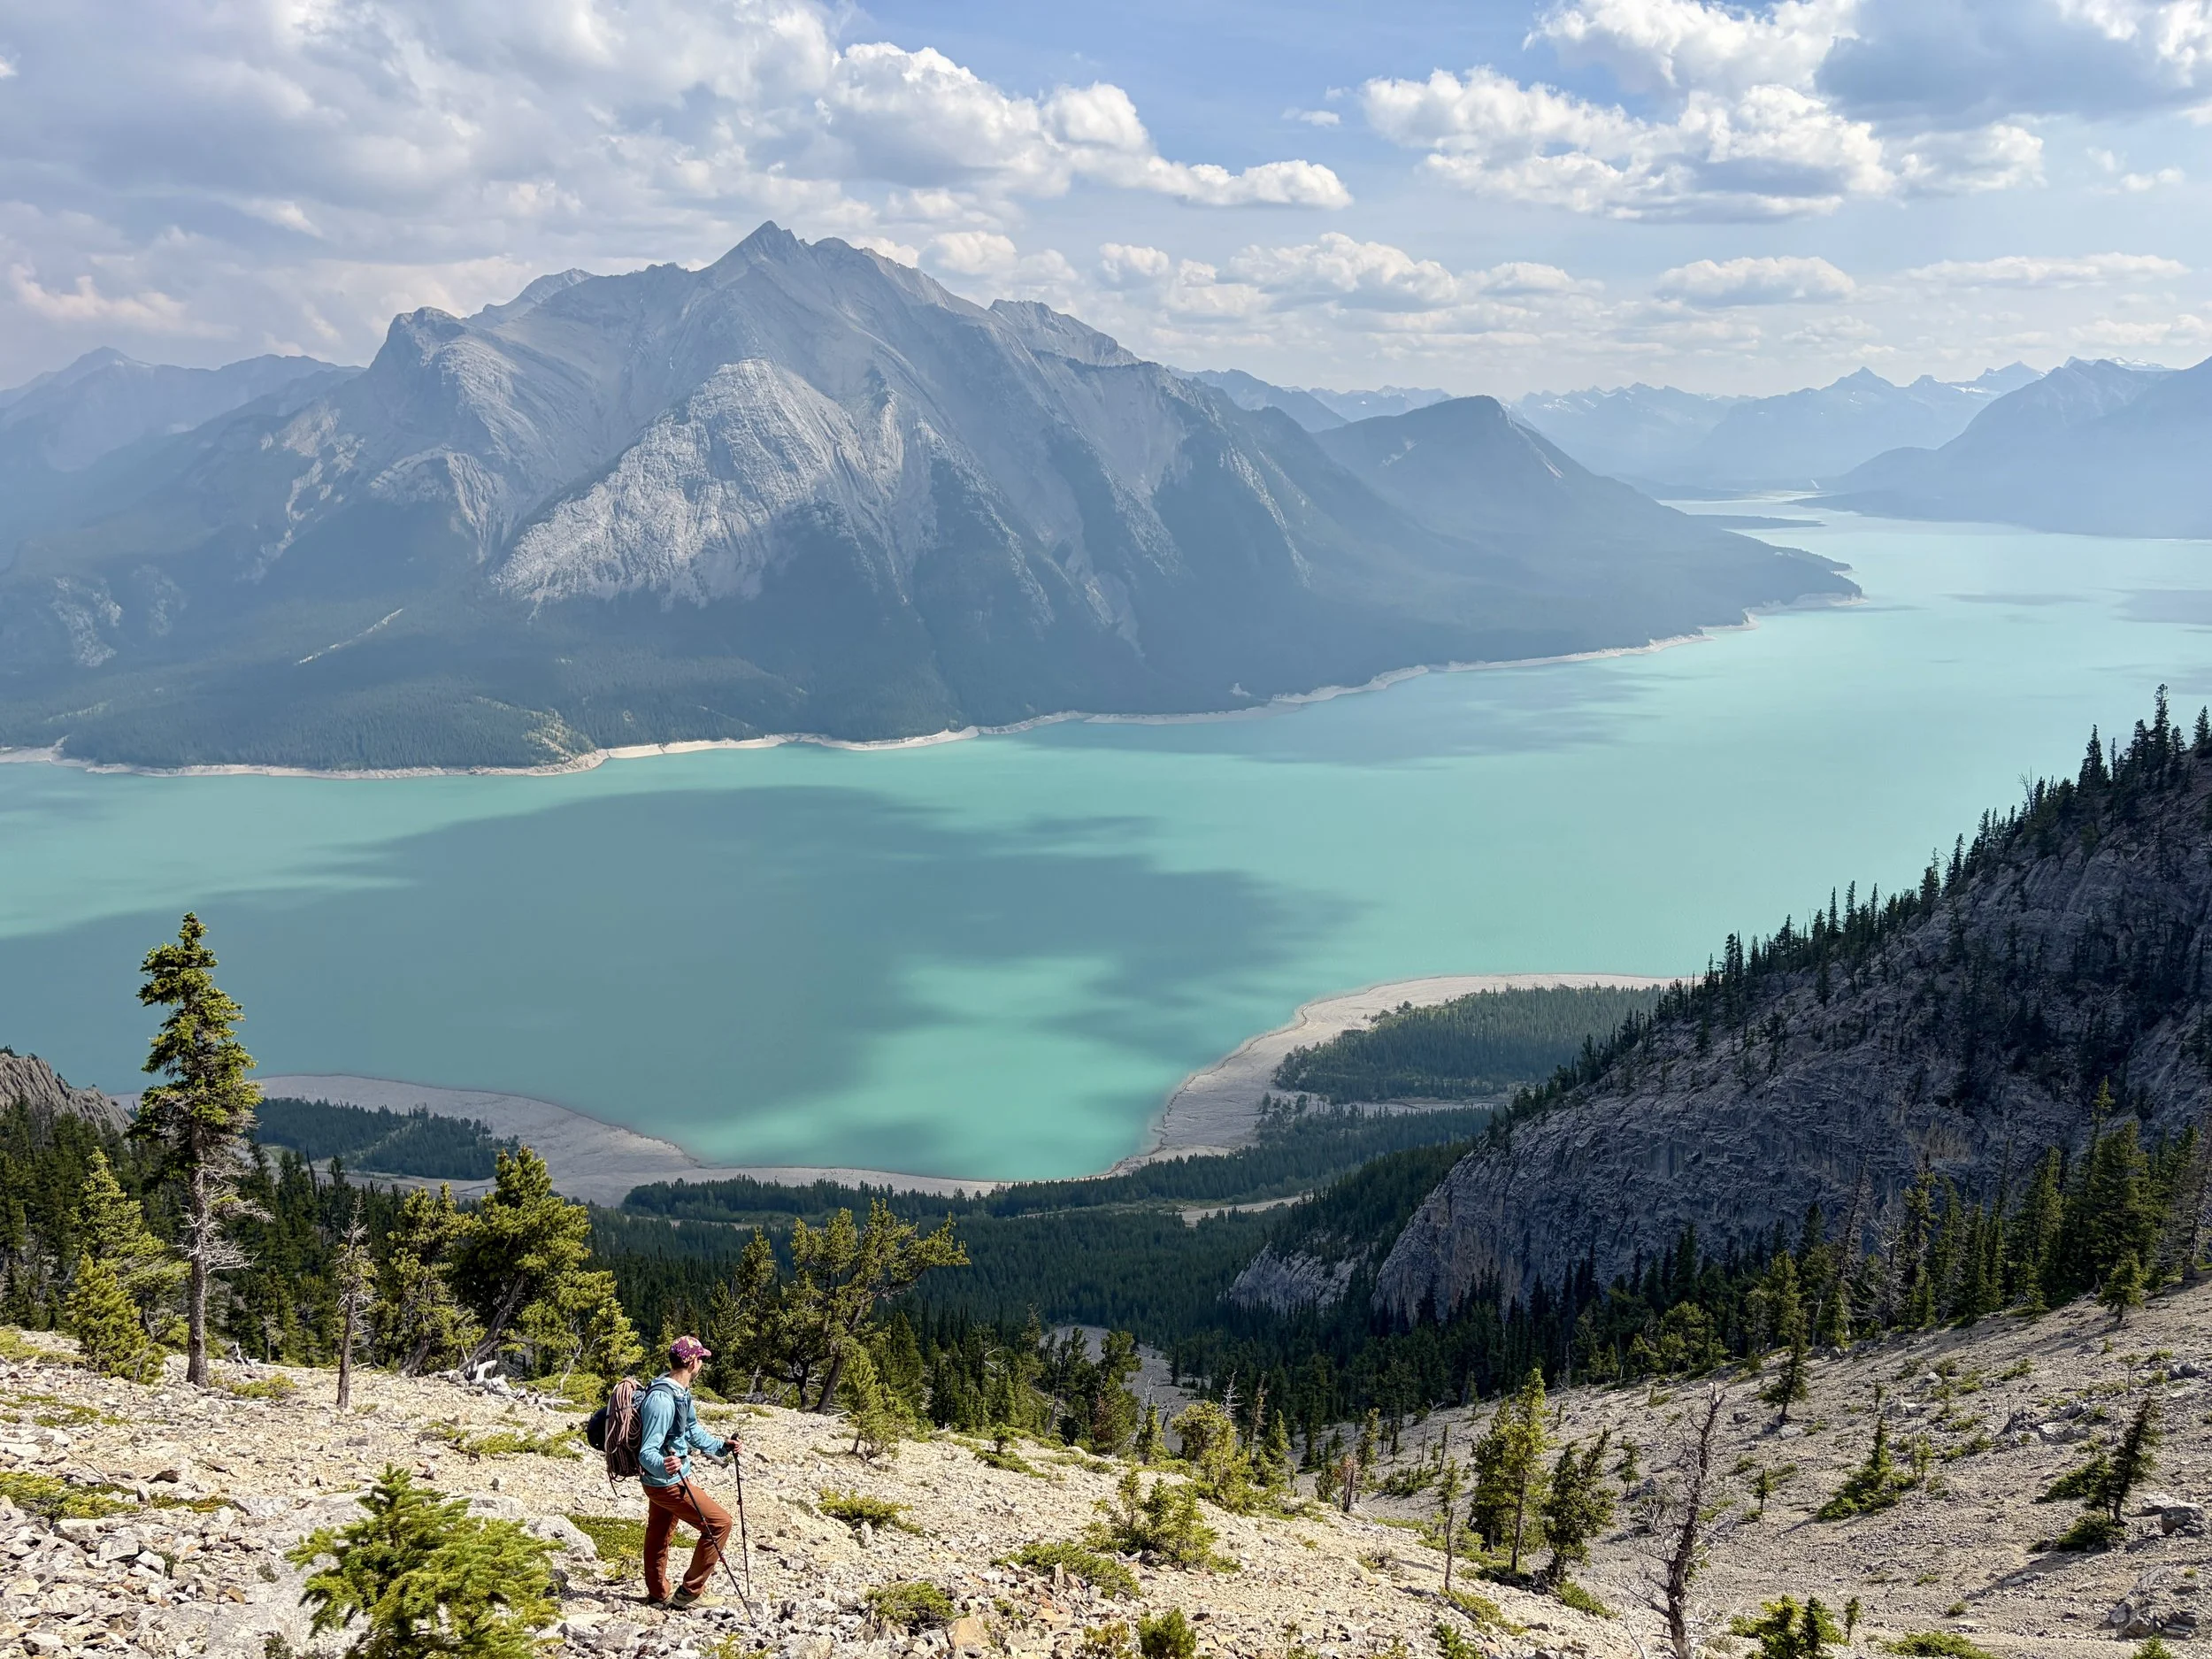
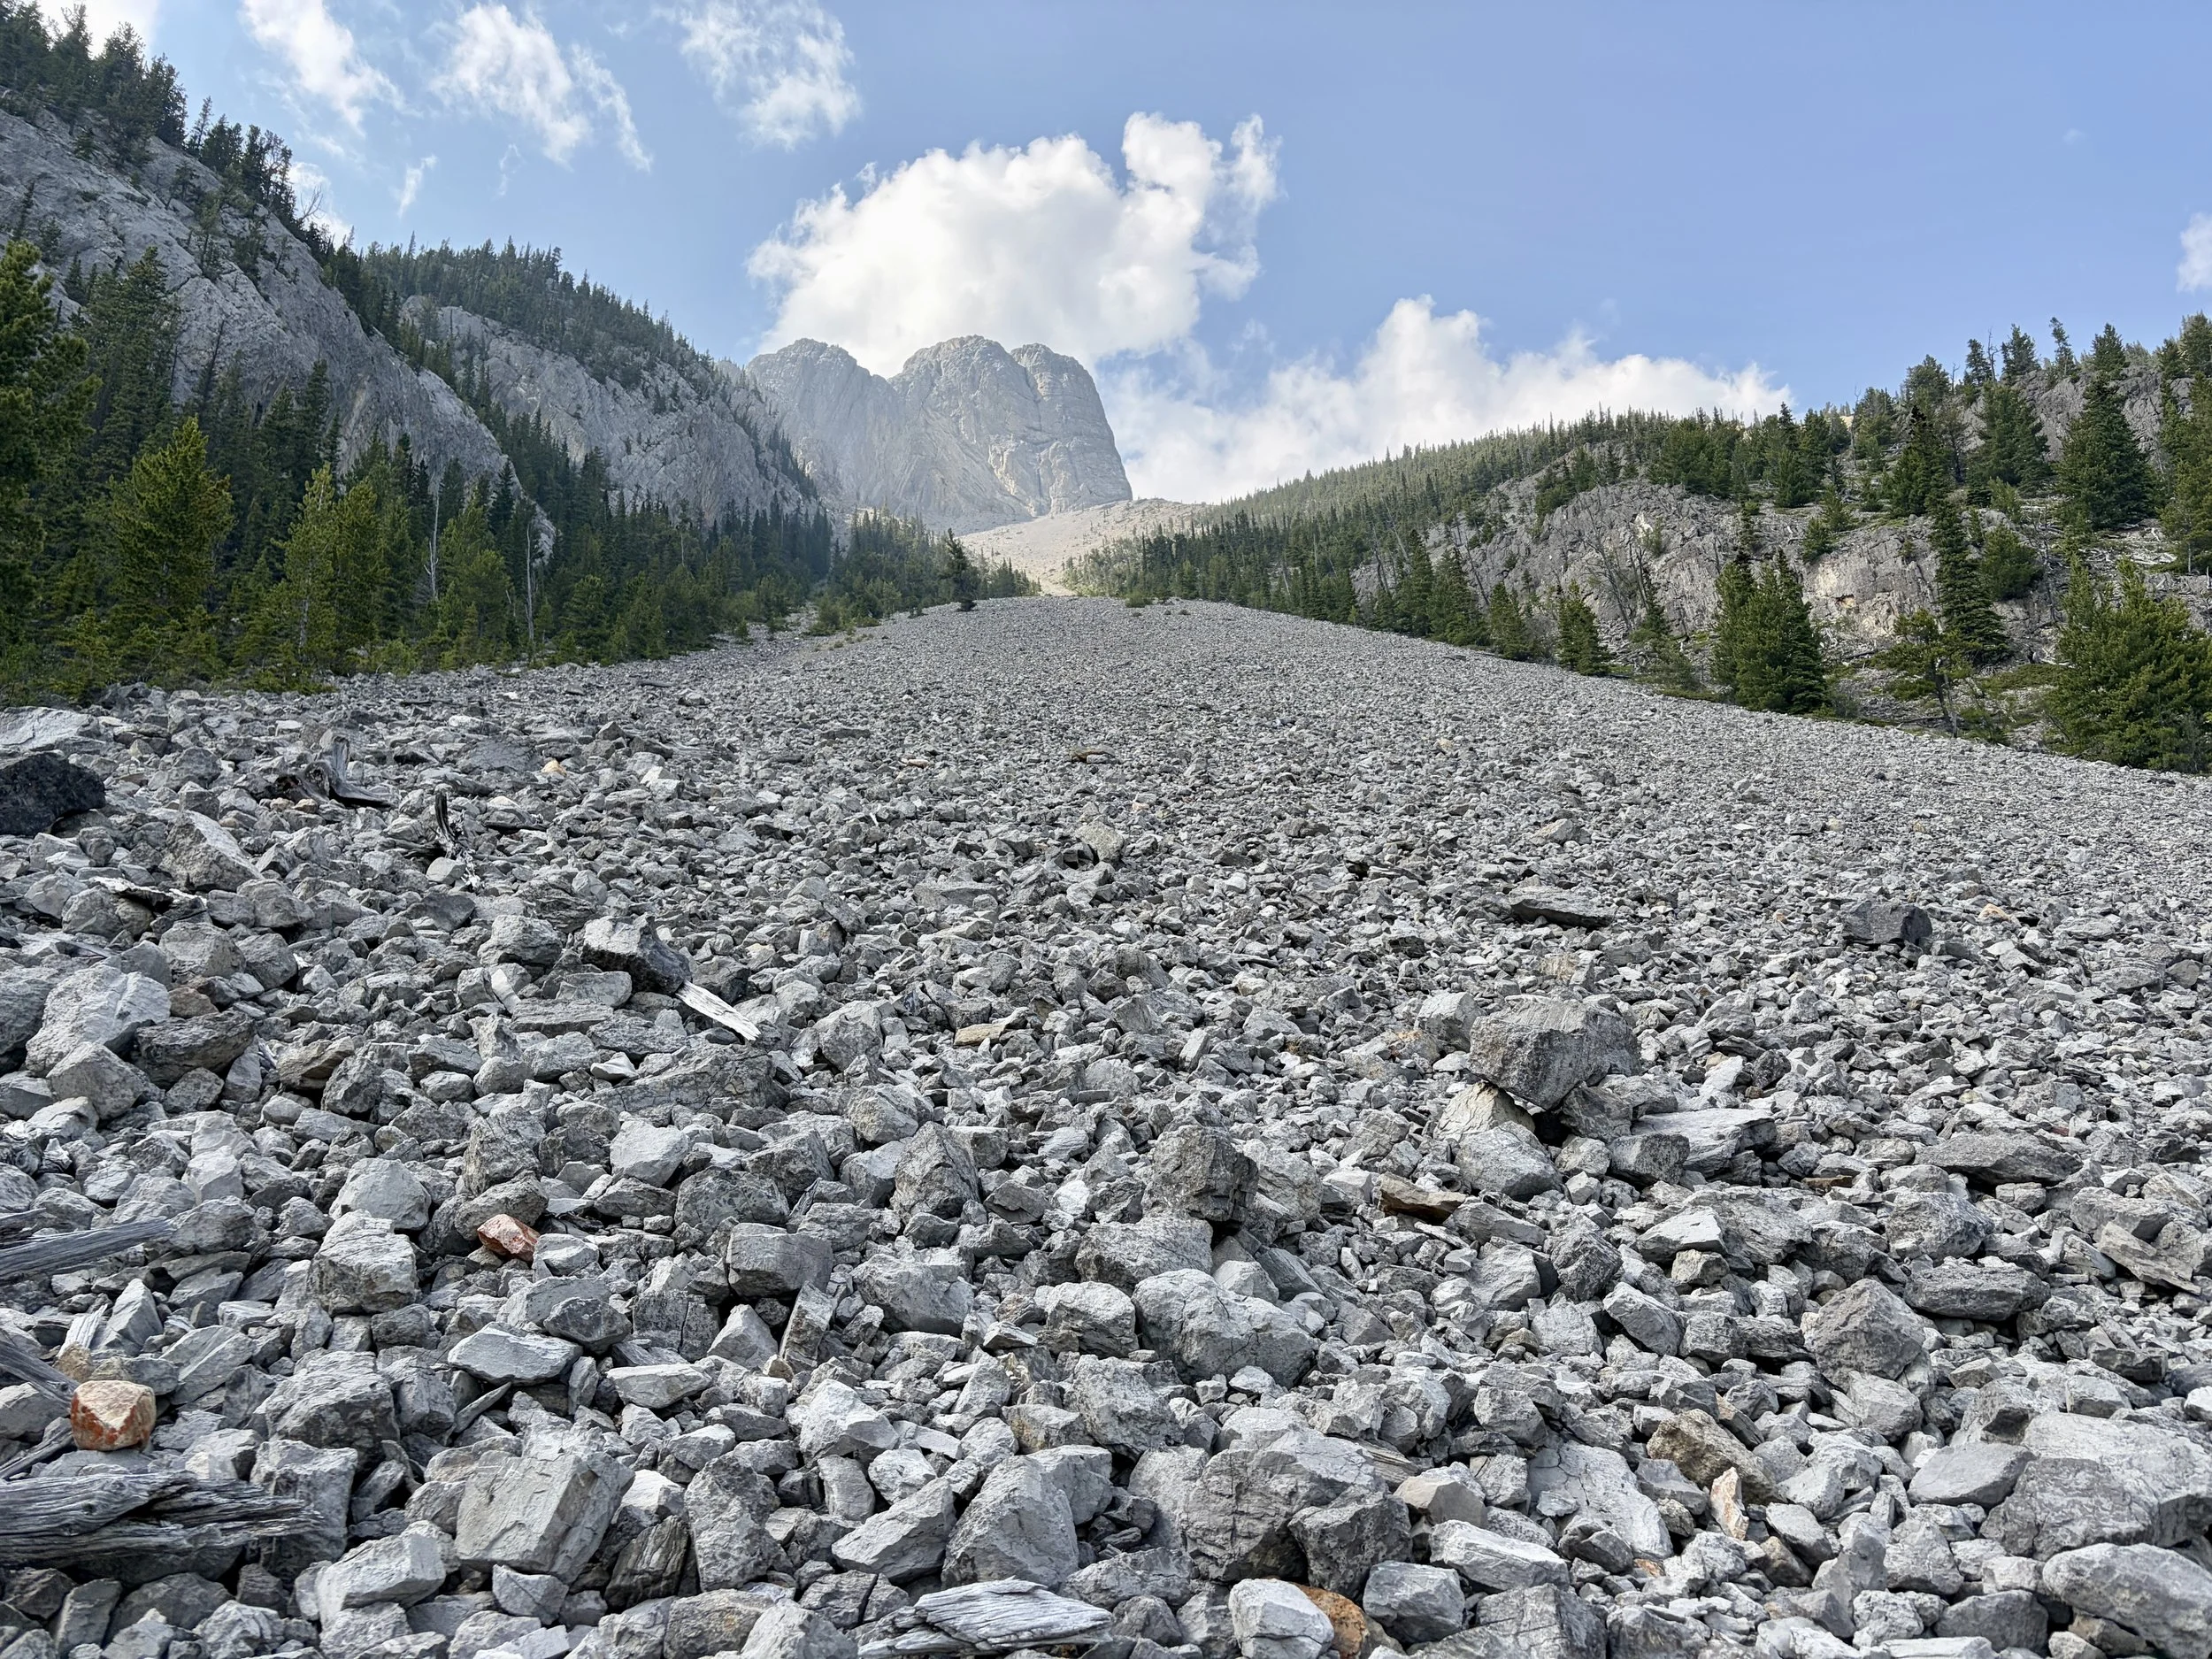
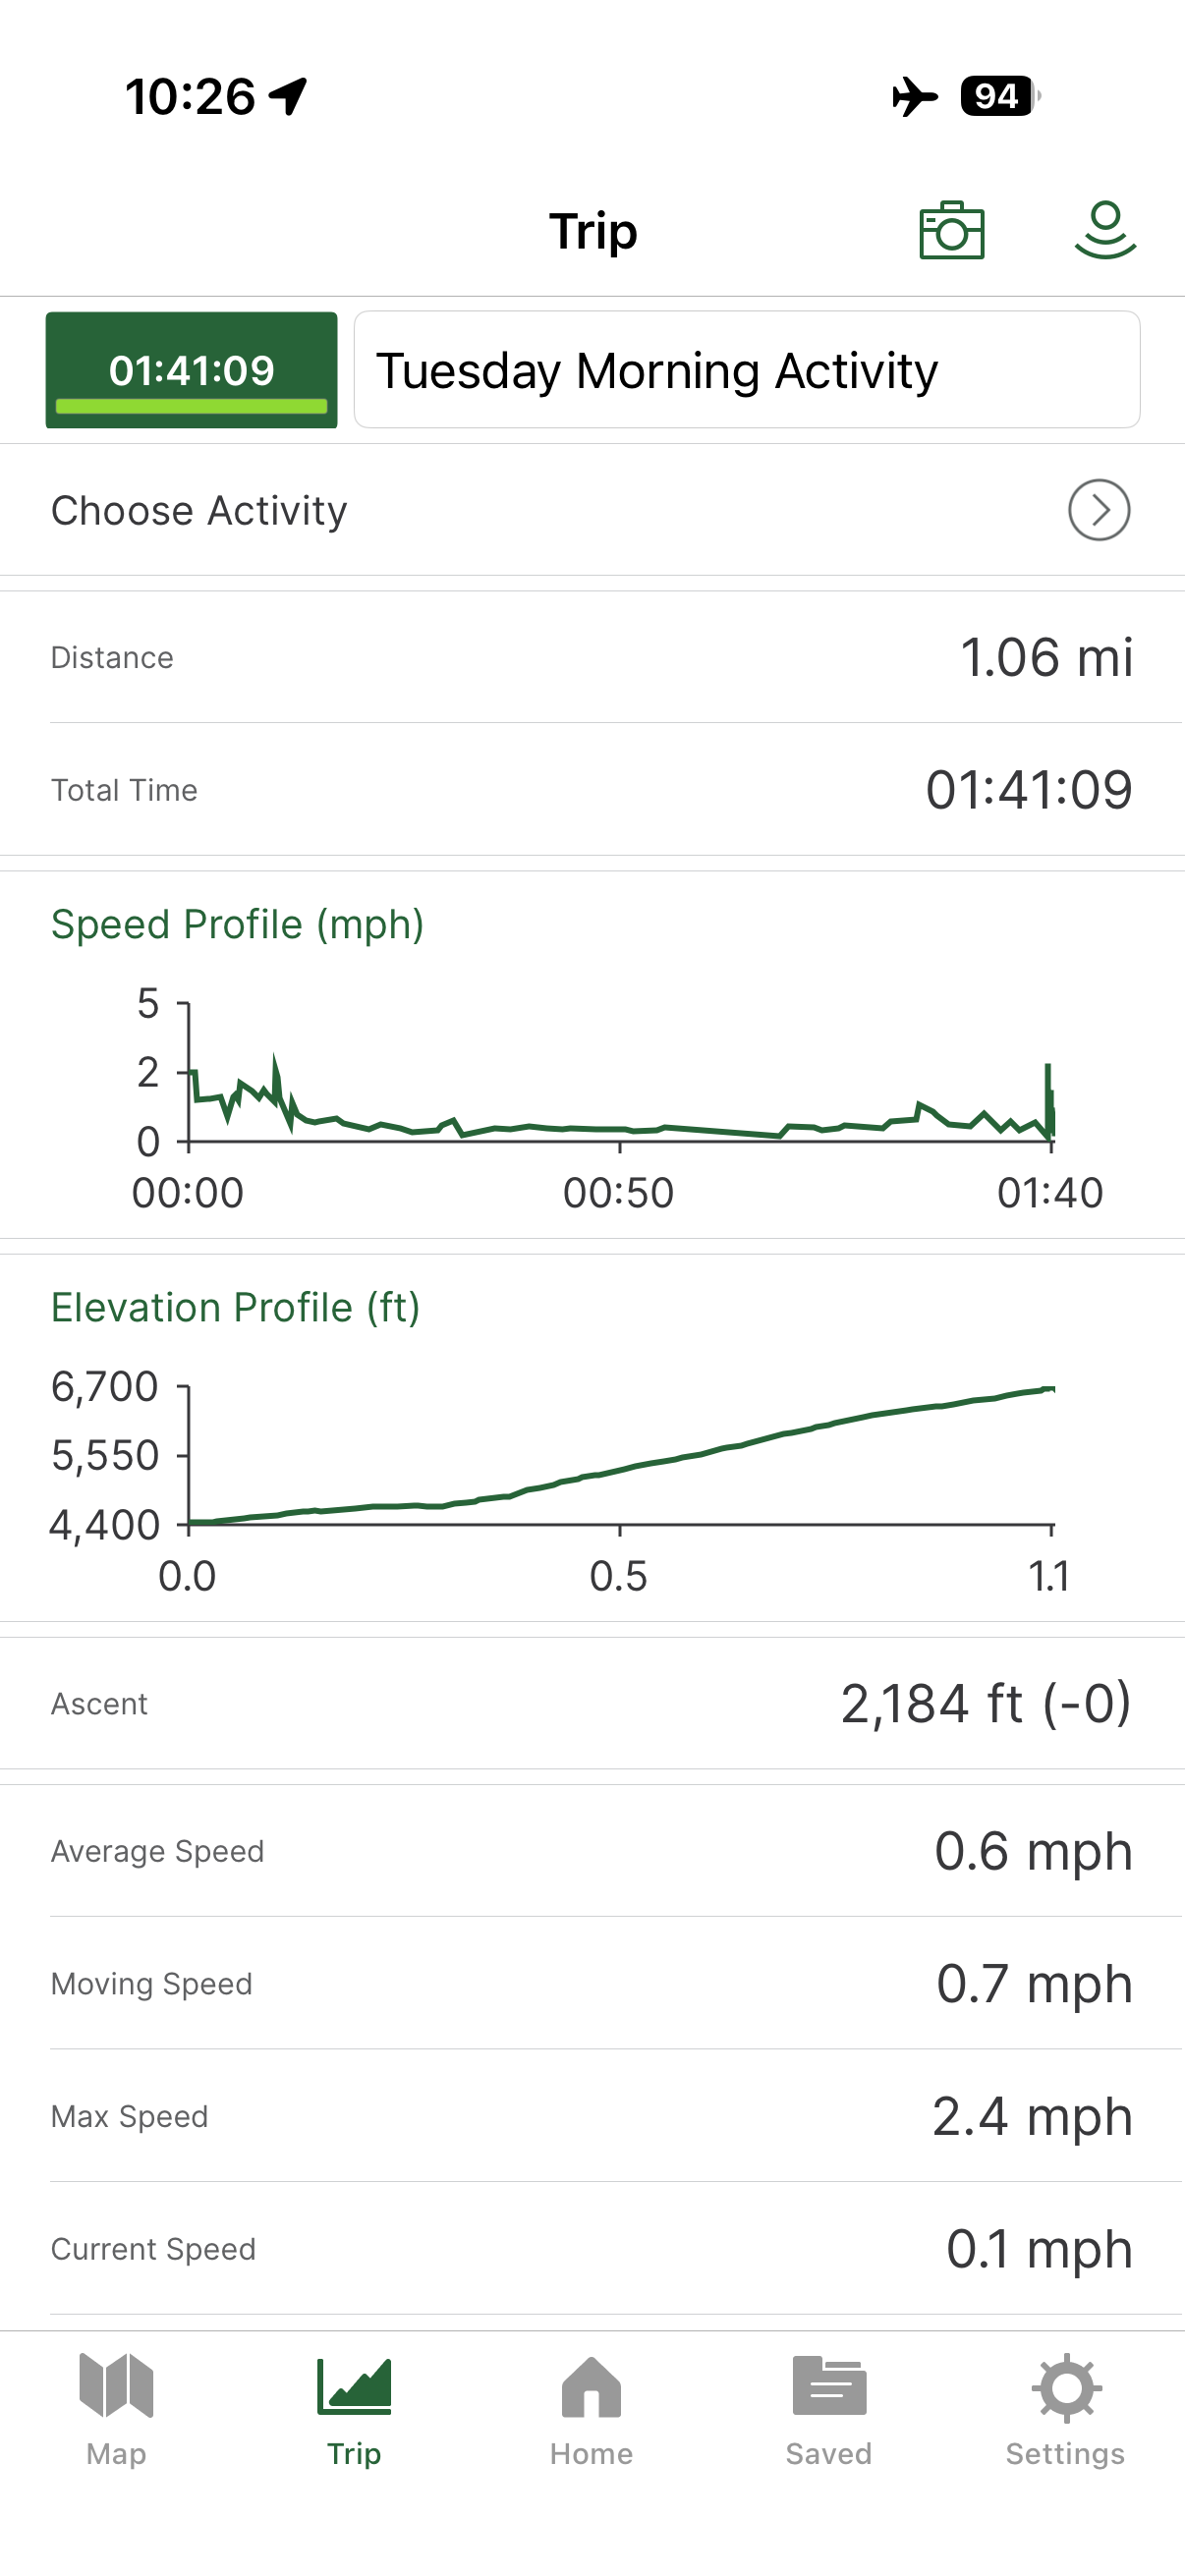
In an attempt to escape from the crowds for a little bit, Mike and I headed up to the David Thompson Corridor to do some climbing there. We were looking to do a little trad climbing and a multi pitch route called “That Thing” in the Yambraham area of Abraham Mountain caught our eye. It was a 5.8 mixed route with 6 pitches. The guidebook only had a very general outline of the route without any detailed pictures, which in hindsight was perhaps a reason why we shouldn’t have tried the route (lack of beta). Even getting to the bottom of the route was more of an effort than expected. The guidebook simply told us to park at the same pullout that’s used for Abraham Slabs and to walk up the ridge to the east of the Abraham Slabs ridge. It said it was a 45 minute approach. Seemed easy enough. We figured we’d pick up some type of social trail at some point. So, we parked at the recommended lot and started up the trail to Abraham Slabs. Knowing that we’d need to cut right pretty quickly, we kept and eye out for a social trail. We never really found one so we cut into the woods and started heading towards the ridge. We got to the ridge and still didn’t find anything. Instead of wasting time trying to find a social trail that we didn’t even know if it existed, we just went up the ridge. What was supposed to be a 45 minute approach ended up taking us an hour and a half and we didn’t stop much. We gained 2200 ft of elevation in 1 mile on off-trail terrain, with much of it being pretty loose rock. Many of the steps you’d take you’d go forward a foot and slide back 6 inches. We figured we must have totally missed the trail, but would hopefully find it on the way down. When we got to the base of the climb, there wasn’t any trail in sight so we didn’t miss anything.
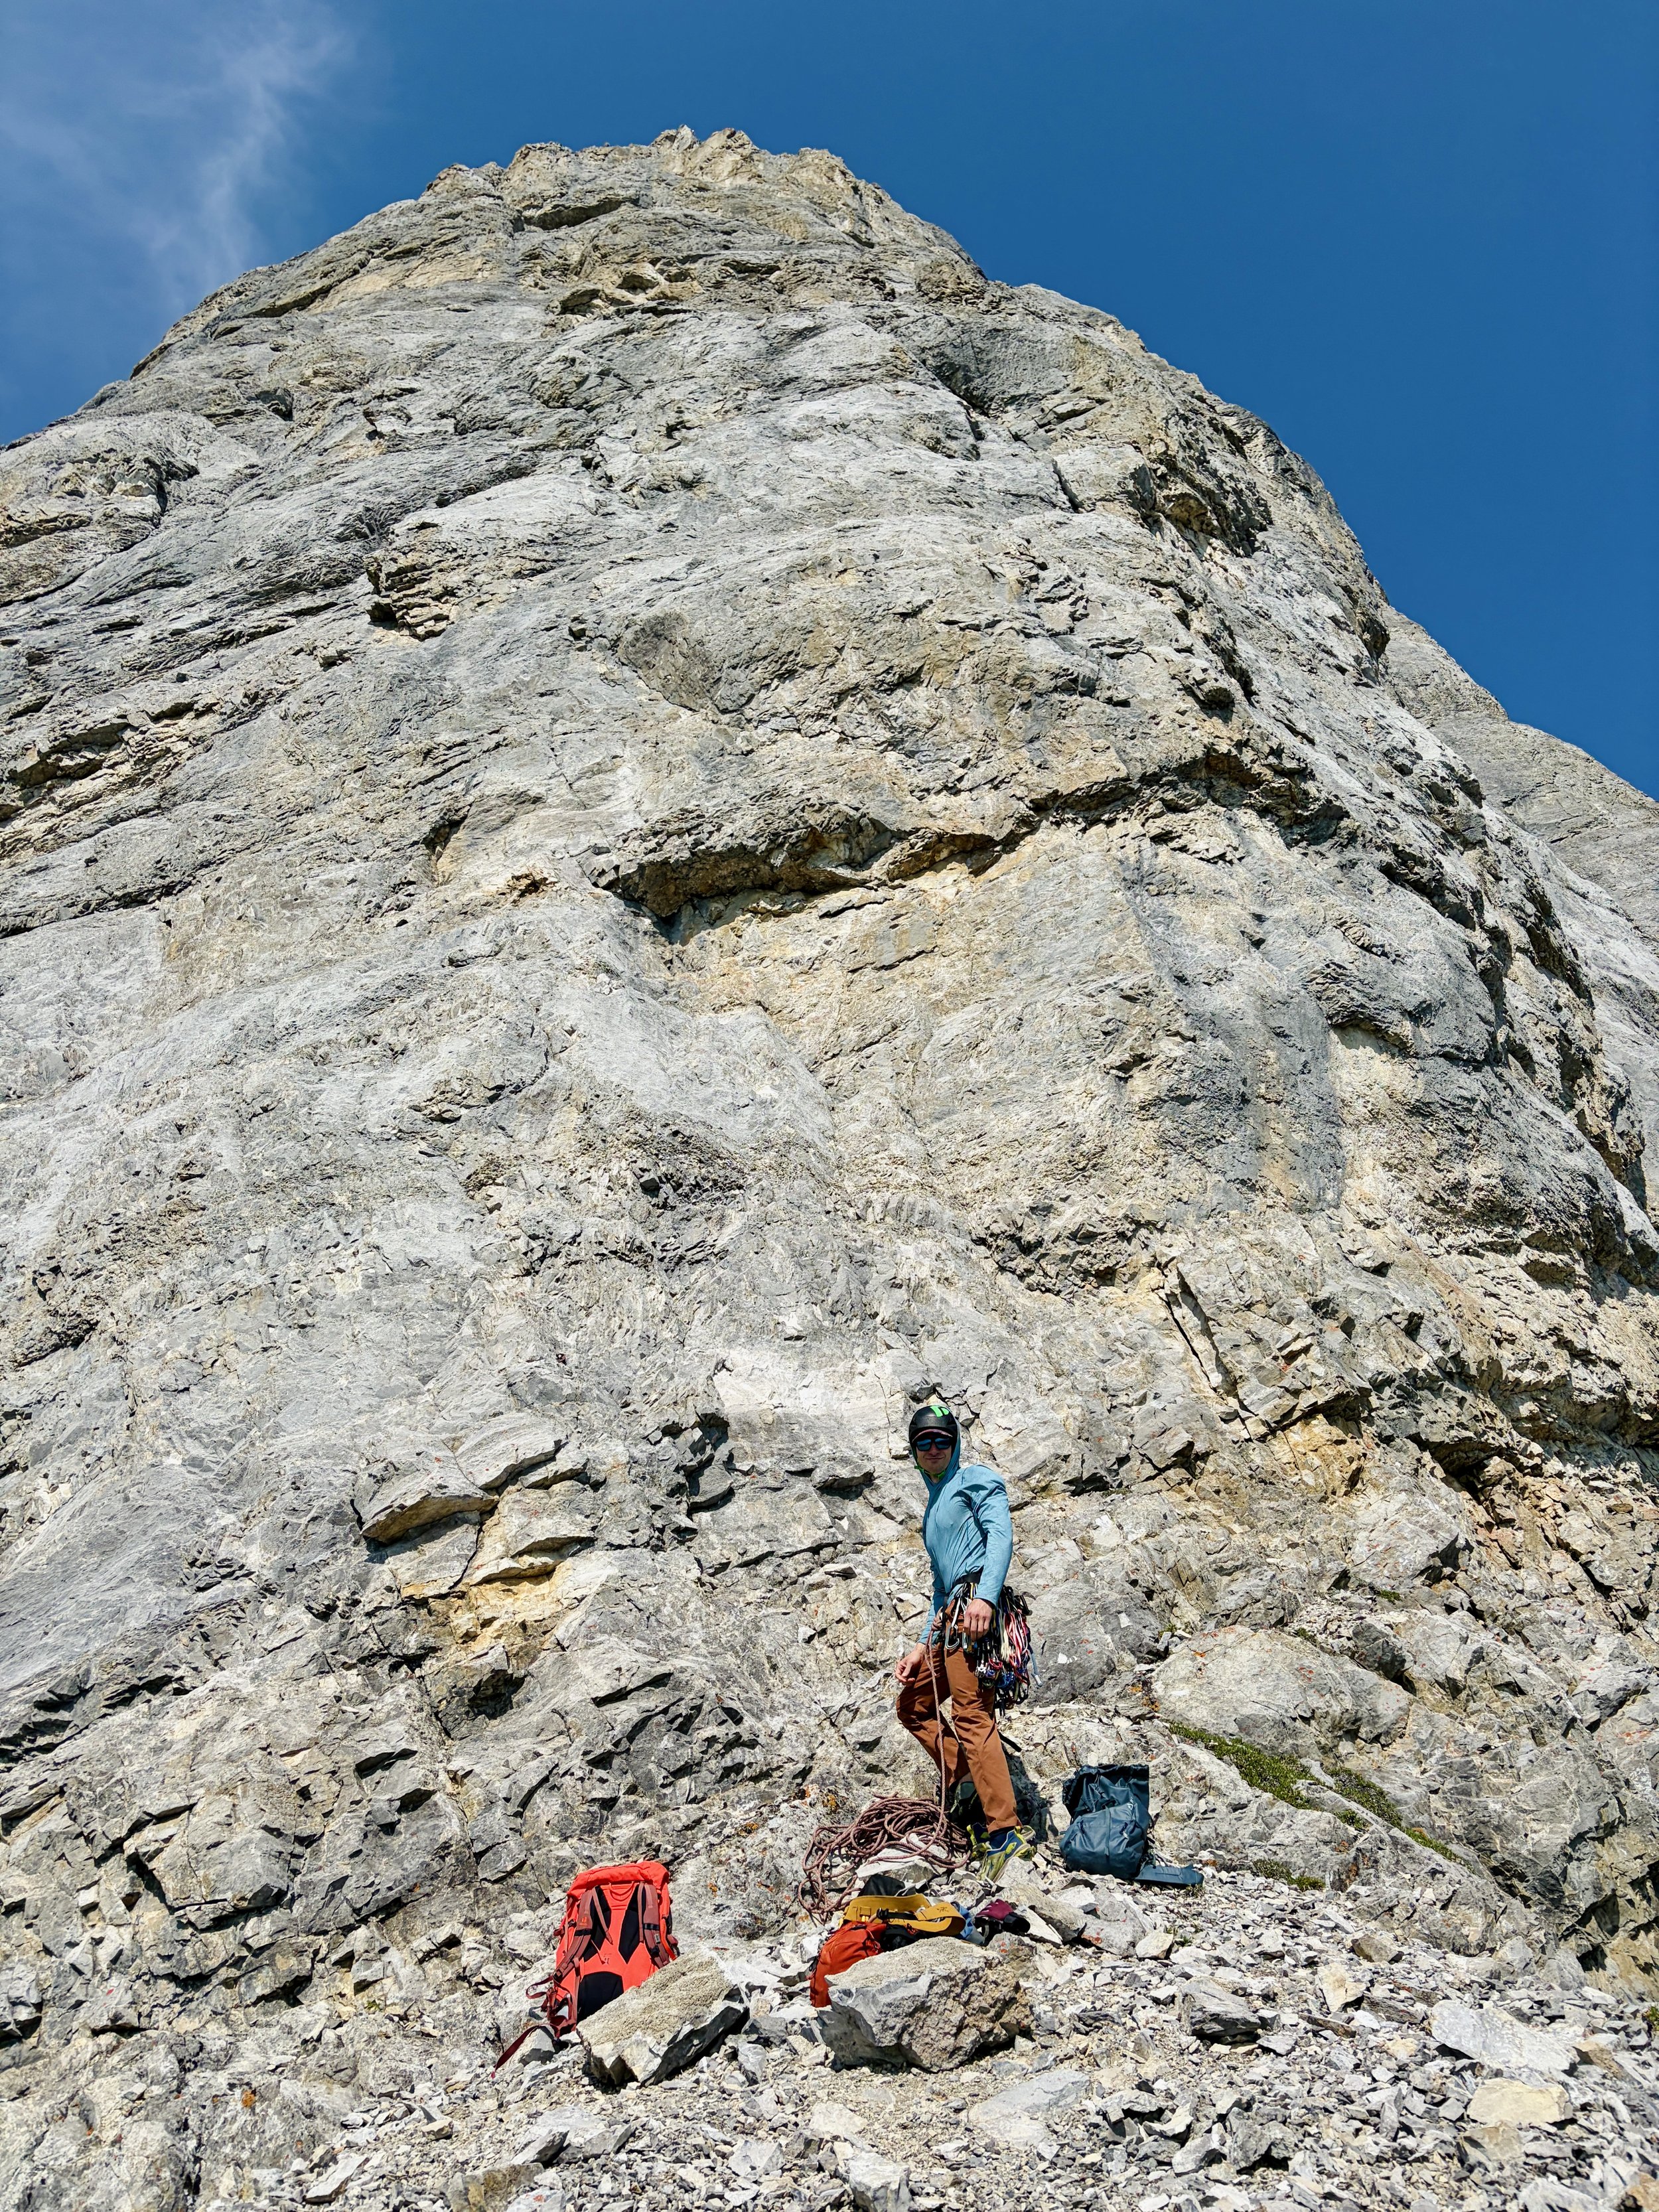
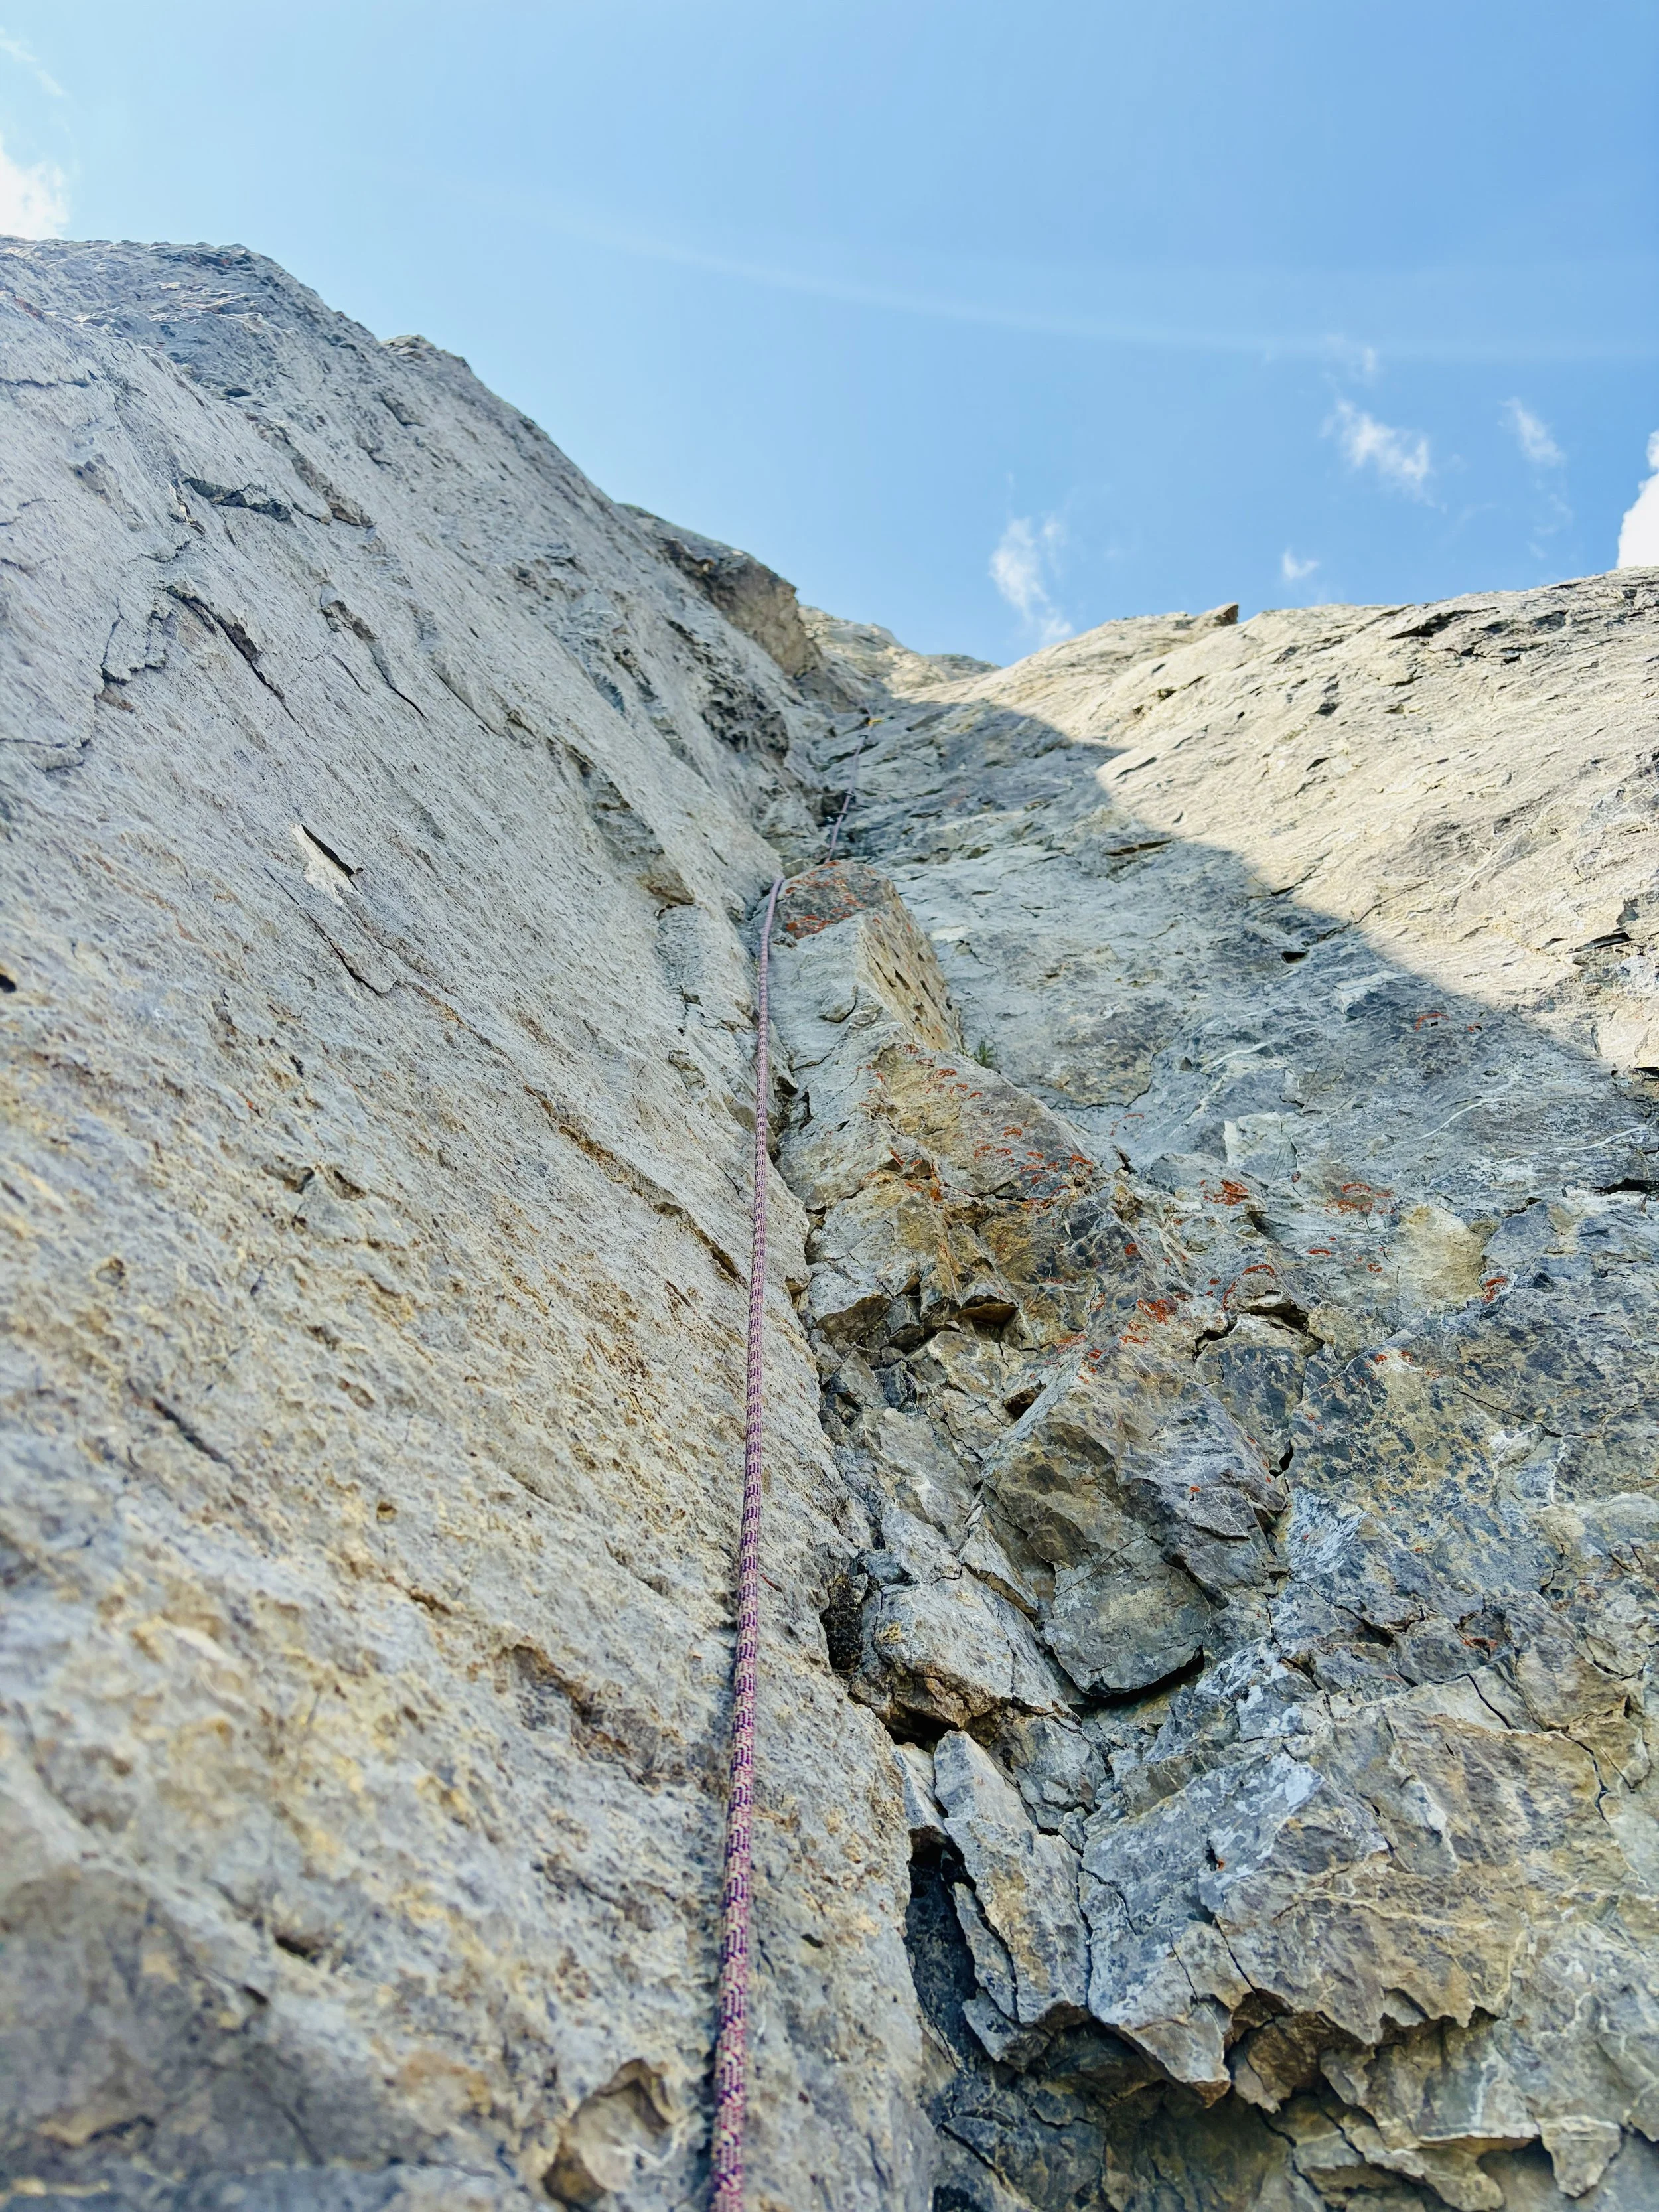
We focused our attention on the climb at this point. At the base of the route, there is a piton about 6 ft off the ground and then there is the first bolt another 20 feet above that. It was quite runout for a first bolt and if you fell anywhere near that, you’d be hitting the ground even if you clipped the piton. It was easy-ish climbing, however the rock quality was terrible so pulling out chunks of rock is something both Mike and I did on that section of the pitch, which made leading the run out a bit sketchy. I understand why the first bolt was so high - it was the first spot with “good” rock that a bolt could even be put in to. Using gear before that point wasn’t possible with how terrible the rock quality was. The first pitch ended up being a sport pitch that Mike led. As I had mentioned, the rock quality was pretty bad, and we hoped it would get better. Spoiler: it did not.
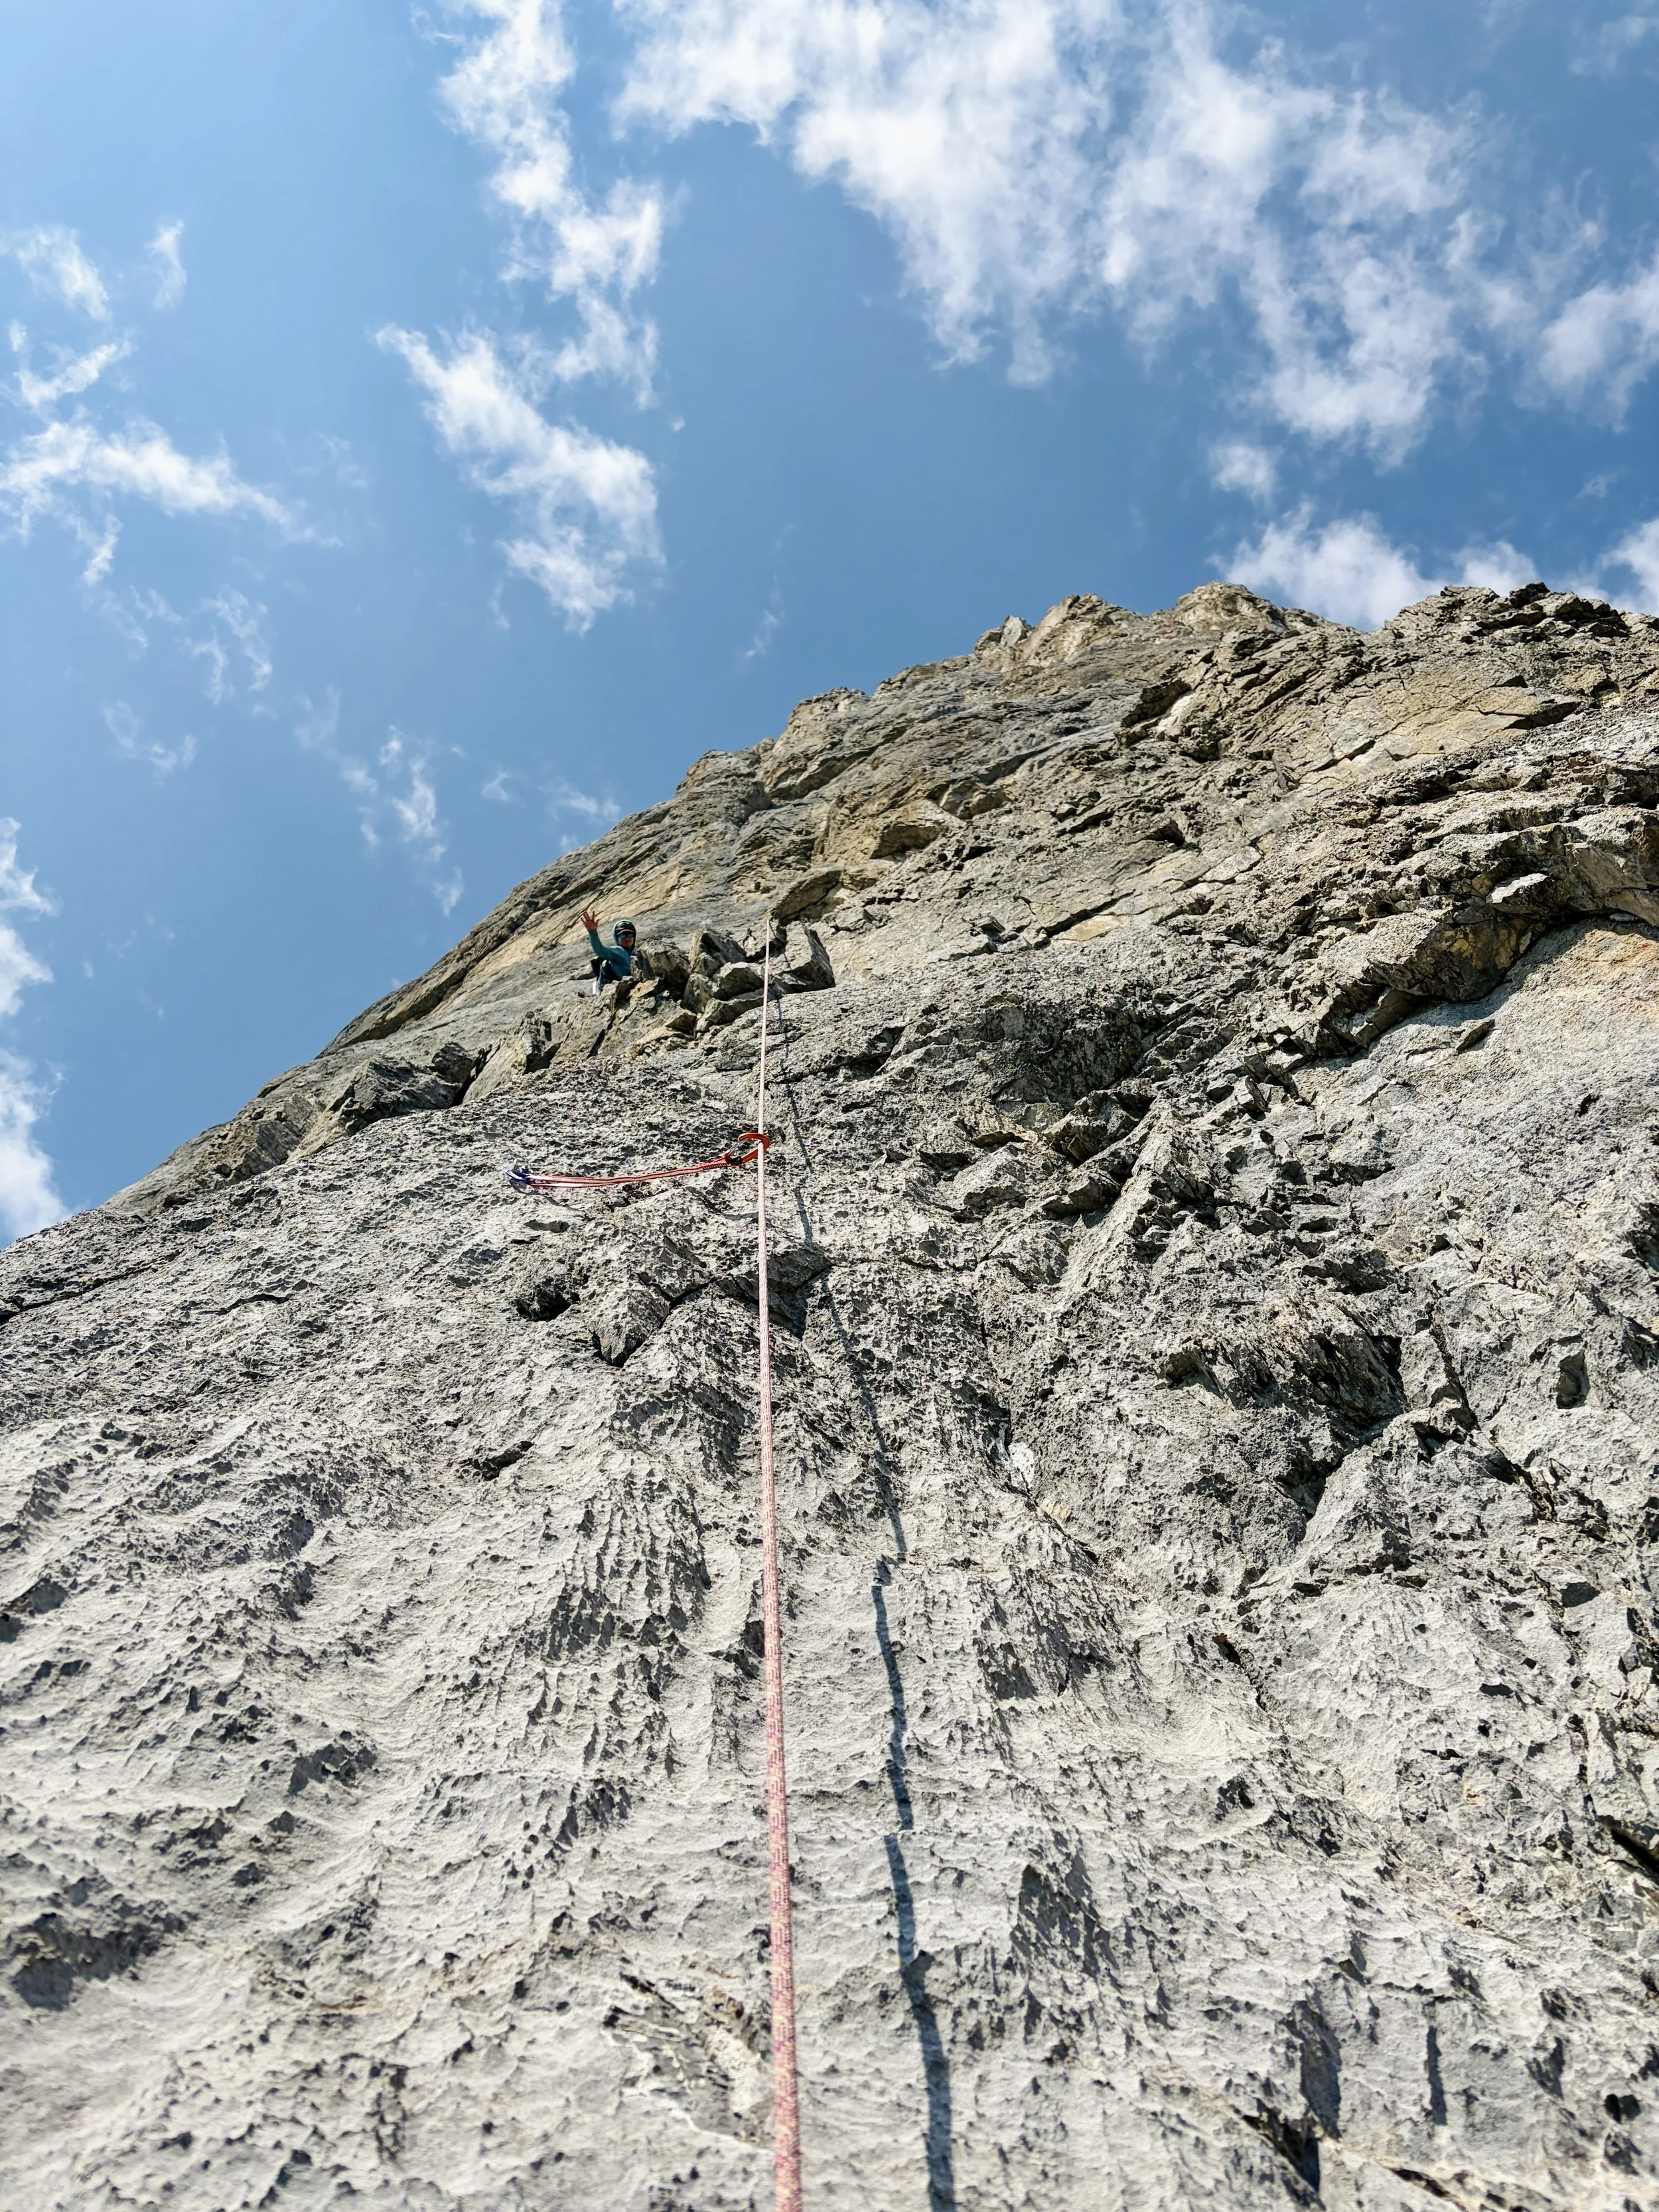
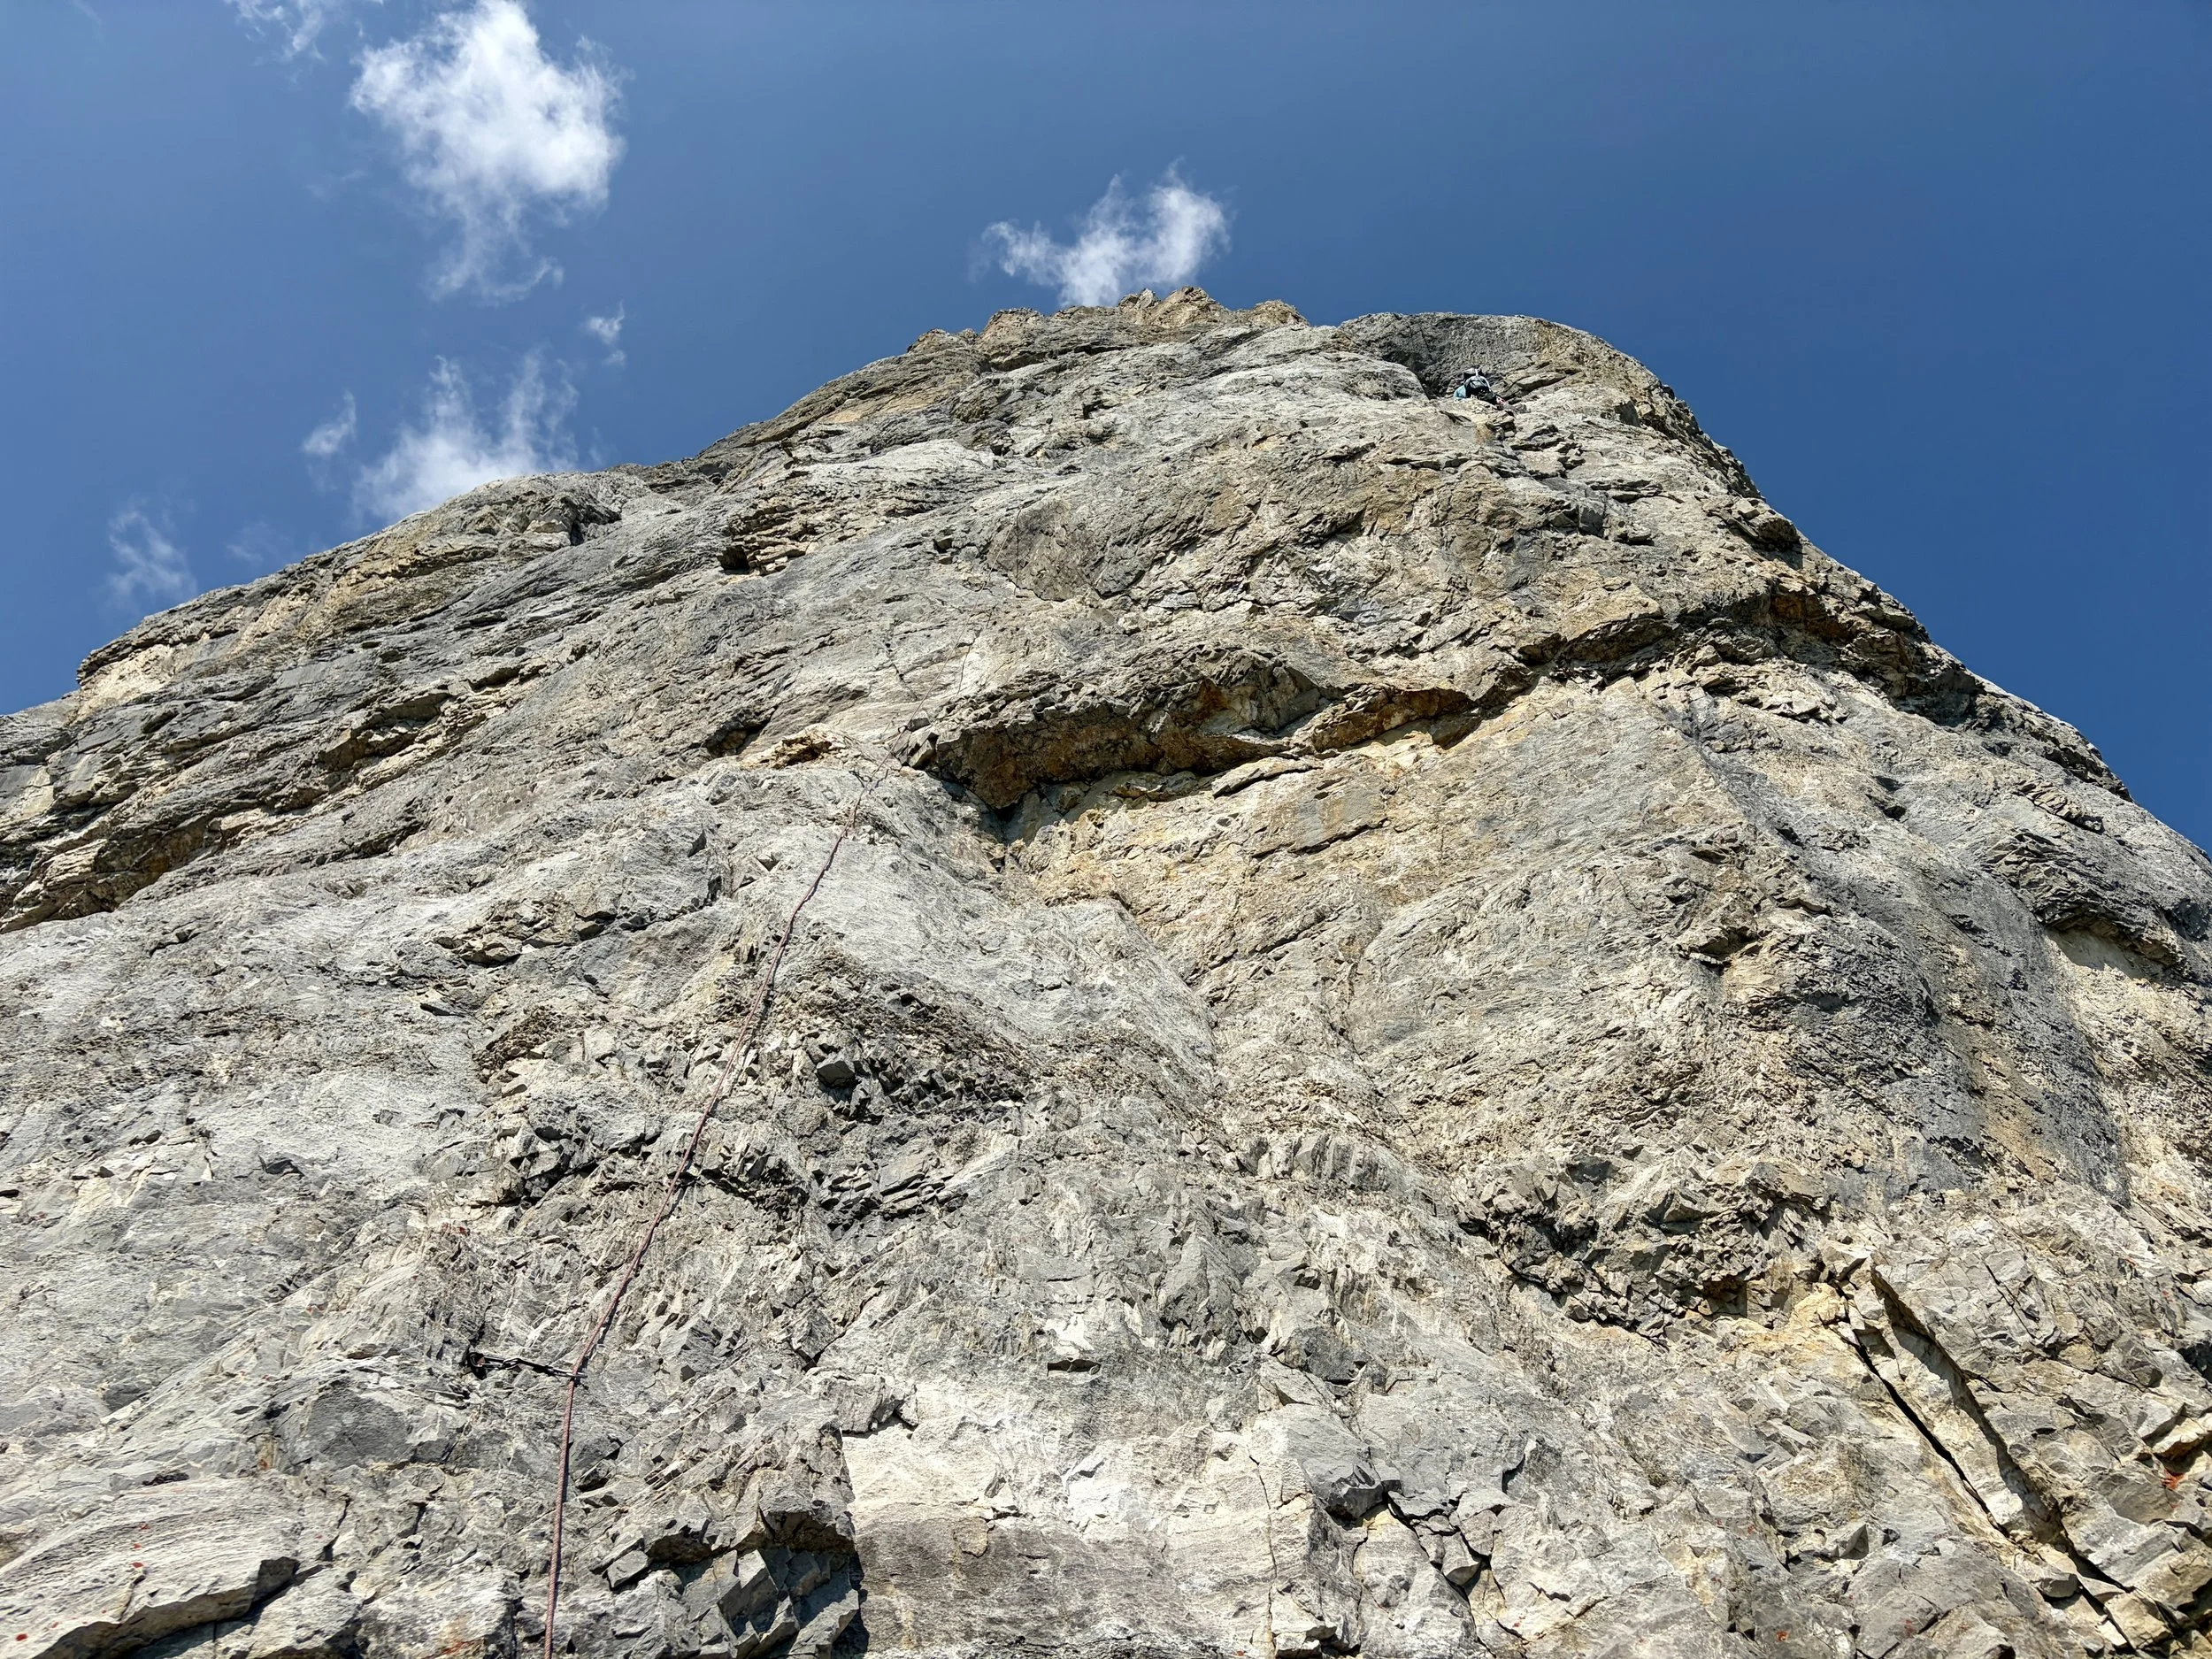
Mike offered to lead the second pitch as it was more of a mixed pitch, and I was sketched out by rock quality. Additionally, the second pitch did not have a rating in the guidebook or online so we had no idea how hard it would be. This pitch had a piton and 2-3 bolts. Mike put in some gear, but towards the top of the route he didn’t find much in the way of protection. After the final bolt, it was unclear where to go so he just continued up the runout rock and thankfully ended up at some anchors.
Pitch 3 was a 4th class traverse that I led. From the anchors, I scrambled up some terrible quality 4th class rock and clipped a bolt. The instructions were then to traverse right for 10-12 meters and that the pitch had one bolt on it. I had already clipped a bolt so I figured that was it for the pitch. I traversed right and found another bolt, but it didn’t seem like the anchor. Unsure what to do, I clipped that bolt and kept going right. I ultimately found the anchors but had to traverse a narrow ledge that wouldn’t have been fun to fall on with the pendulum swing you’d have.
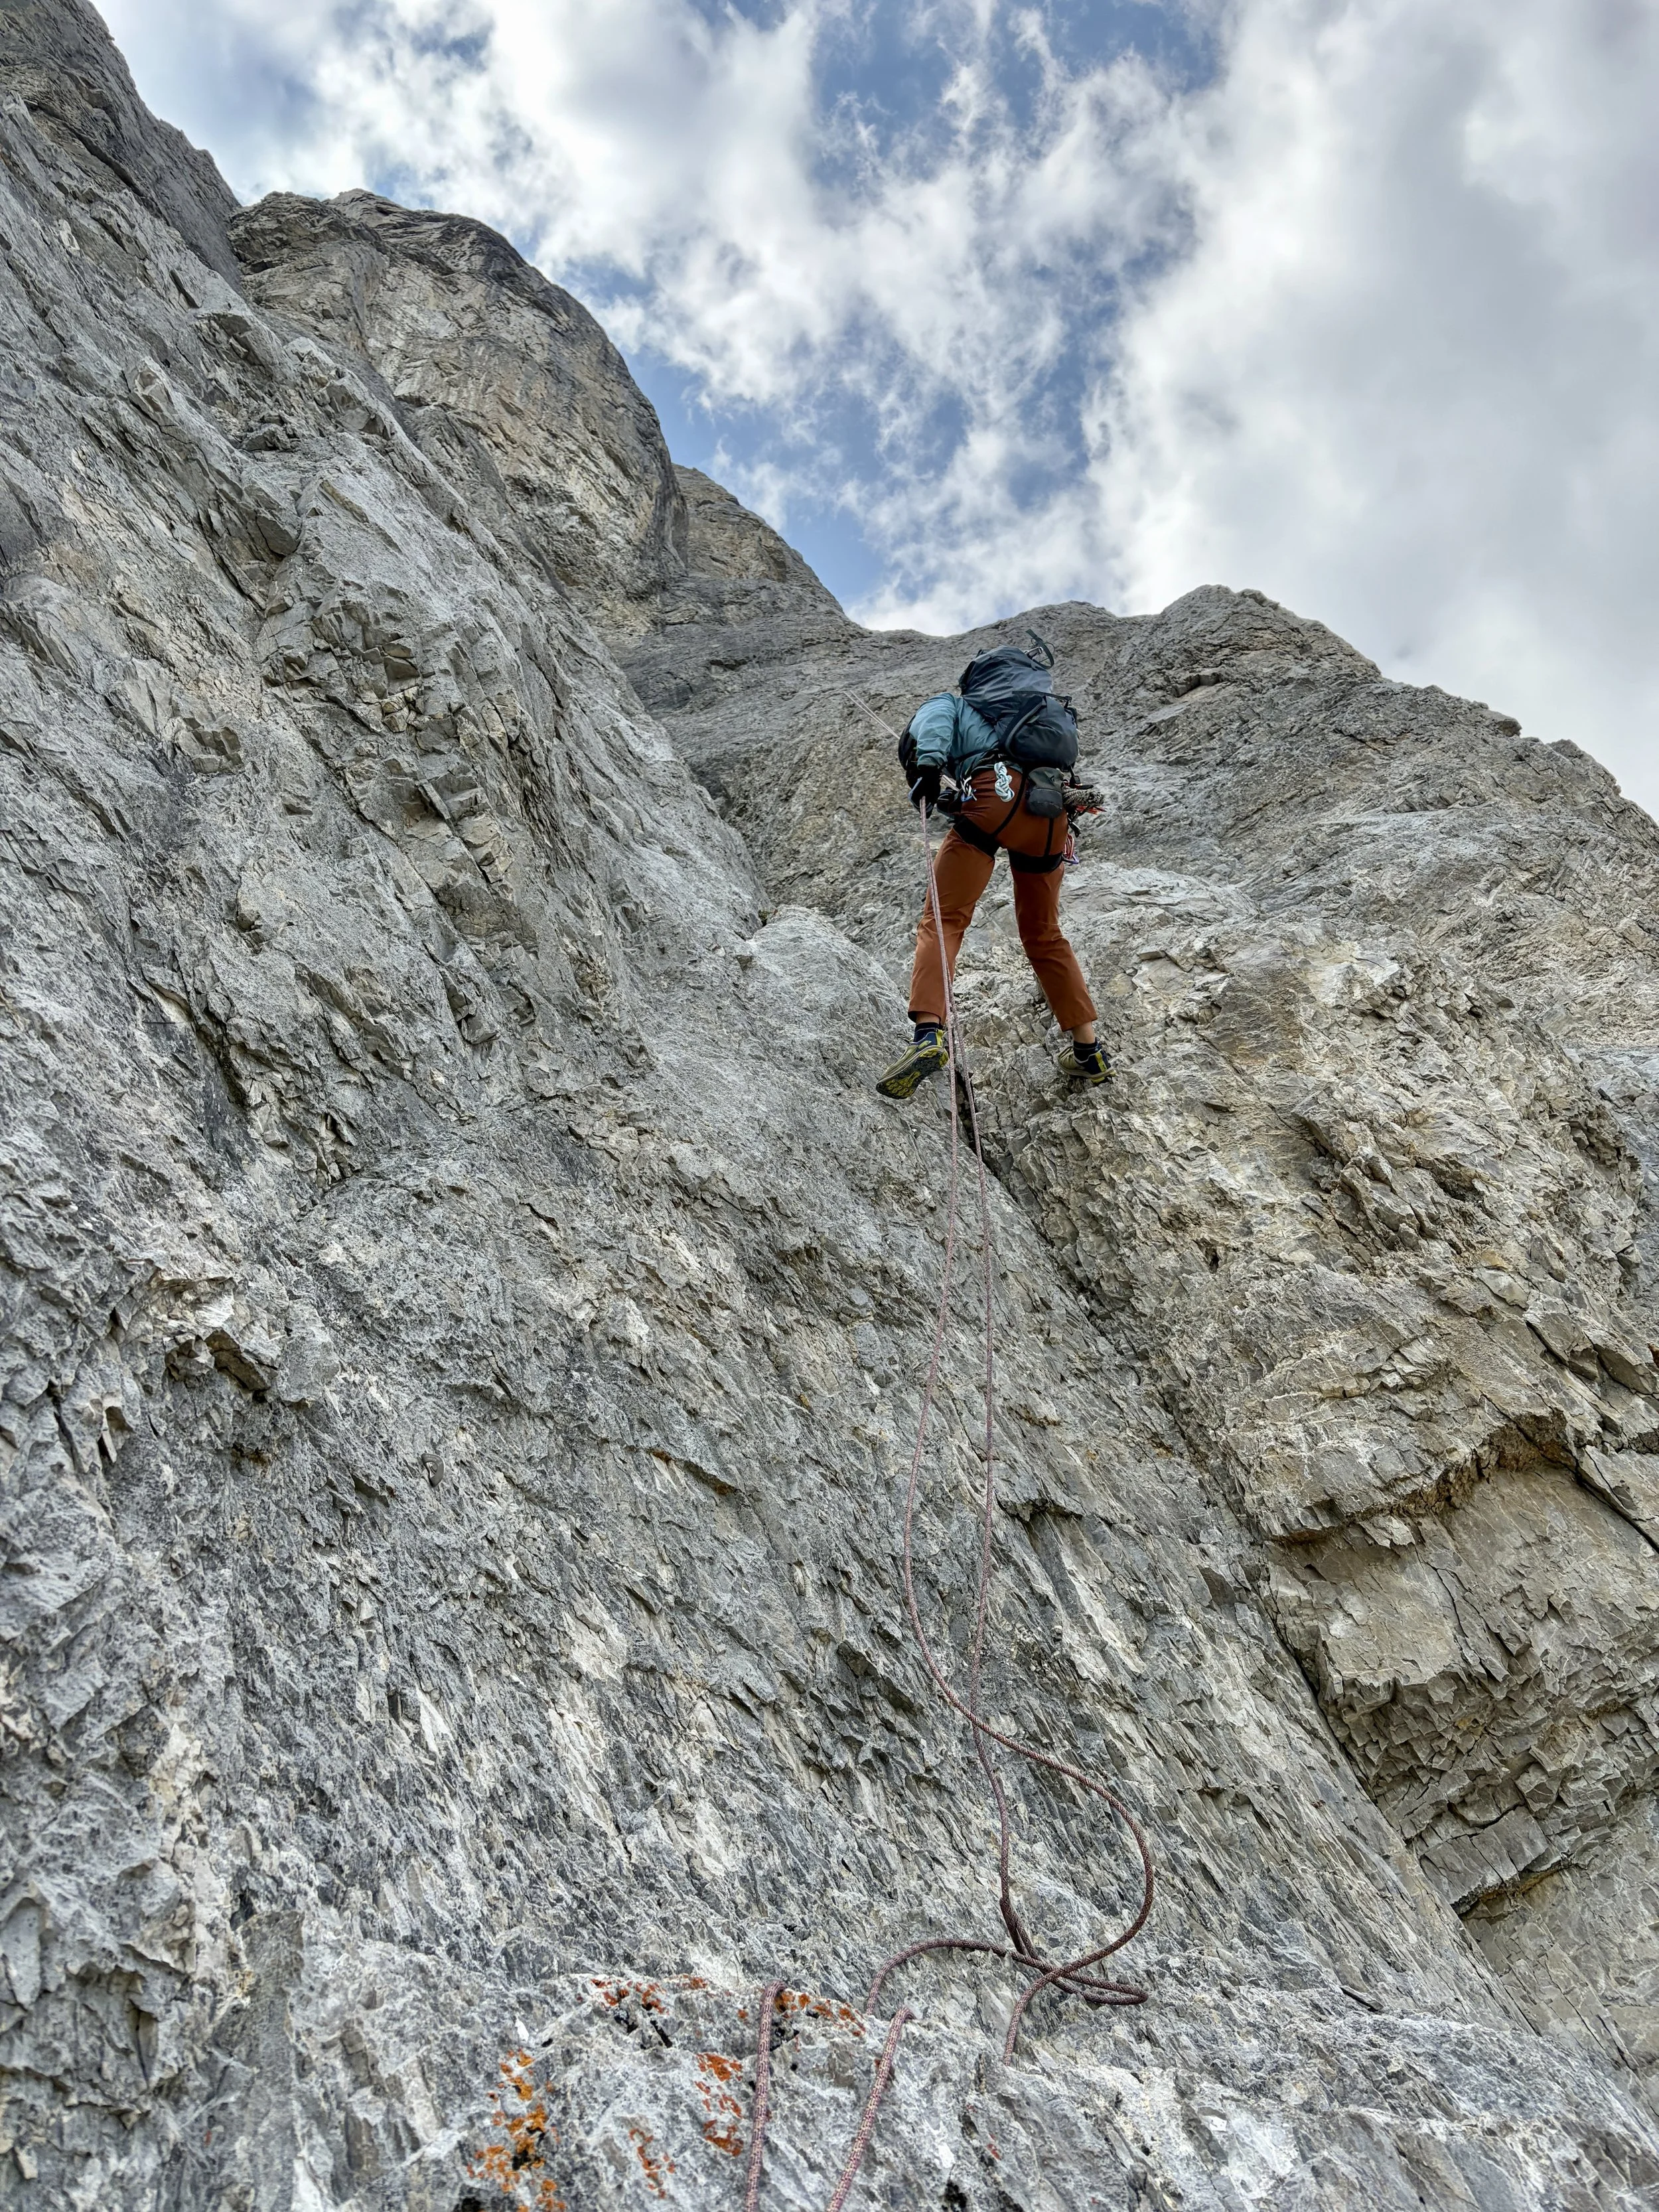
The fourth pitch looked promising from the bottom as it was this nice corner. Mike racked up and led the pitch, excited to put in good gear. Looks were once again deceiving and the rock quality was pretty terrible and while he placed gear, he didn’t want to have to trust any of it. The directions for this pitch were to traverse right 5m below the top of the corner, to clip a bolt, and then to head up to the anchor. What is 5m to the guidebook author is really hard to discern when you’re on the route. Mike must have traversed right 3x on three different ledges before he found the bolt, which ended up being below him on his traverse. He down climbed to the bolt and then could not see any anchors near him. To complicate things further, the pitch was supposed to be 30m, but at this point, he had about 35m of rope out. Were we totally off route? He must have asked me to read the guidebook route description to him 10x hoping to pick up a clue he had missed, but subsequent readings didn’t prove useful. Ultimately, he decided to traverse farther right and up, hoping he wouldn’t have to down climb anything and luckily found the anchor. Unfortunately for me as the follower, I’d have to do some down climbing on this route as I had to remove gear that was placed above and about 20ft left of the bolt. A fall there would have been pretty ugly. Thankfully, it was 5.6 climbing, but handholds and footholds were constantly breaking. At one point, I was standing on a small foothold for a good 20 seconds, and it all of a sudden totally gave out and my foot was in the air. I was very happy to finally make it to the anchor. I’d guess we were on that pitch for 45 minutes - 1 hour.
The fifth pitch was another 4th class traverse that I got to lead. It was on a loose ledge with 1 or 2 bolts. I kept traversing right until I found an anchor. This anchor would be used on our descent as well. When Mike got over to me, we discussed if we should continue. The final pitch was 55m and rated a 5.8. It was probably going to be the hardest pitch of the climb and have a tremendous amount of rope drag. With no confidence that we would be able to put in gear that we felt comfortable falling on, no idea if there were any bolts on this pitch, and a high chance of hitting the belayer with rockfall, we decided that heading down was the best option for us.
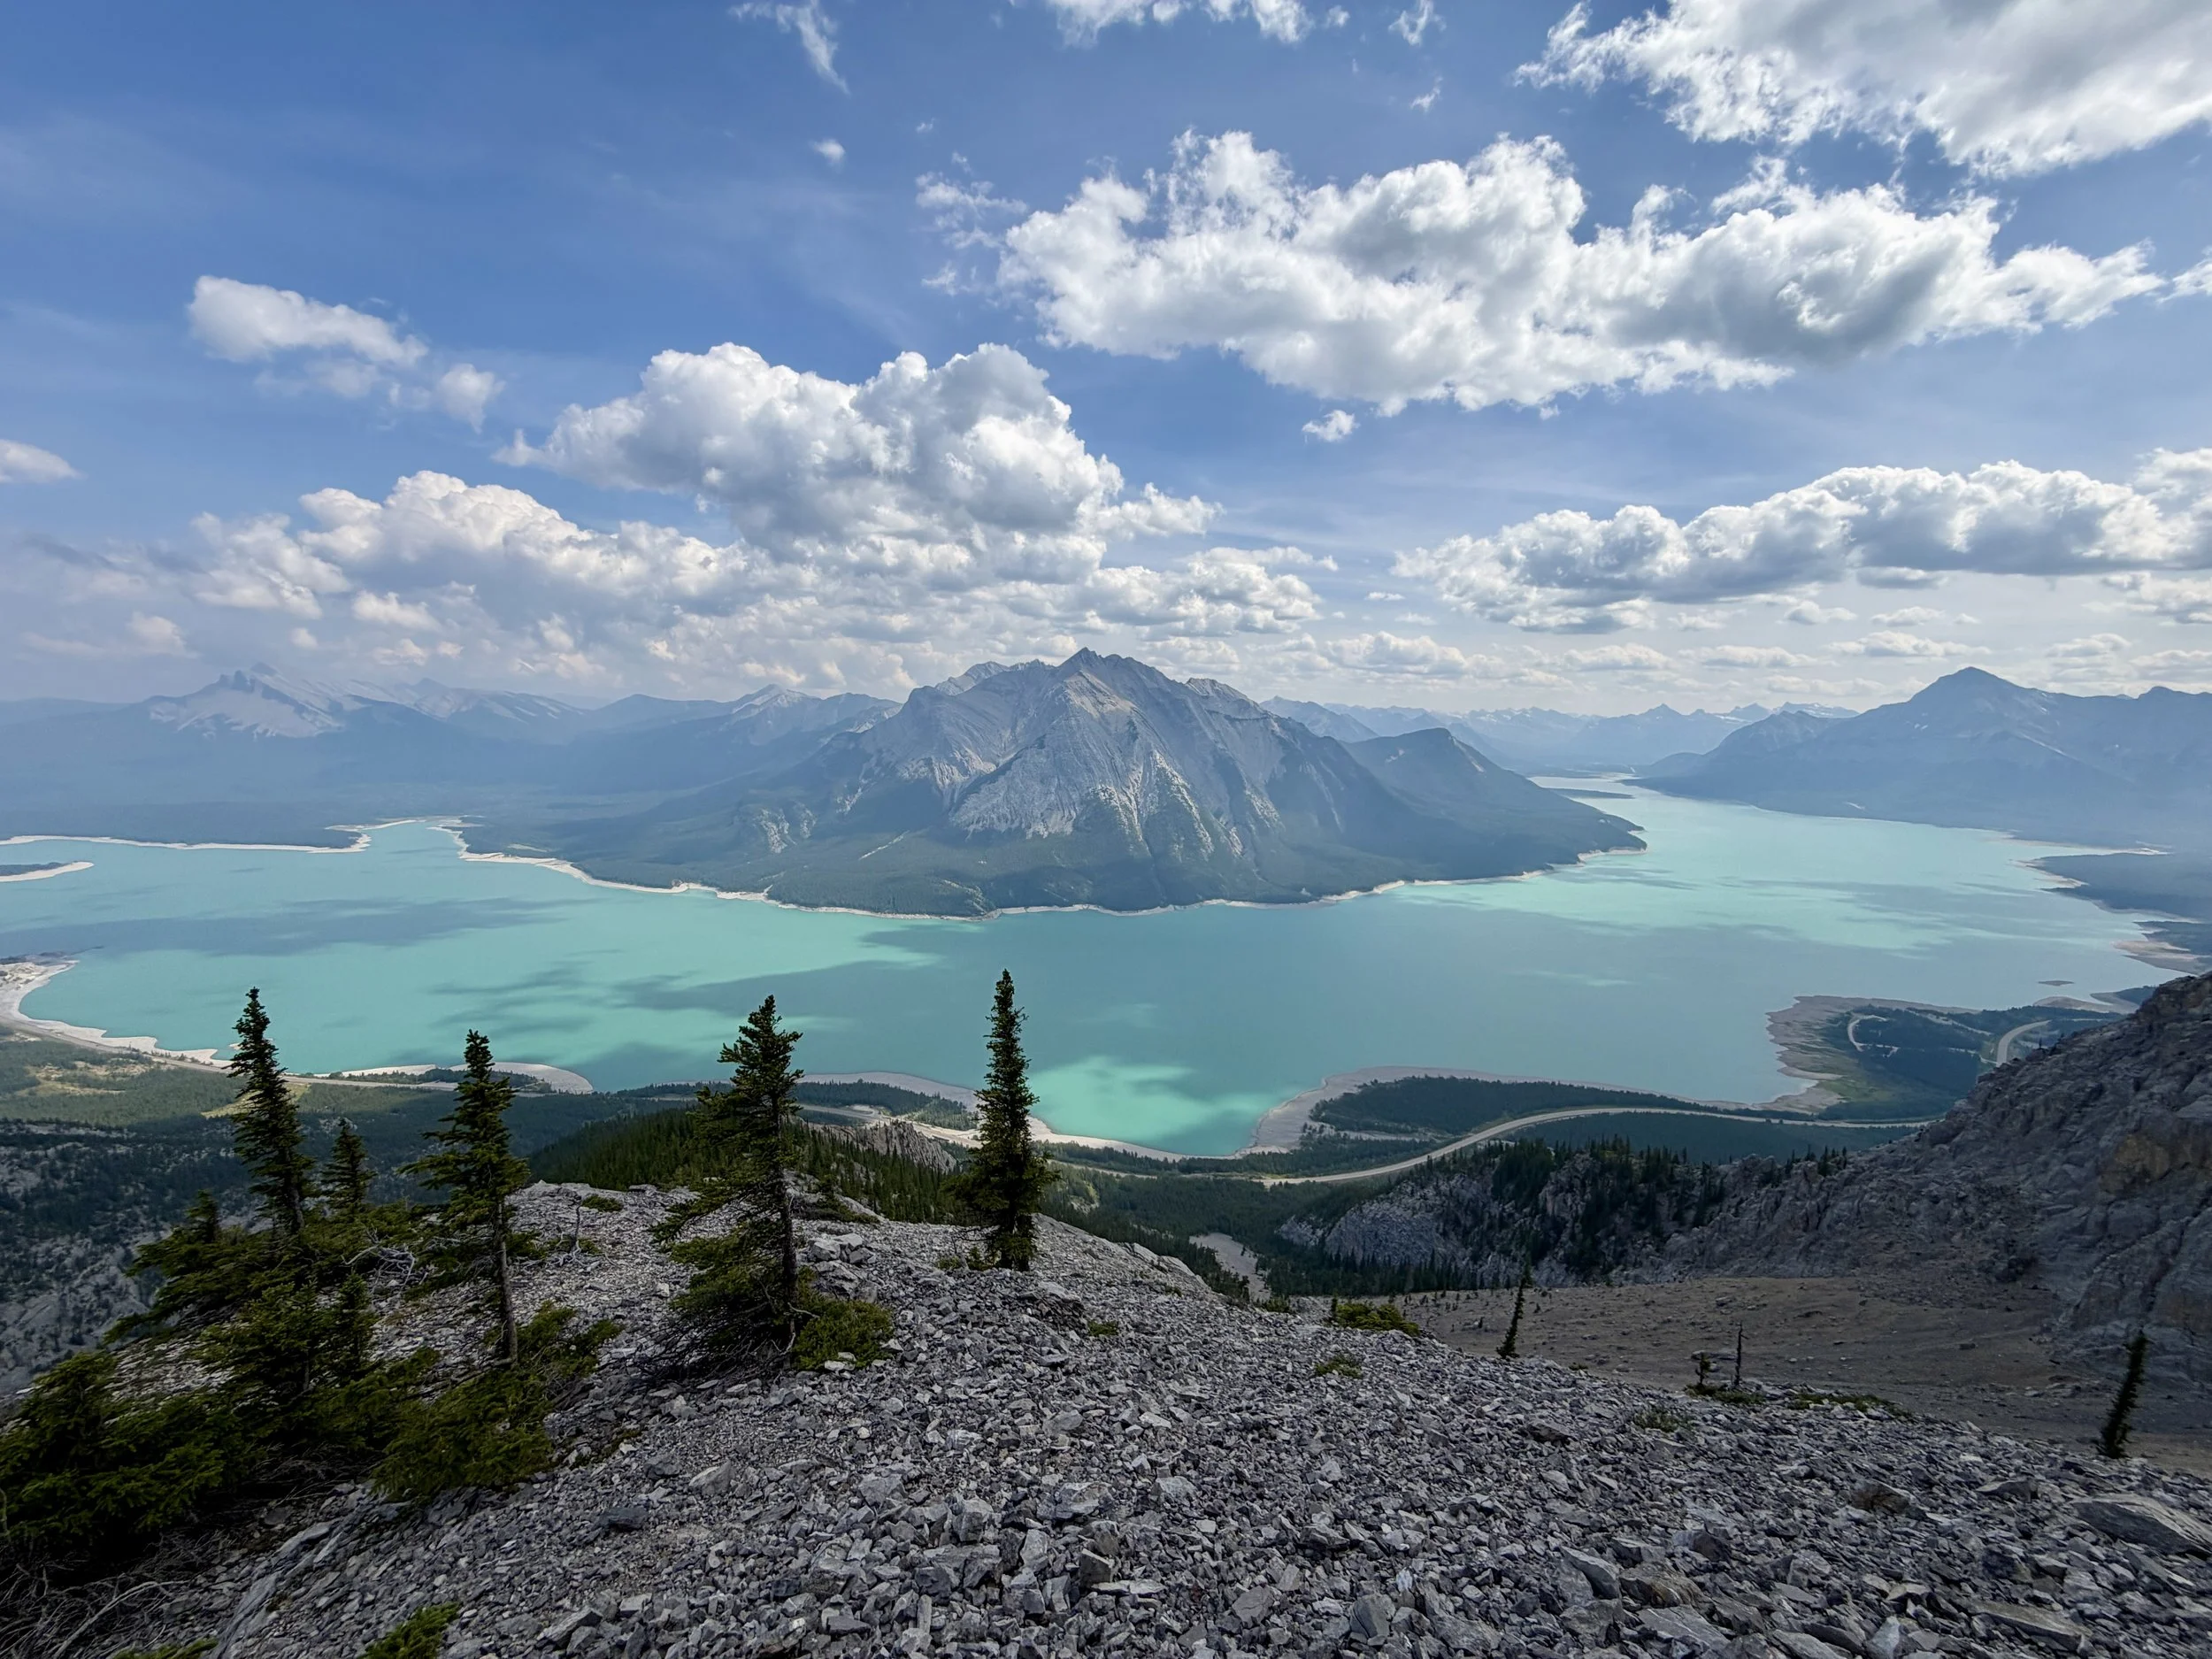
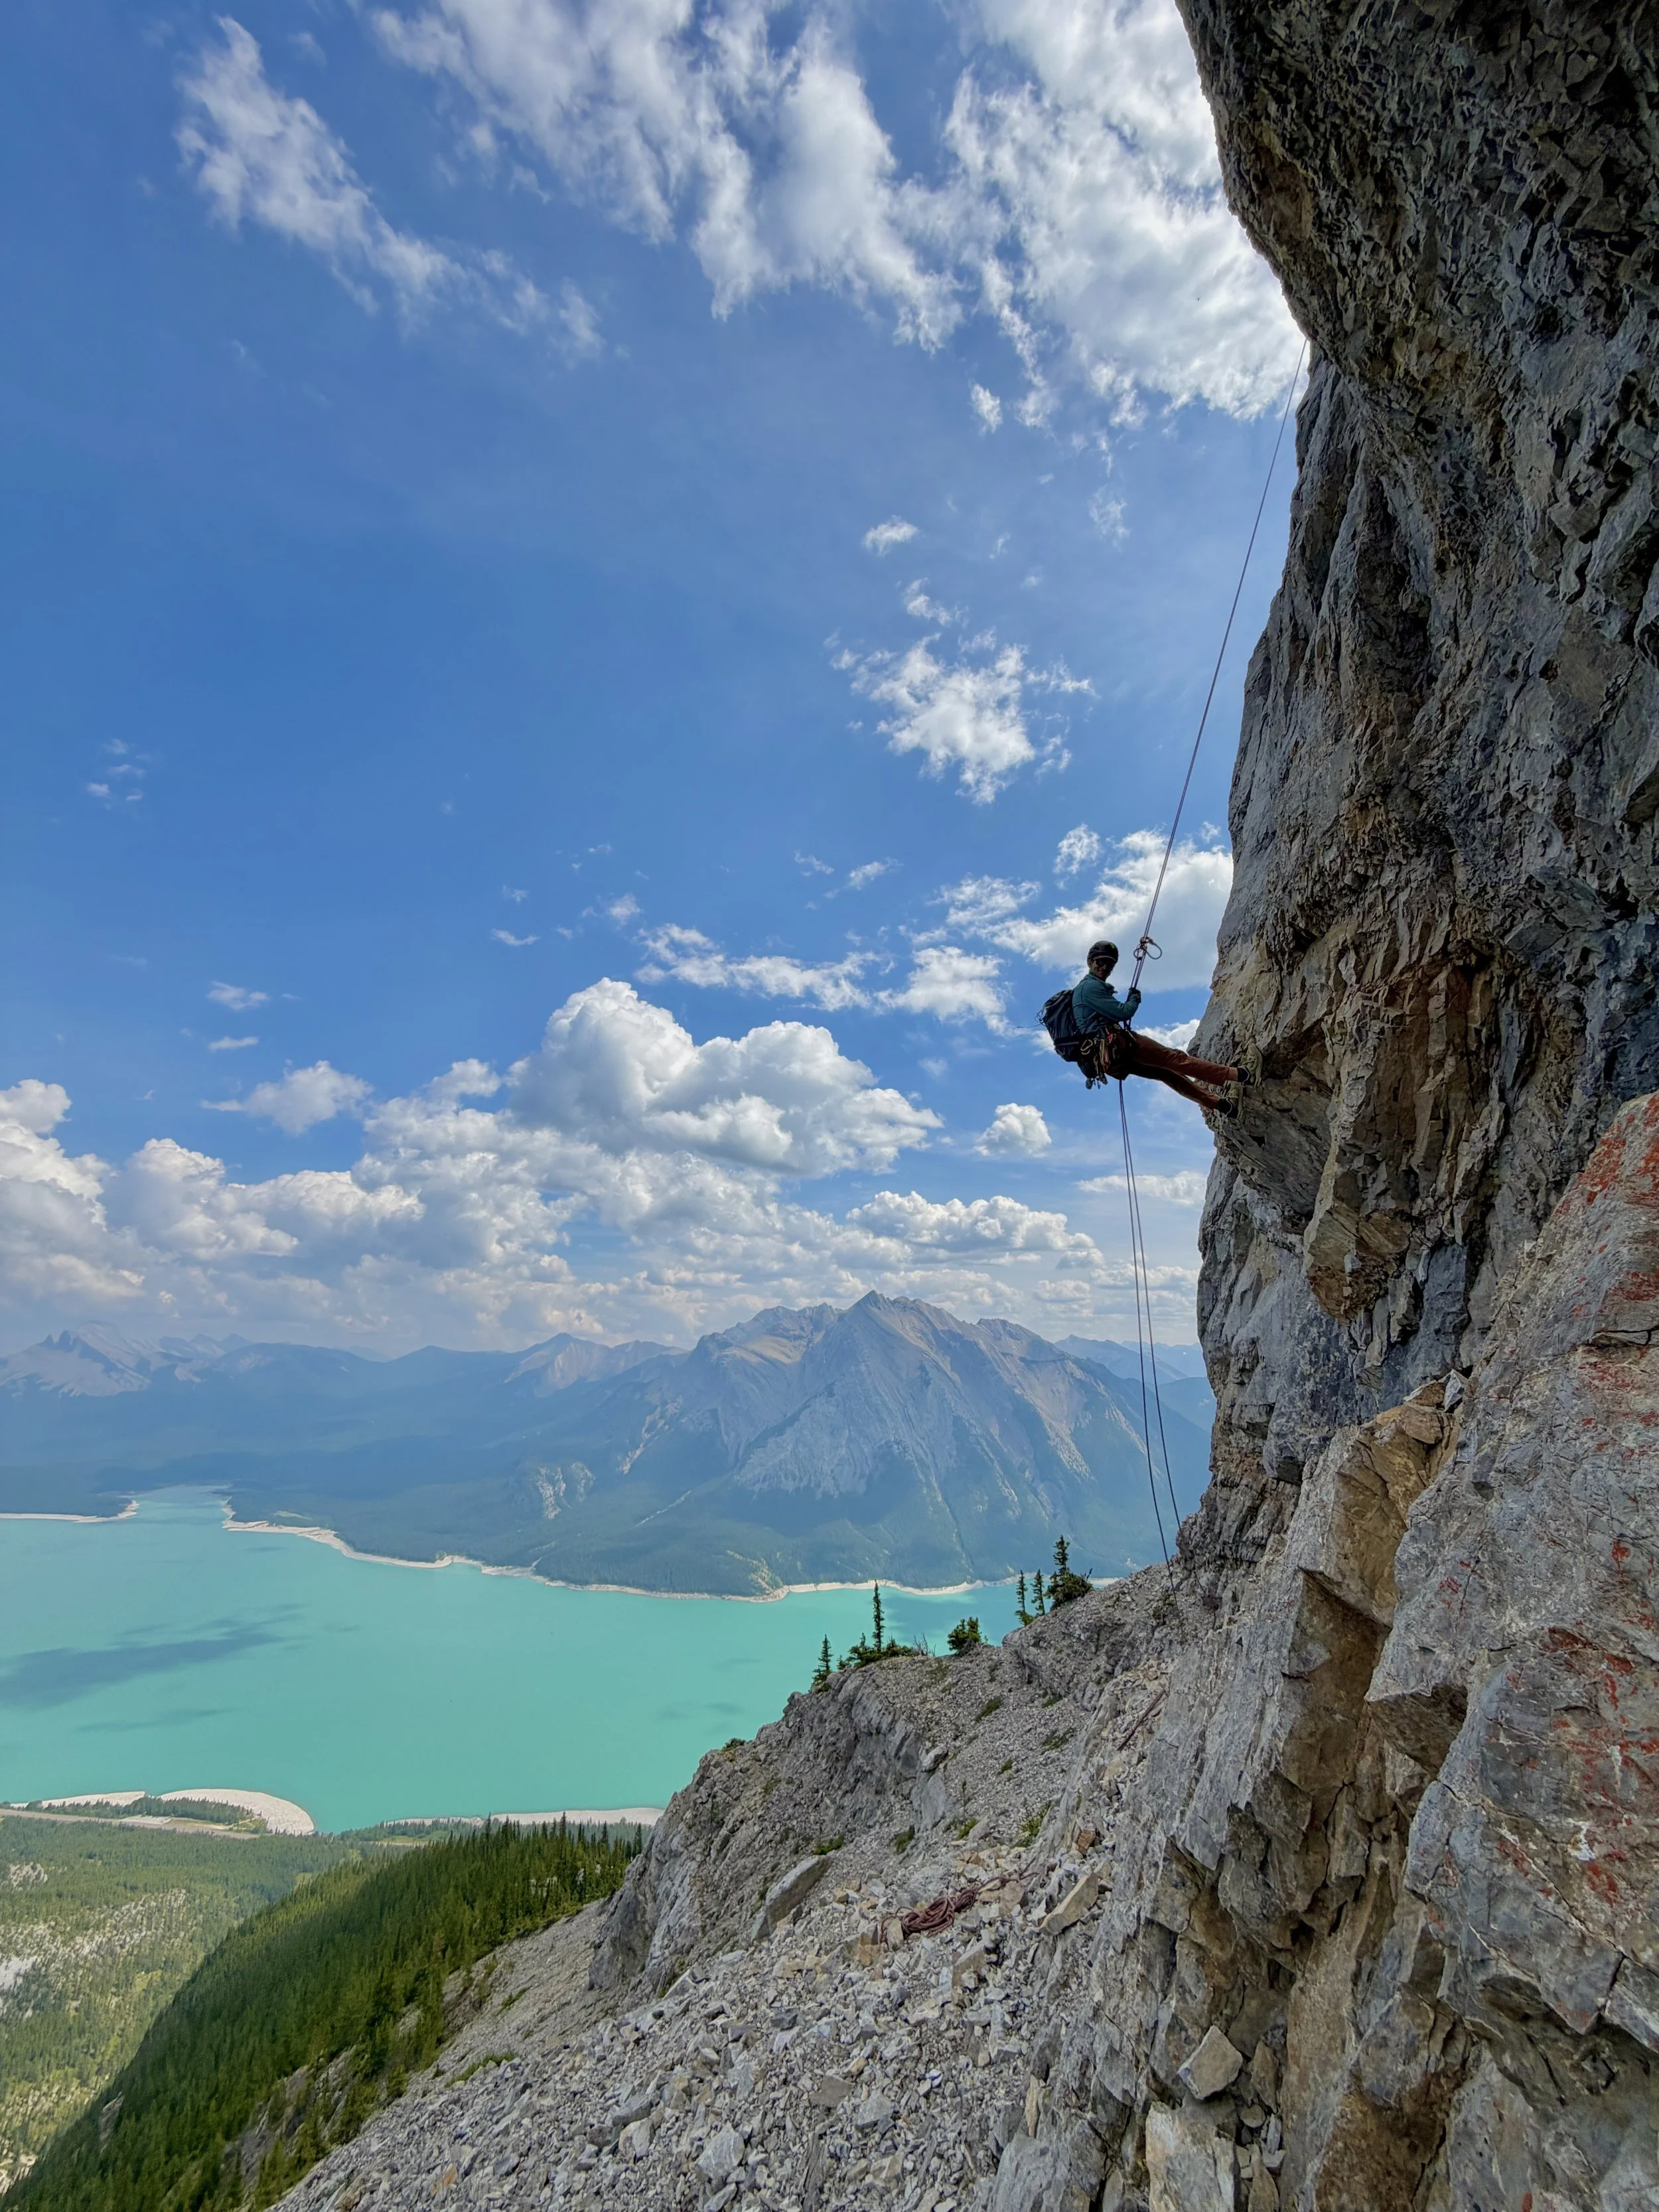
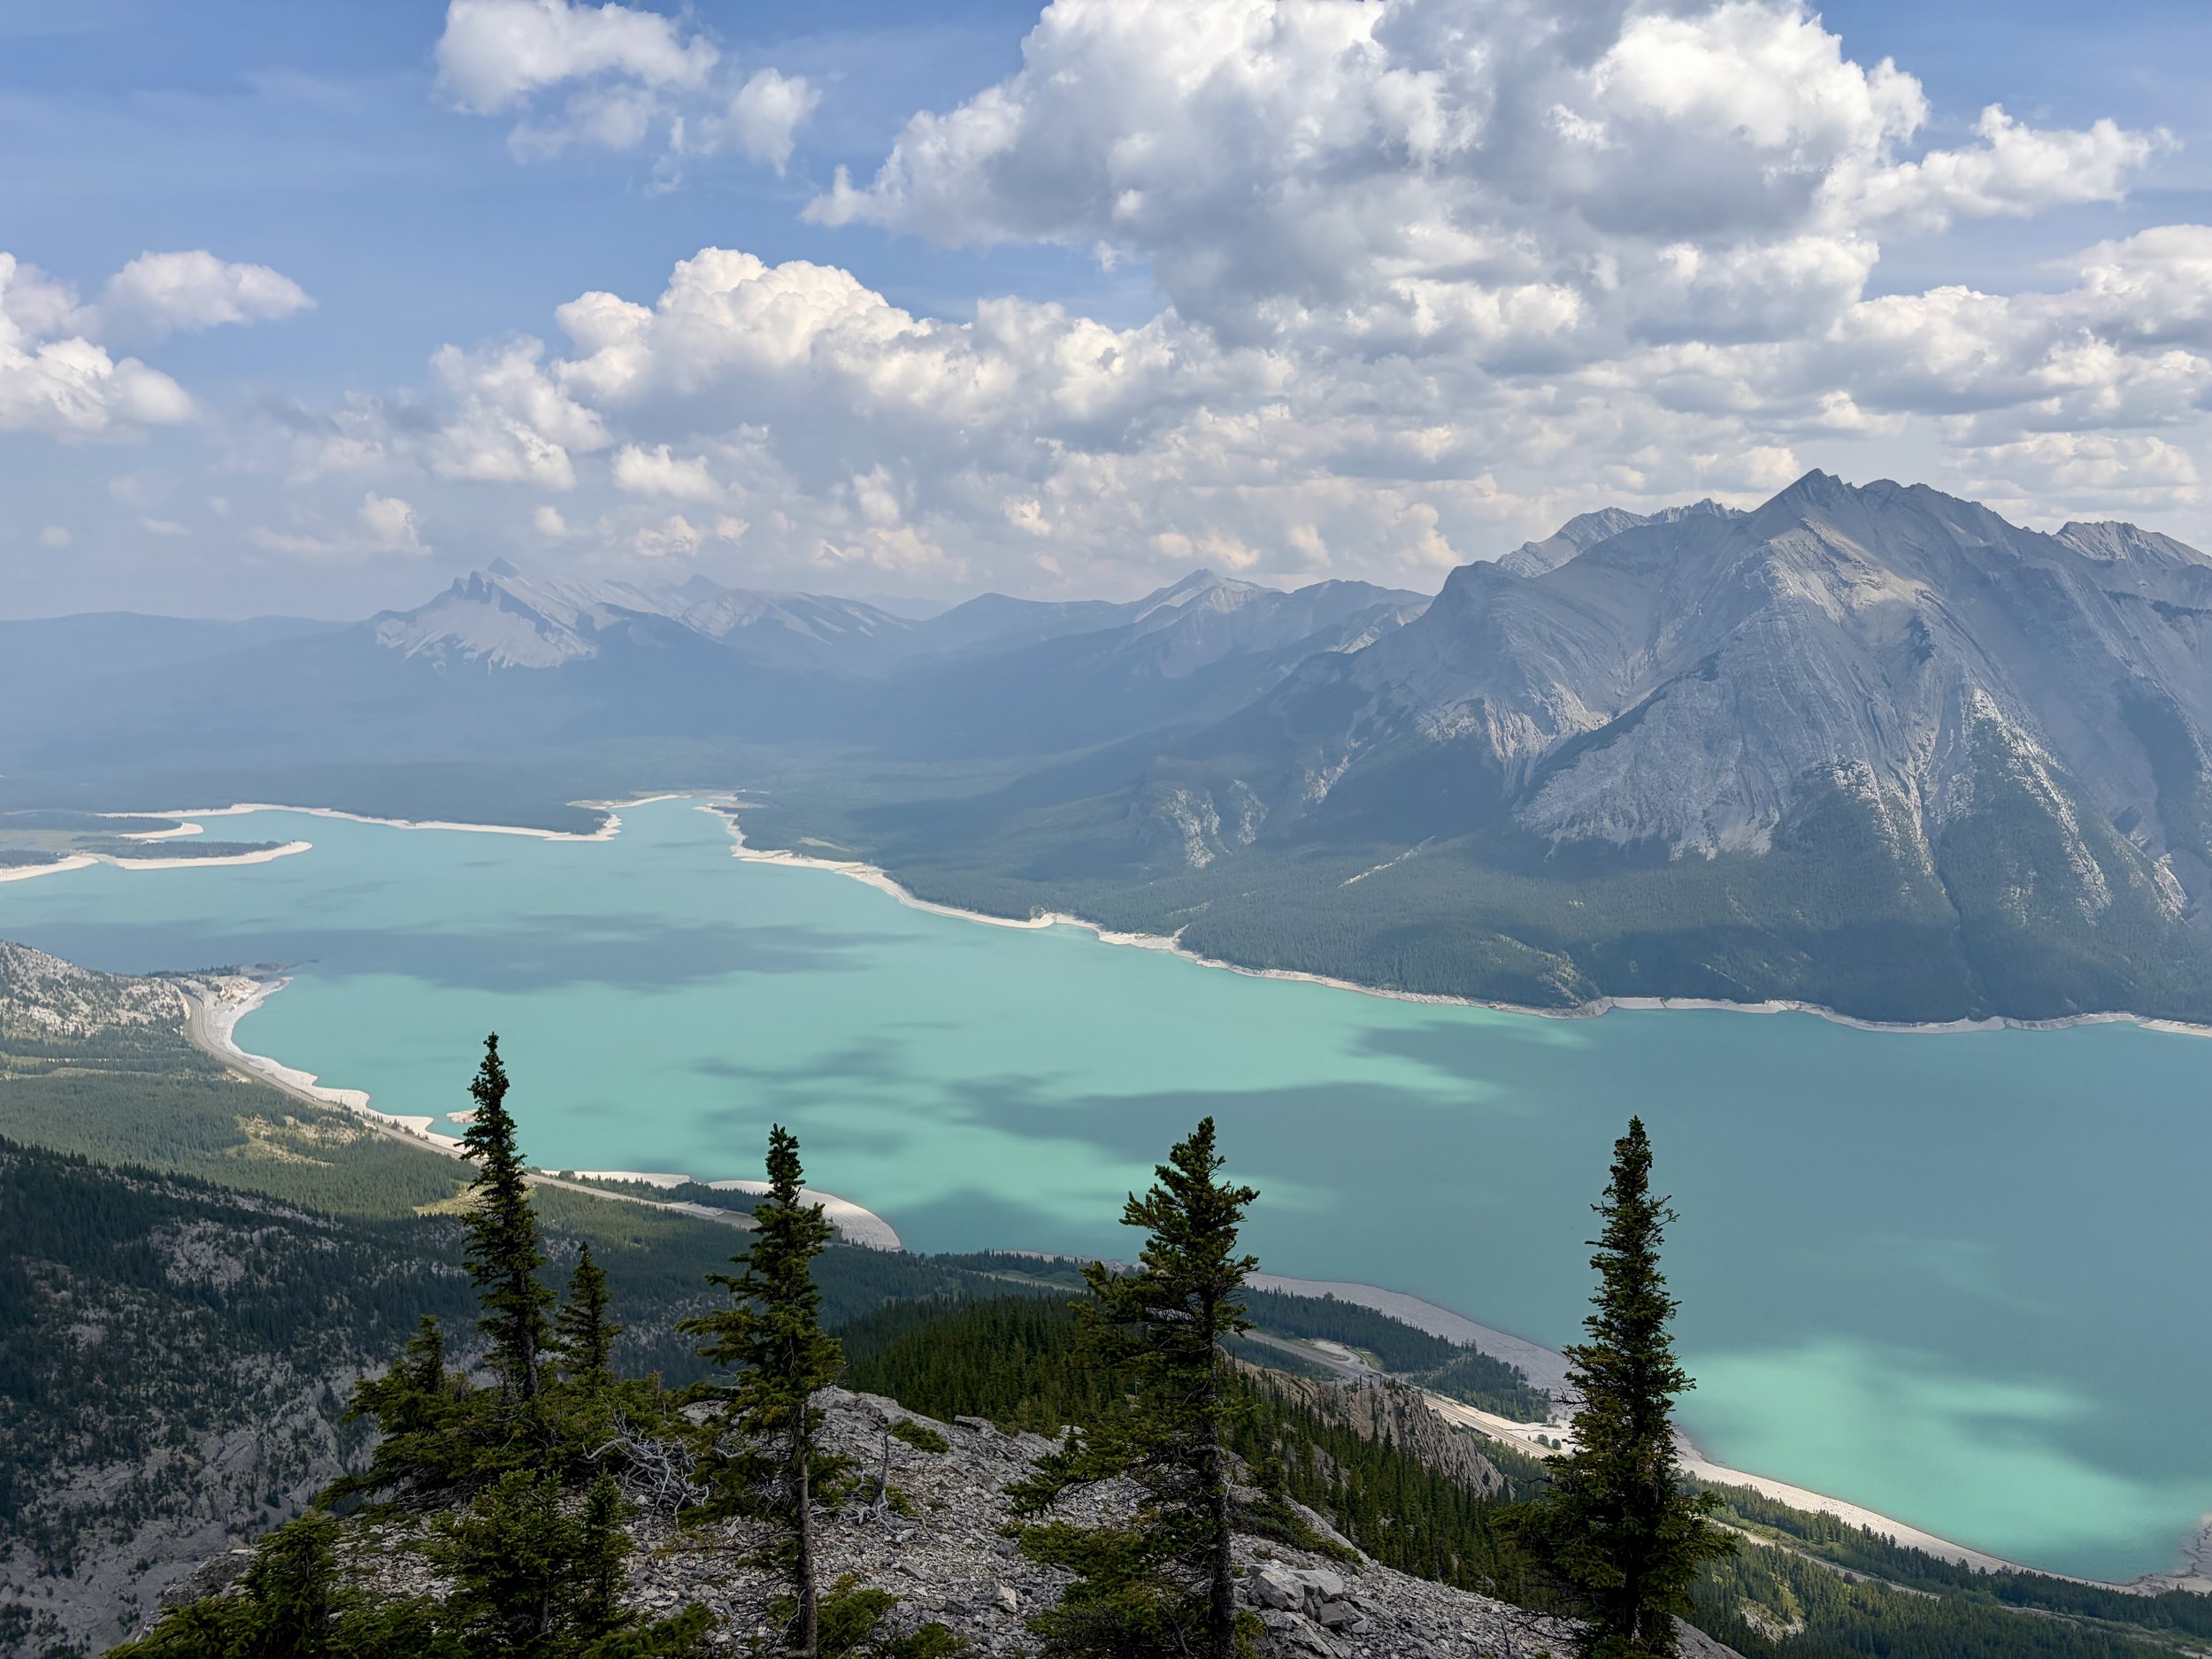
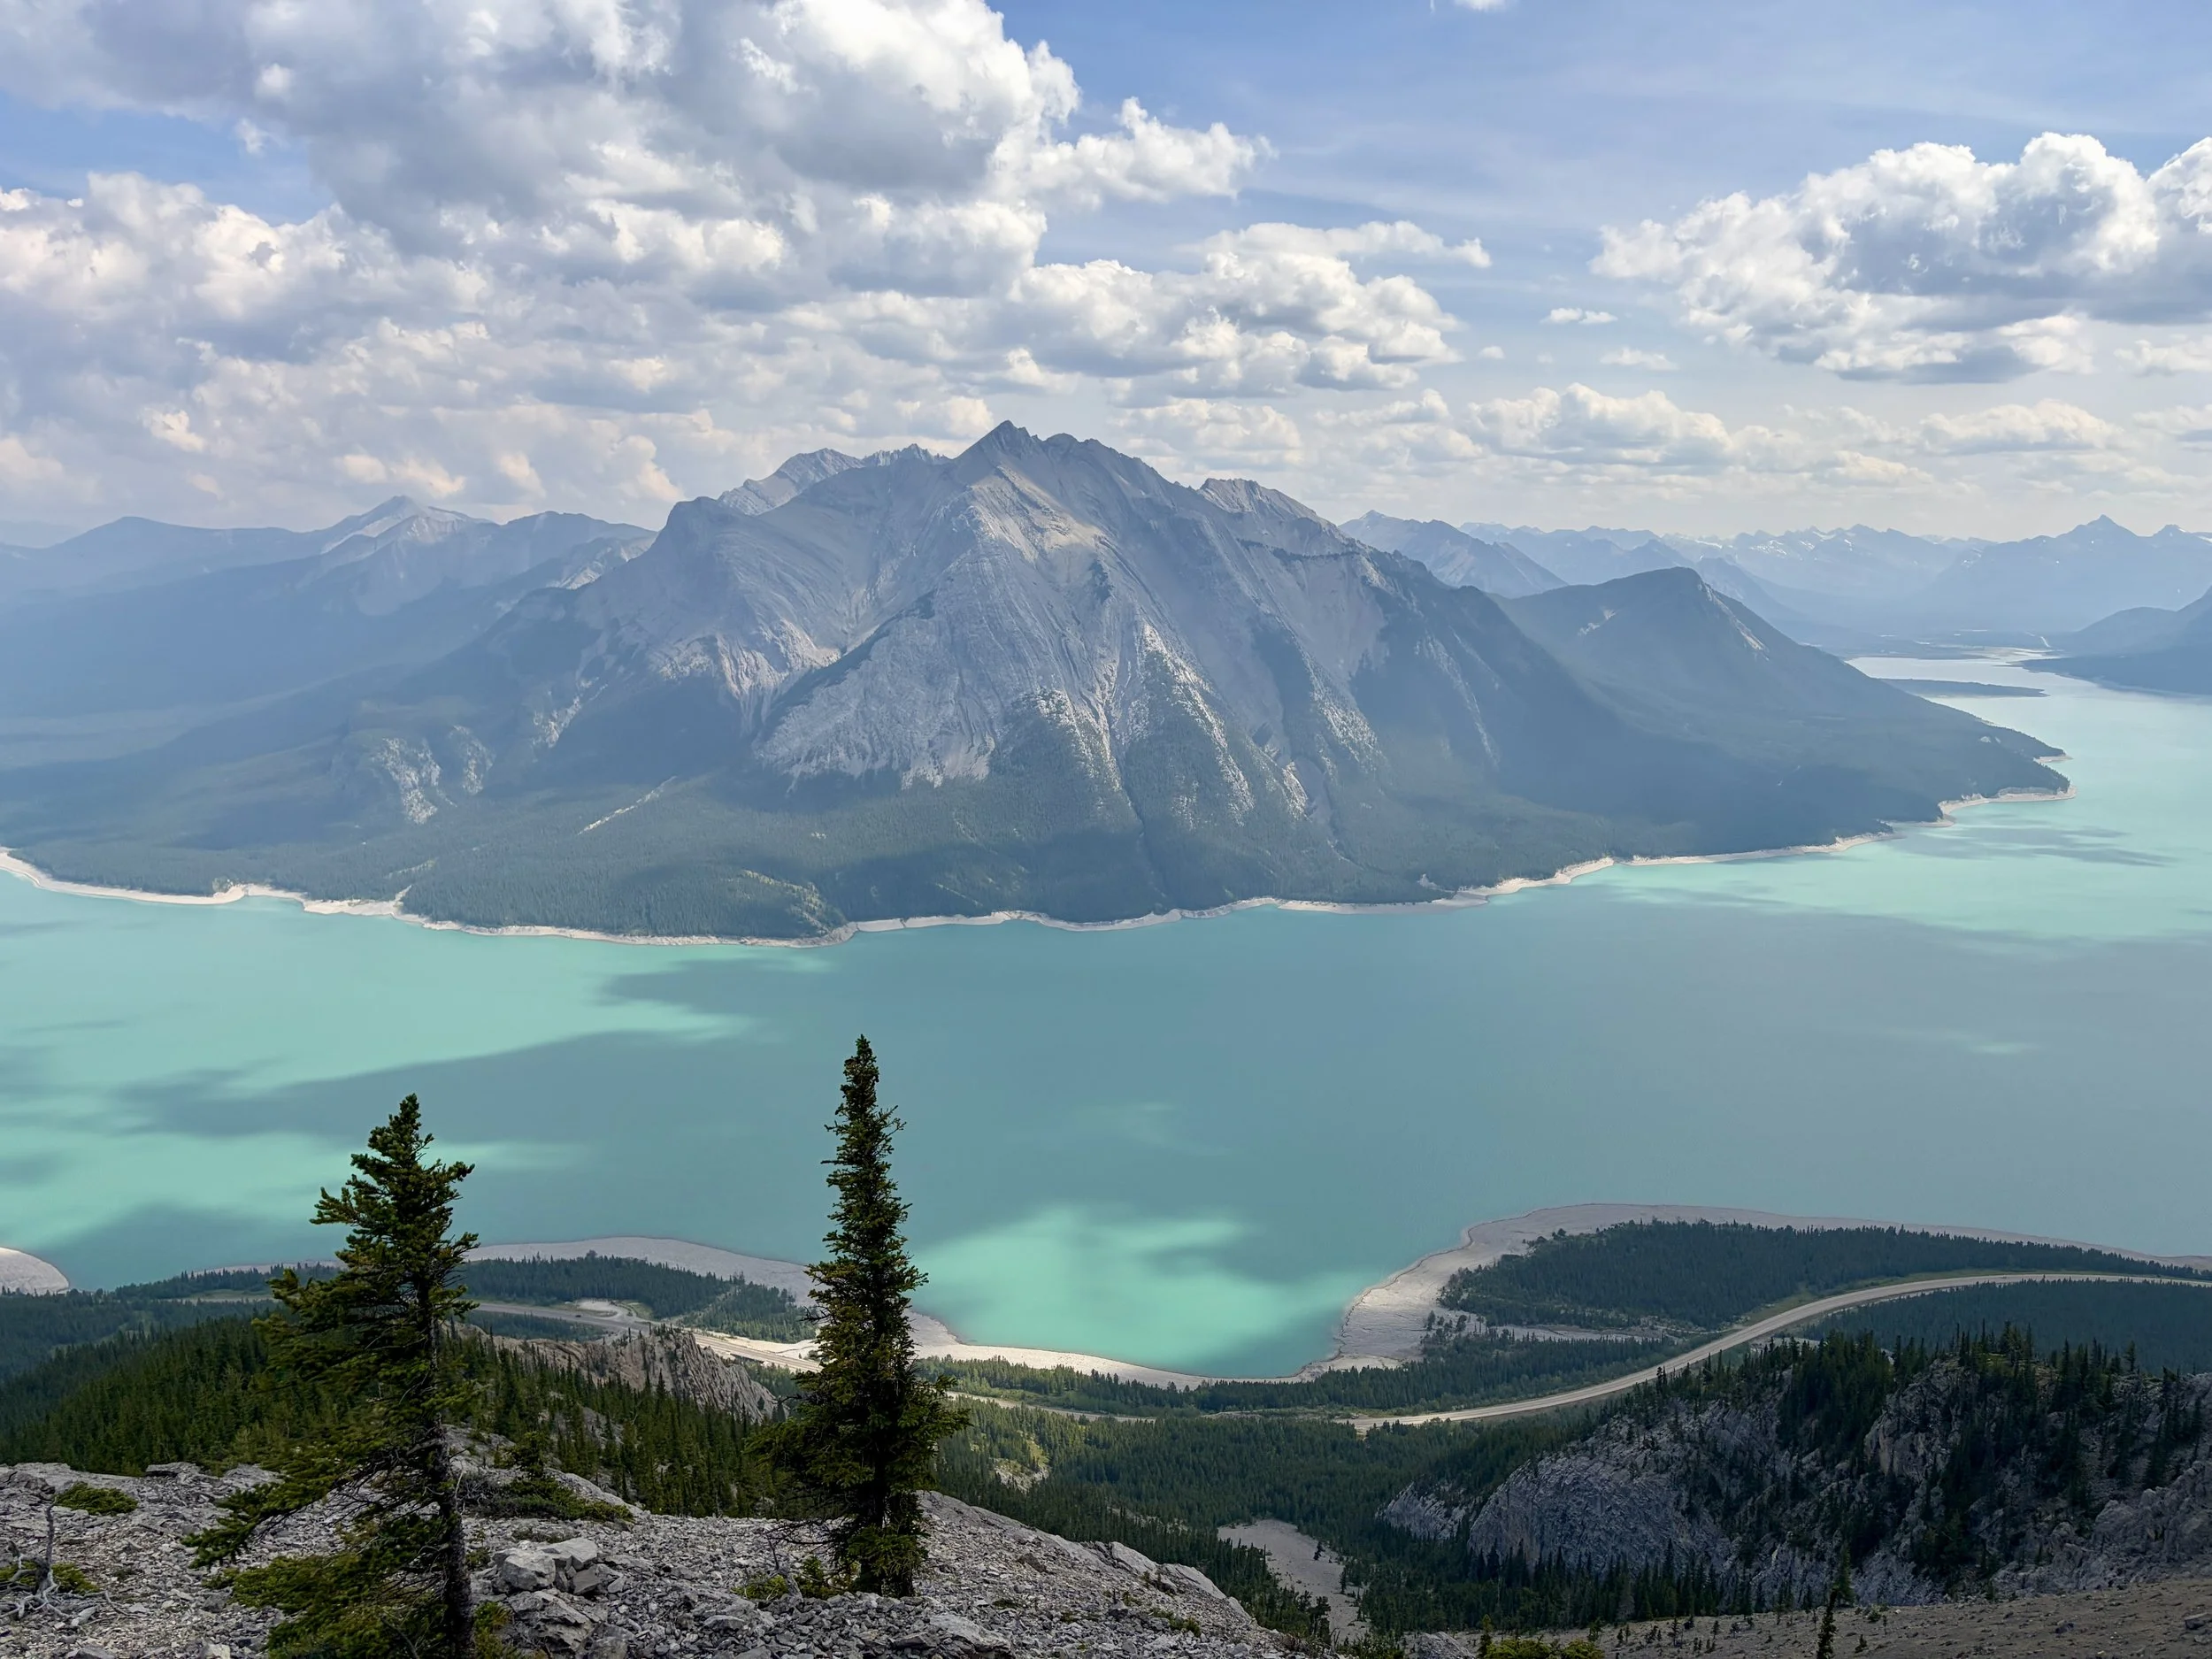
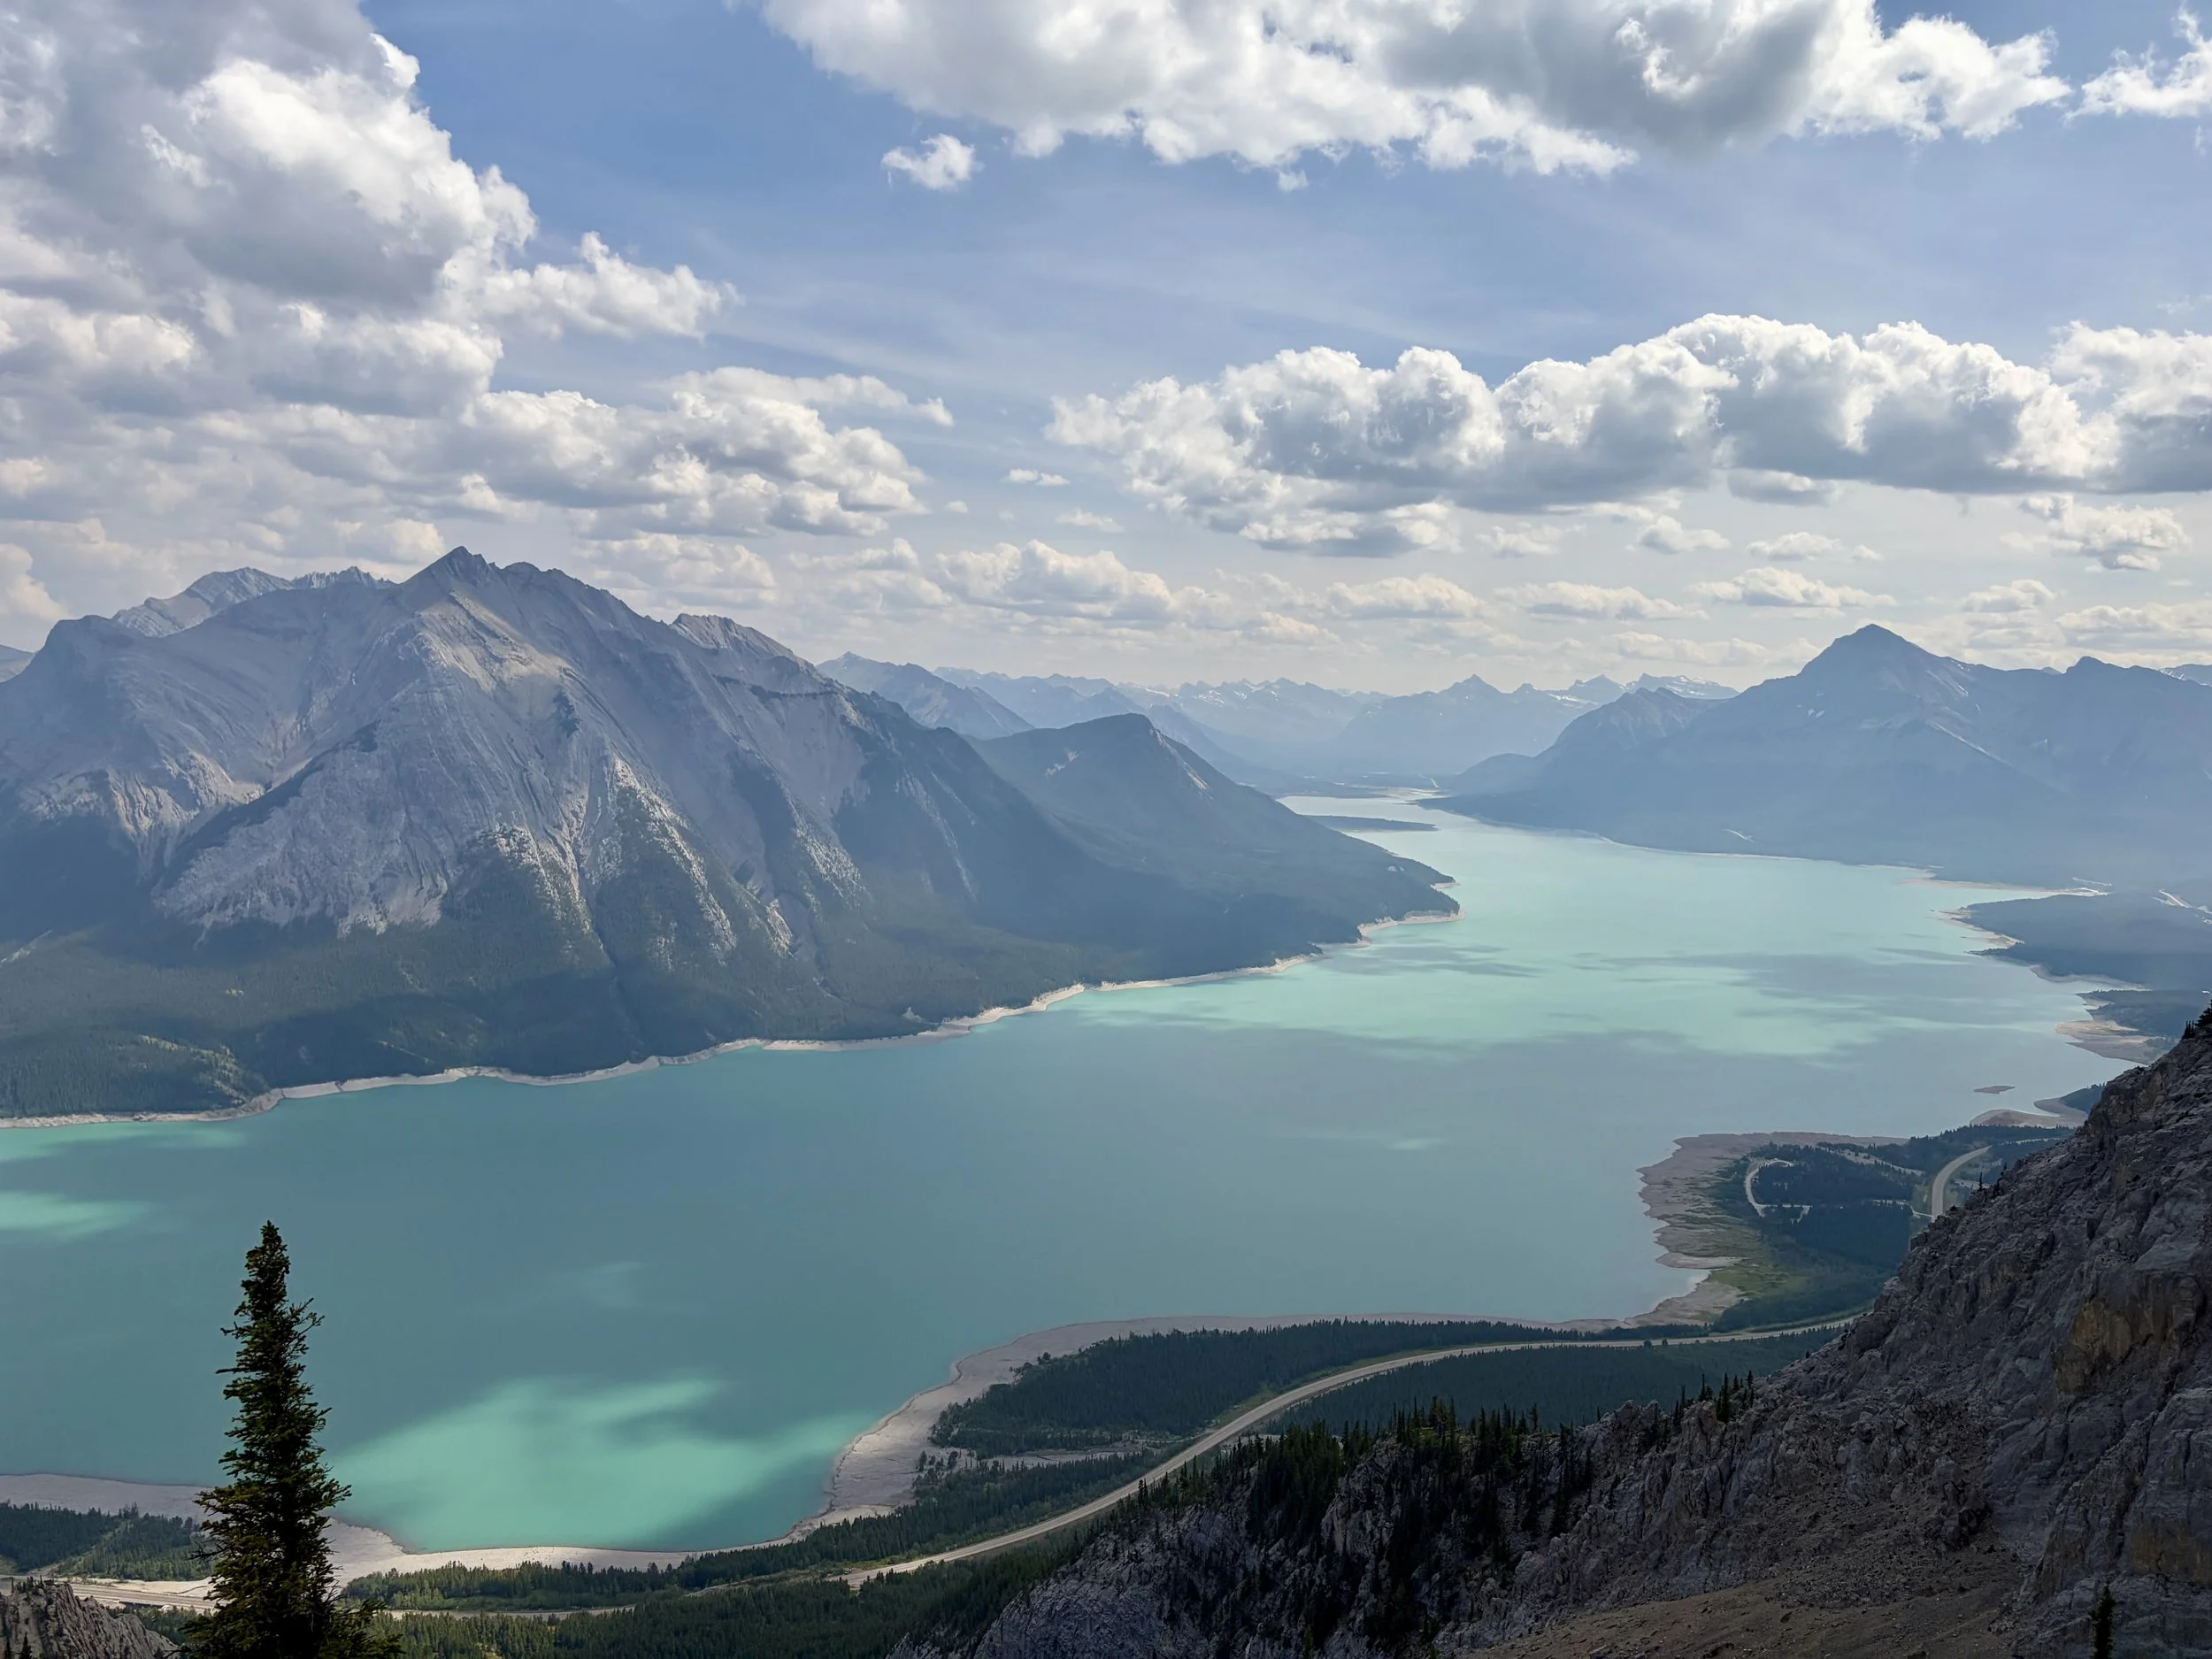
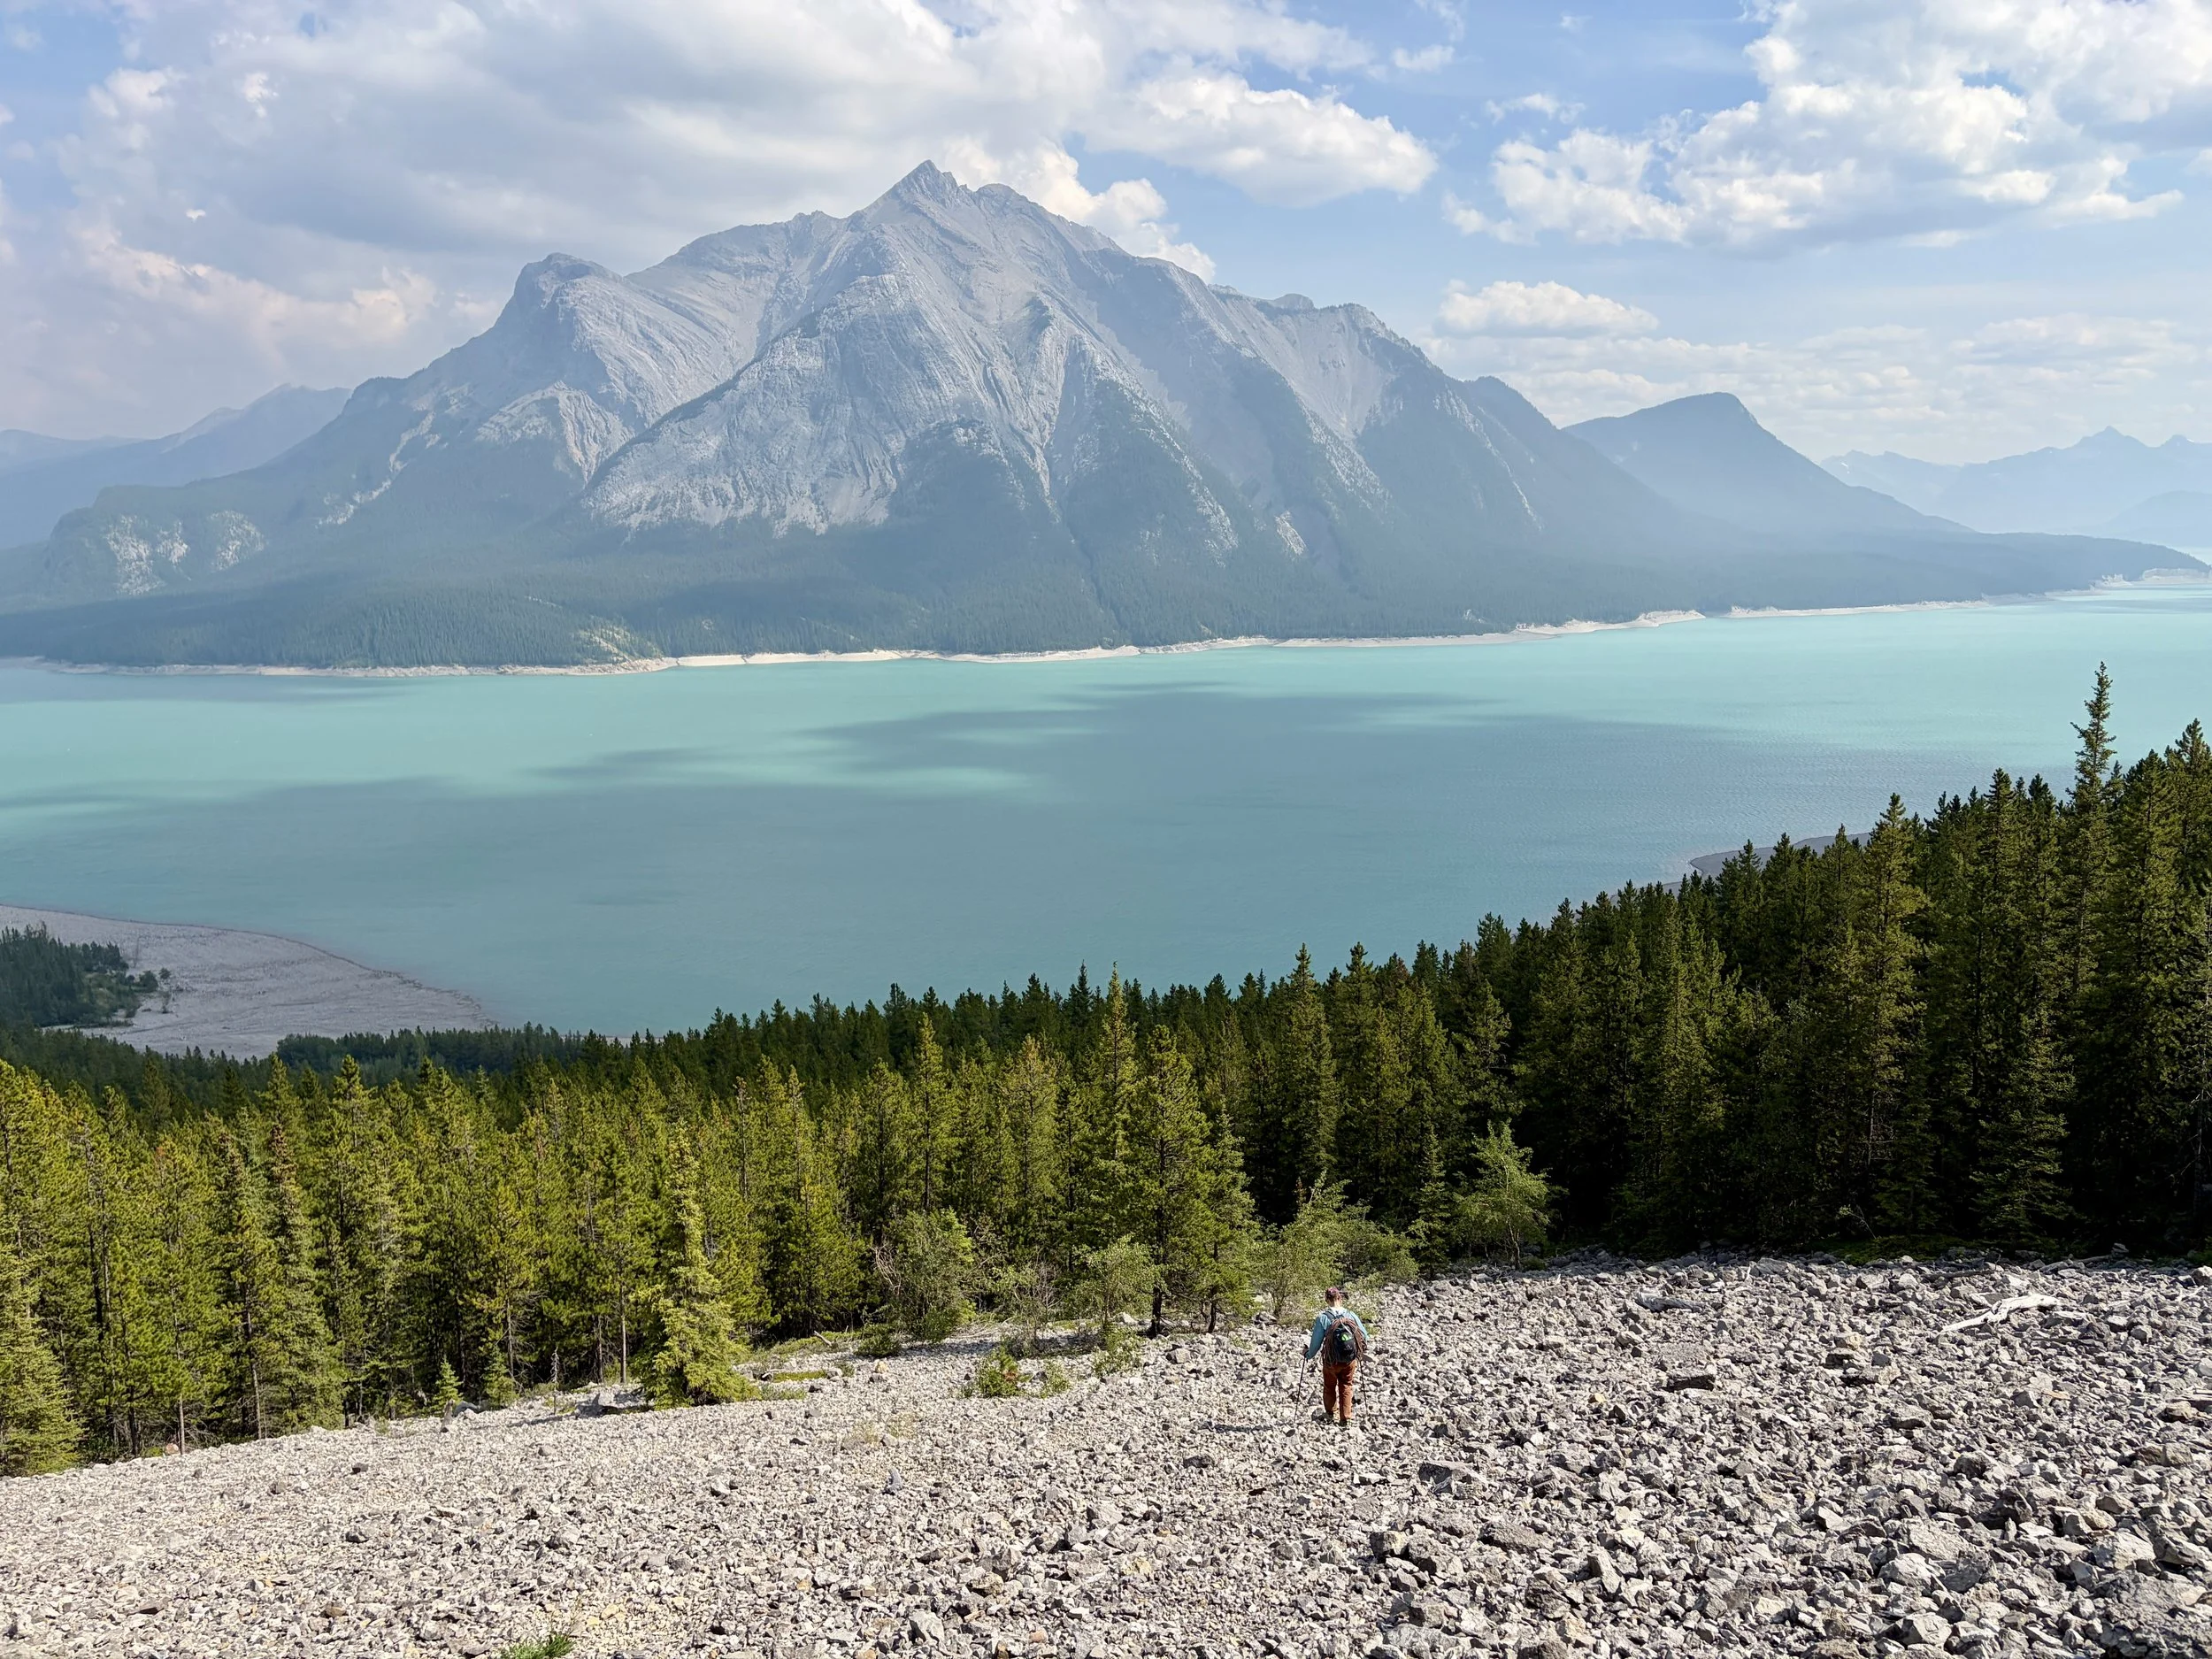
Lake Abraham
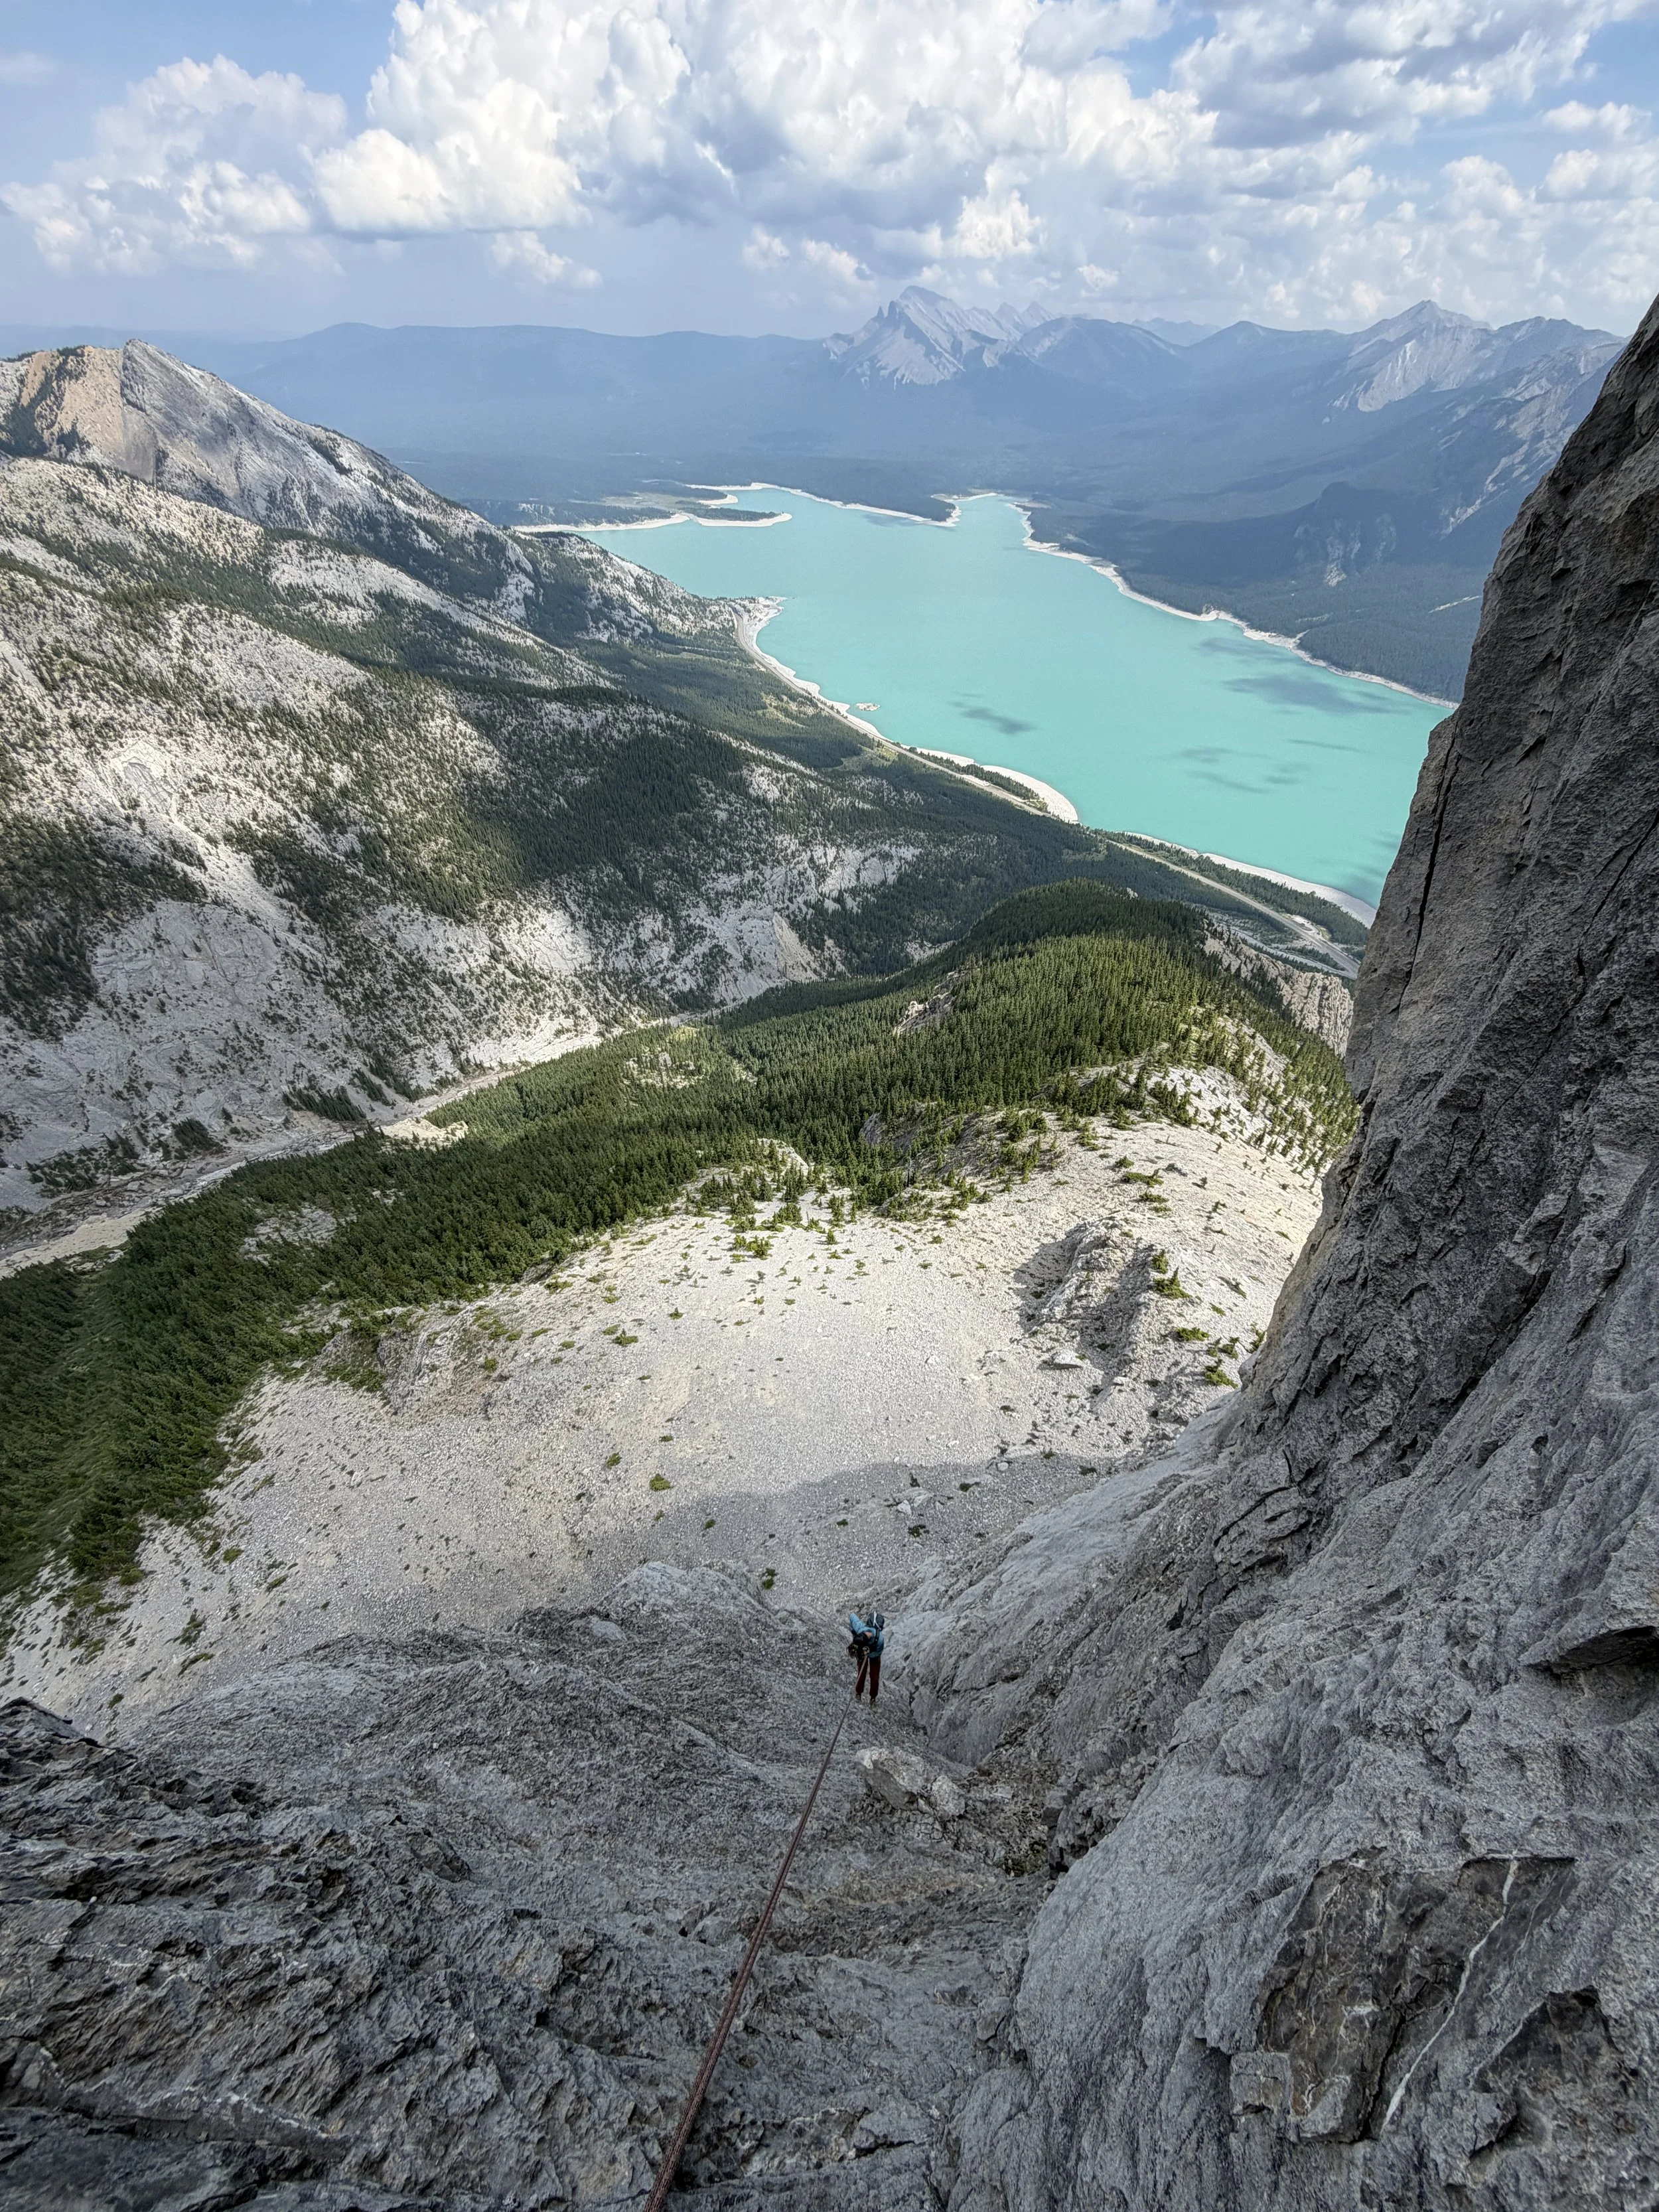
After four rappels, we found ourselves at the bottom of the route. I will say, I was appreciative of how the rappels were set up as the first person down was not really in the way of the rock that the second person down was definitely kicking off. Additionally, the anchors were all easy to find. I was thankful that part of the day wasn’t as taxing as the climbing had been.
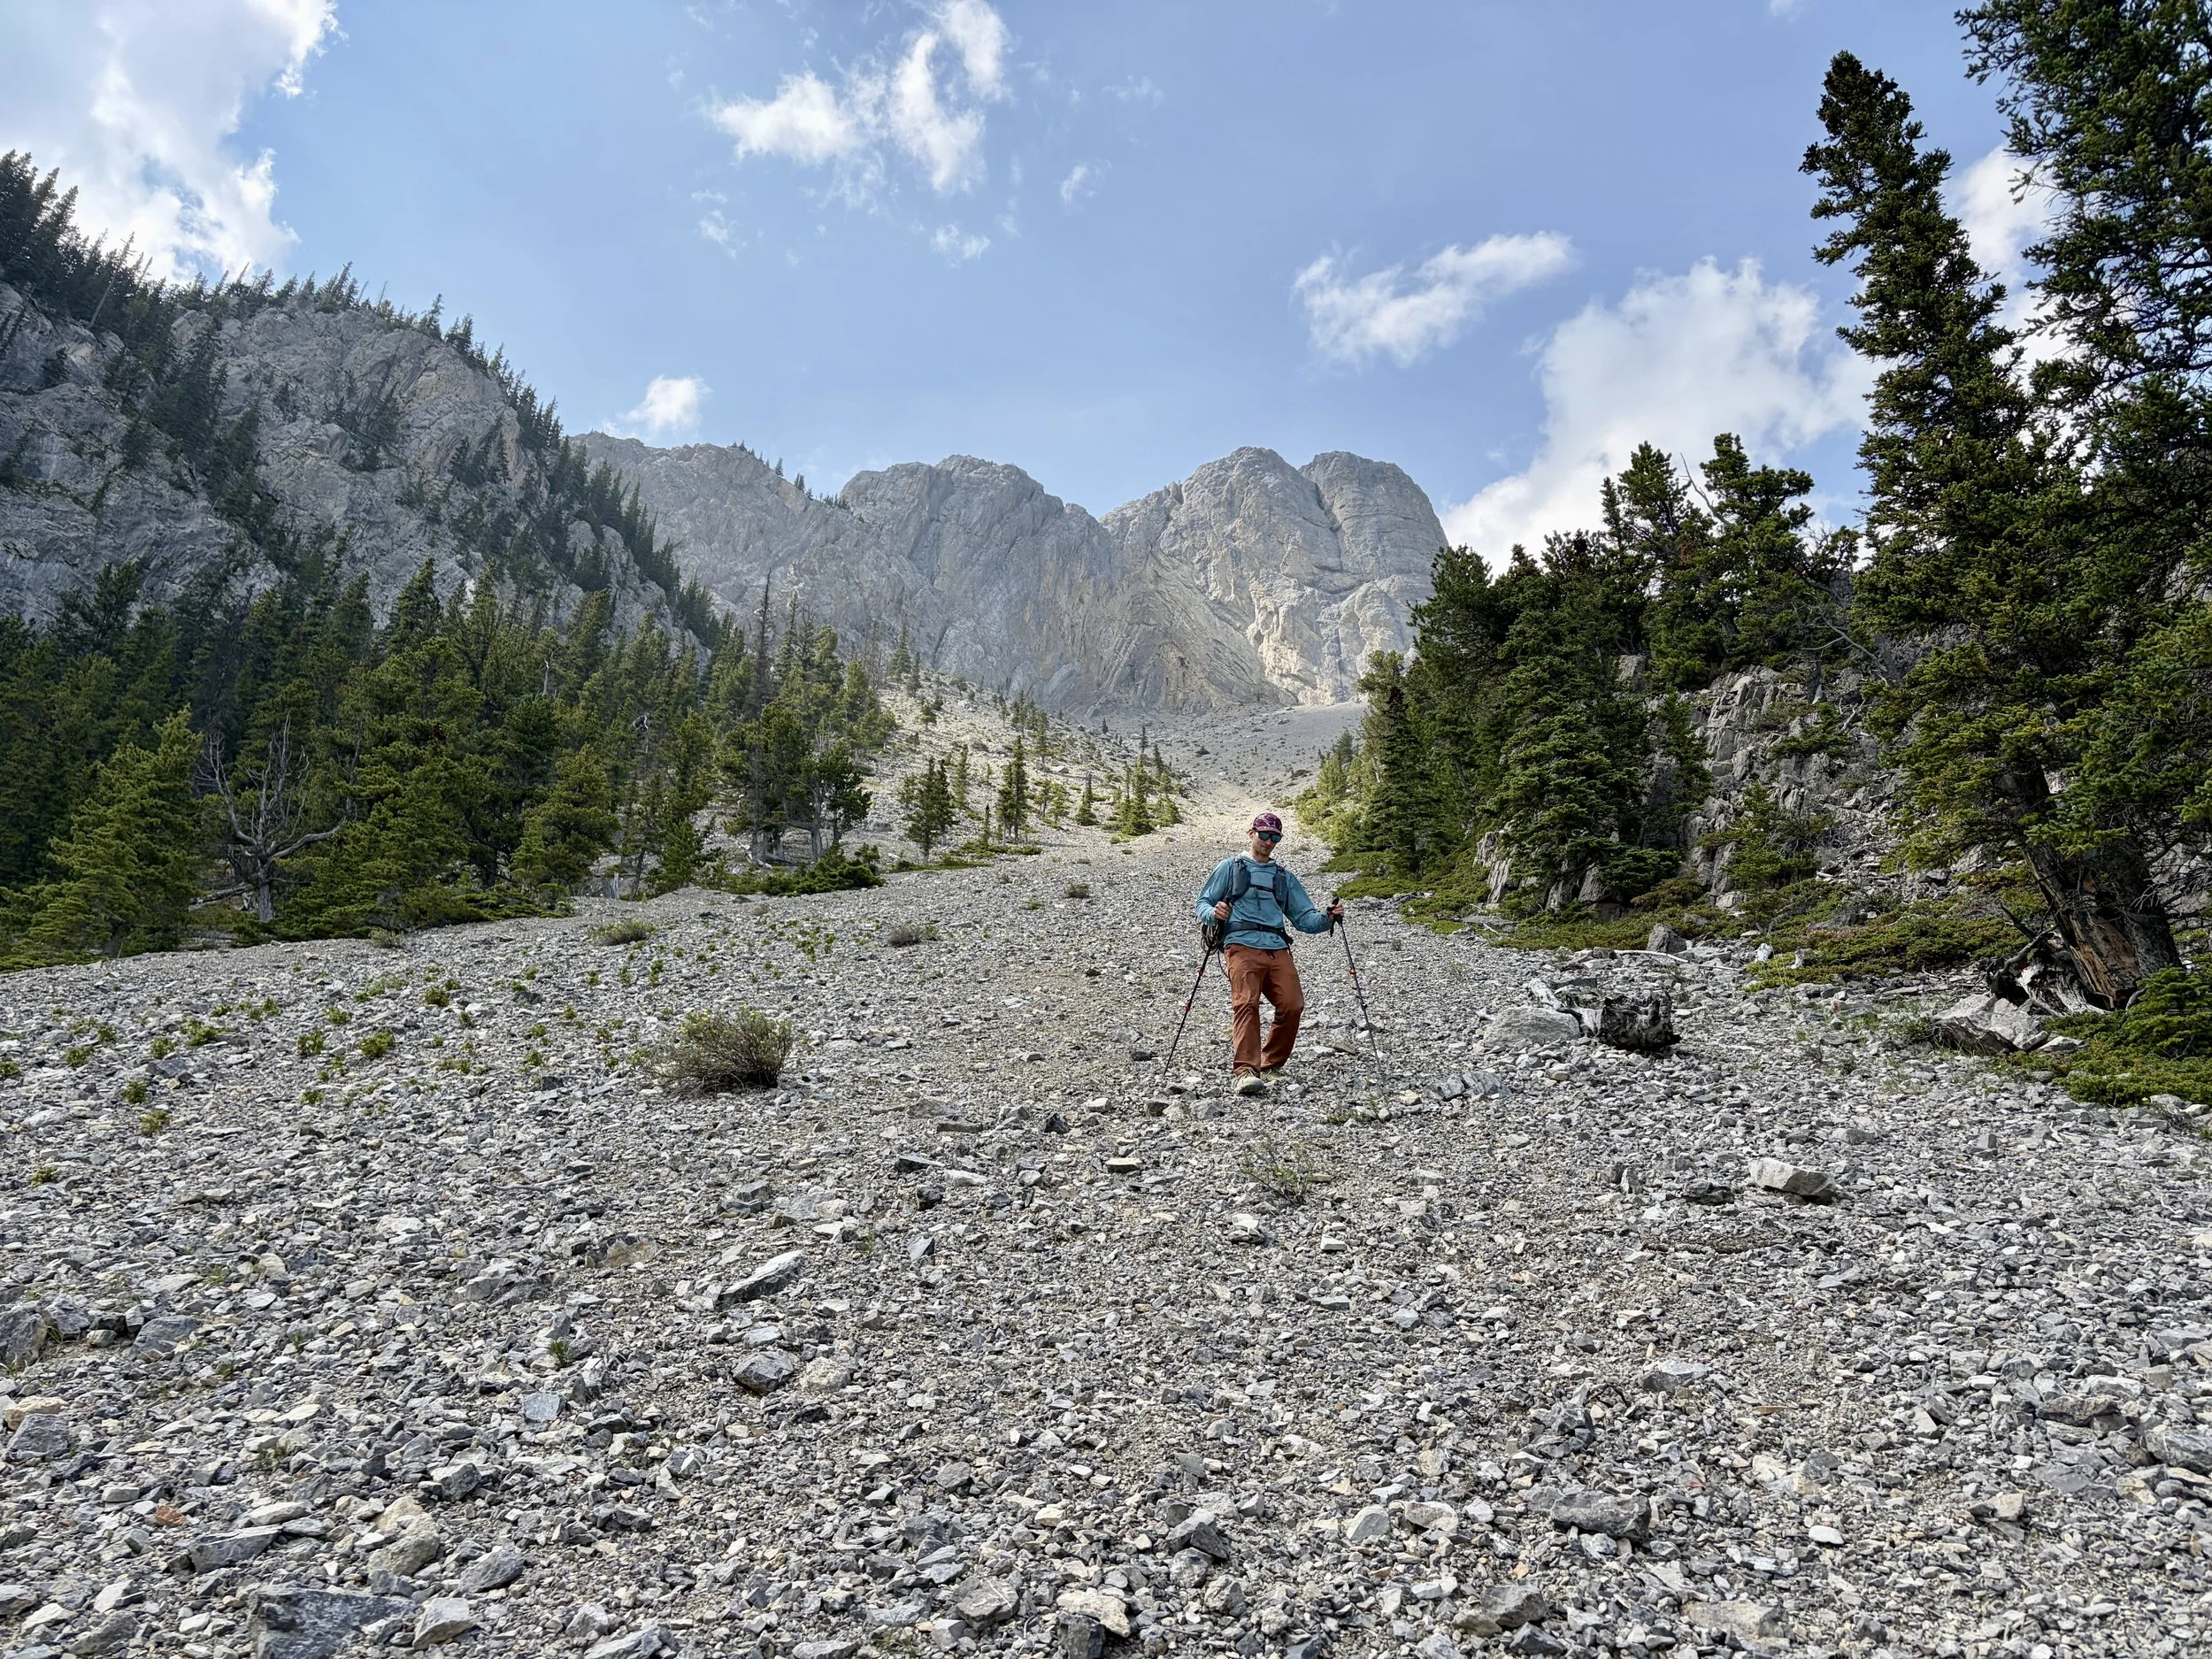
Once at the base of the route, we now had to descend 2200 ft back to our car. We decided that walking back down the ridge wouldn’t be fun as the terrain there was complicated. We opted to scree ski straight down the enormous scree field in the gully that led to the base of the route. We made good time on the way down because each step slid down so much that you would slide down another 1-2ft per step. It sure was tiring on the knees though! Thankfully, Mike’s recently operated-on knee held up well.
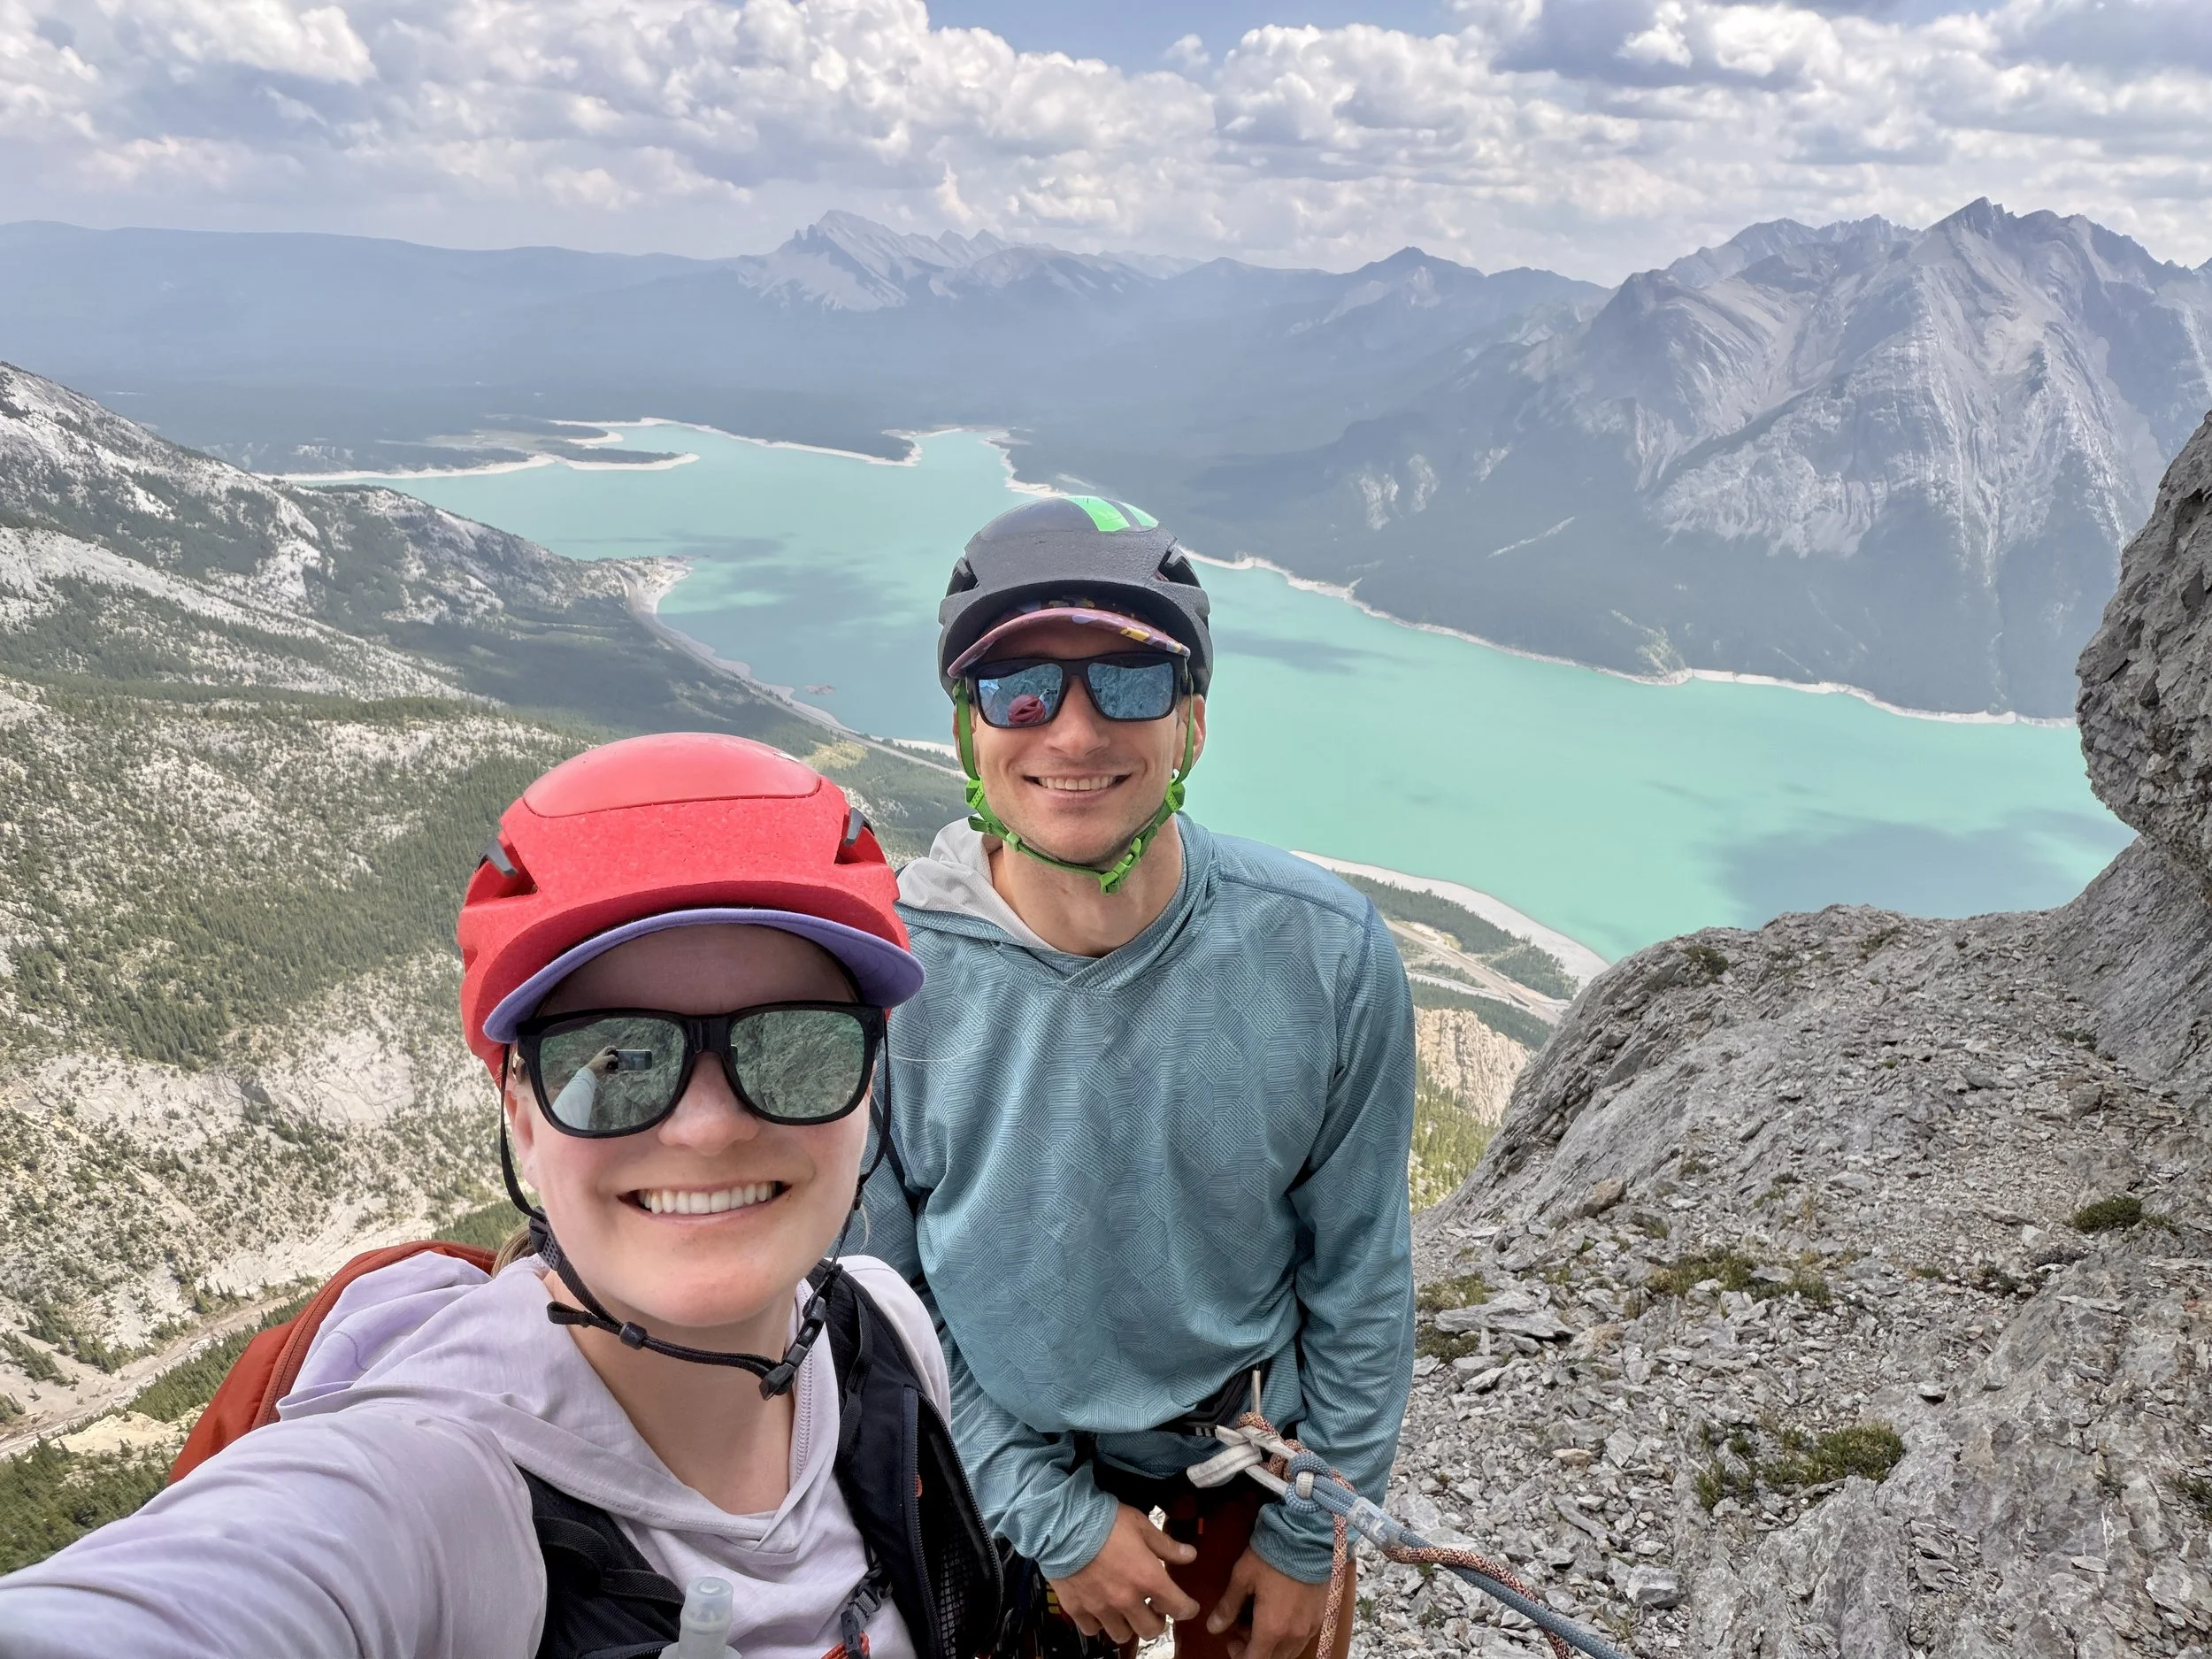
Once back at the car, we celebrated surviving the day. I can’t say it was a day I really enjoyed, however, the views were phenomenal the entire day. That was the one saving grace for that outing. Lake Abraham is one of the prettiest lakes I’ve seen. If you’re in the Lake Abraham area, I recommend picking a different area than the “Yambraham” area to climb. The rock quality was just terrible and made it a difficult climbing experience. You win some, you lose some!
Total stats: 2.15 miles, 2750 ft of elevation gain, 5 pitches, 4 rappels
Follow my journey on Instagram